Promotion
Use code DAD23 for 20% off + Free shipping on $45+ Shop Now!
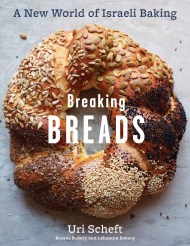
The Artisanal Kitchen: Jewish Holiday Baking
Inspired Recipes for Rosh Hashanah, Hanukkah, Purim, Passover, and More
Contributors
By Uri Scheft
With Raquel Pelzel
Formats and Prices
Price
$9.99Price
$12.99 CADFormat
Format:
- ebook $9.99 $12.99 CAD
- Hardcover $12.95 $16.95 CAD
This item is a preorder. Your payment method will be charged immediately, and the product is expected to ship on or around September 15, 2020. This date is subject to change due to shipping delays beyond our control.
Also available from:
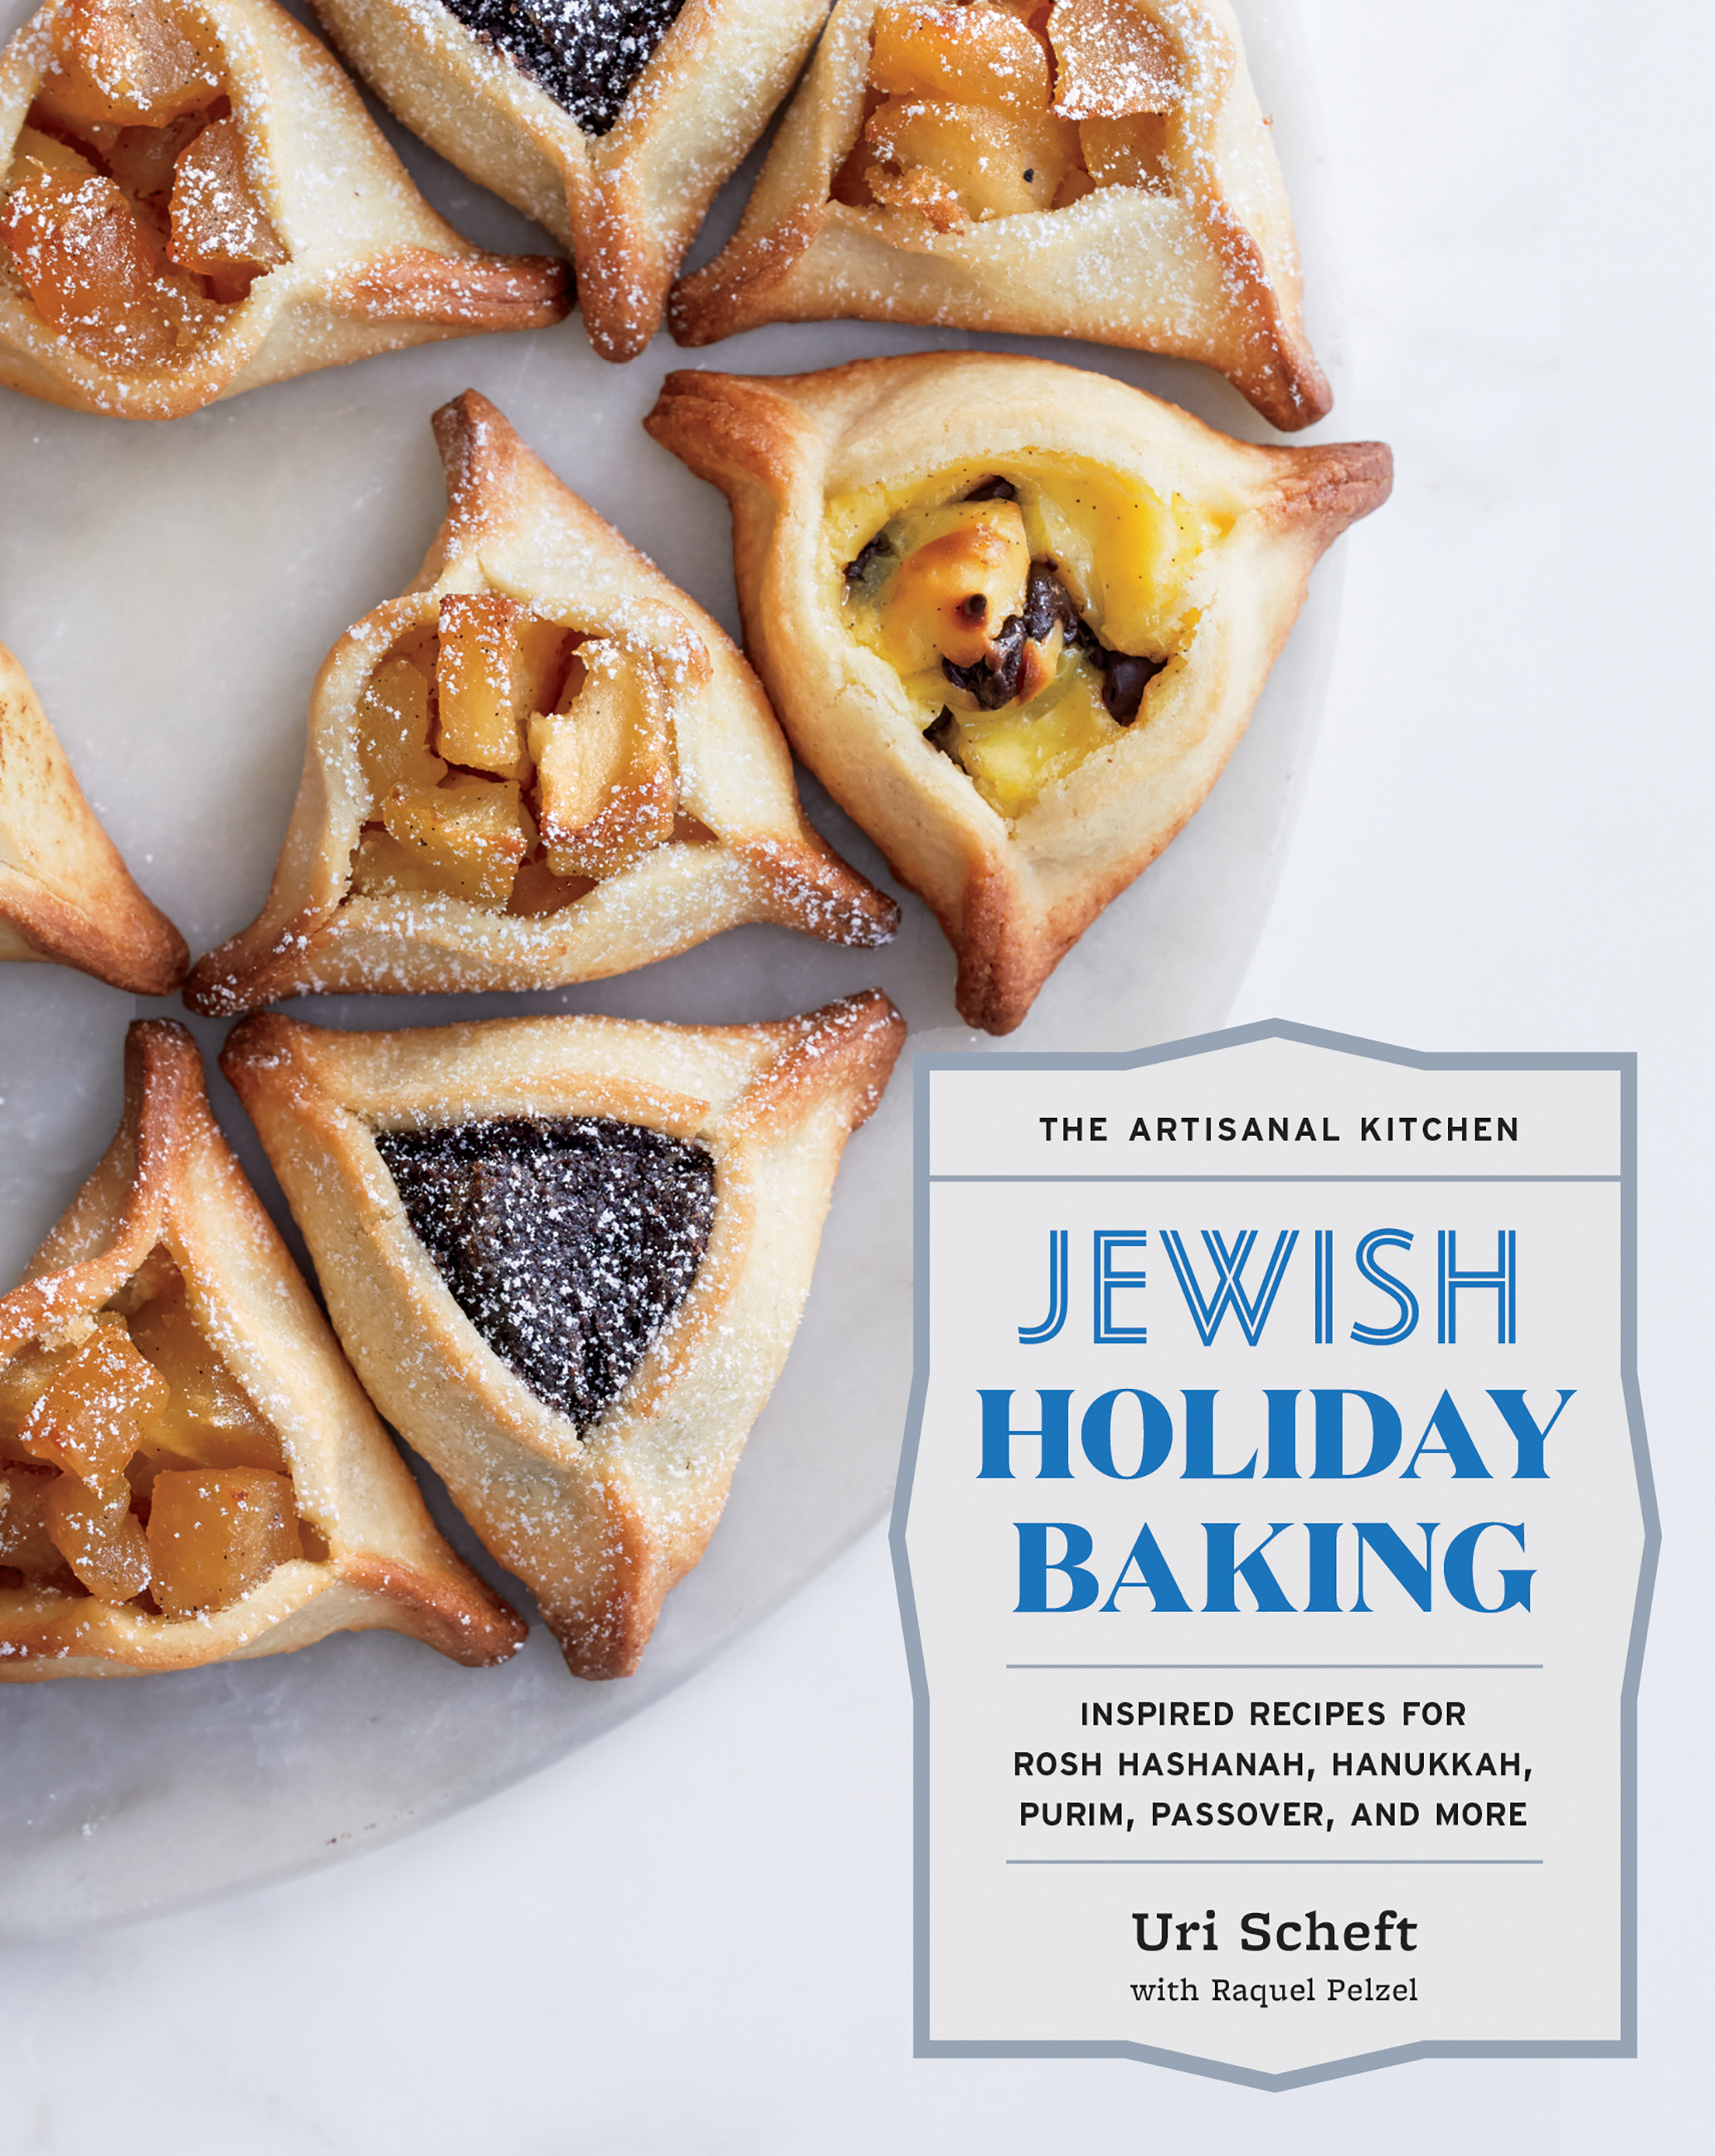
Bake your way through the Jewish holidays with 25 insanely delicious, foolproof recipes—including Poppy Seed Hamantaschen for Purim, Coconut Macaroons for Passover, Apple Babka for Rosh Hashanah, jam-filled Sufganiyot for Hanukkah, and so much more. These dishes from master baker Uri Scheft, author of Breaking Breads, capture the Old World/New World/out-of-this-world flavors of contemporary Jewish and Israeli cuisine.
Excerpt
Savory
Challah
Makes 3 loaves (1.75 kilos/3½ pounds of dough)
Why make one challah when you can make three? Challah freezes beautifully (see box)—you can freeze a loaf whole, or slice it and then freeze it for toast or French toast. Or have one loaf for dinner or breakfast, and give the other loaf to a friend or someone close to your heart. The offer of fresh-baked bread is a beautiful gesture that is better than any bottle of wine or store-bought hostess gift.
Dough
400 grams (1⅔ cups) cool-room-temperature water, plus up to another 2 tablespoons if needed
40 grams (3 tablespoons plus 2 teaspoons) fresh yeast or 15 grams (1 tablespoon plus 1¾ teaspoons) active dry yeast
1 kilo (7 cups) all-purpose flour (sifted, 11.7%), plus extra as needed and for shaping
2 large eggs
100 grams (½ cup) granulated sugar
15 grams (1 tablespoon) fine salt
75 grams (5 tablespoons) sunflower oil or canola oil or unsalted butter (at room temperature)
Egg Wash and Topping
1 large egg
1 tablespoon water
Pinch of fine salt
90 grams (⅔ cup) nigella, poppy, or sesame seeds (or a combination)
1. Make the dough: Pour the water into the bowl of a stand mixer fitted with the dough hook. Crumble the yeast into the water and use your fingers to rub and dissolve it; if using active dry yeast, whisk the yeast into the water. Add the flour, eggs, sugar, salt, and oil.
2. Mix the dough on low speed to combine the ingredients, stopping the mixer if the dough climbs up the hook or if you need to work in dry ingredients that have settled on the bottom of the bowl. Scrape the bottom and sides of the bowl as needed. It should take about 2 minutes for the dough to come together. If there are lots of dry bits in the bottom of the bowl that just aren't getting worked in, add a tablespoon or two of water. On the other hand, if the dough looks too wet or soft, add a few pinches of flour.
Note: Eventually, you'll be able to feel the dough and know if you need to add water or flour; it's always better to adjust the ratios when the dough is first coming together at the beginning of mixing rather than wait until the end of the kneading process, since it takes longer for ingredient additions to get worked into the dough mass at this later point and you risk overworking the dough.
3. Increase the speed to medium and knead until a smooth dough forms, about 4 minutes. You want the dough to be a bit firm.
4. Stretch and fold the dough: Lightly dust your work surface with a little flour and use a plastic dough scraper to transfer the dough from the mixing bowl to the floured surface. Use your palms to push and tear the top of the dough away from you in one stroke, then fold that section onto the middle of the dough. Give the dough a quarter turn and repeat the push/tear/fold process for about 1 minute. Then push and pull the dough against the work surface to round it into a ball.
5. Let the dough rise: Lightly dust a bowl with flour, add the dough, sprinkle just a little flour on top of the dough, and cover the bowl with plastic wrap. Set the bowl aside at room temperature until the dough has risen by about 70%, about 40 minutes (this will depend on how warm your room is—when the dough proofs in a warmer room, it will take less time than in a cooler room).
6. Divide the dough: Use the dough scraper to gently lift the dough out of the bowl and transfer it to a lightly floured work surface (take care not to press out the trapped gas in the dough). Gently pull the dough into a rectangular shape. Use a bench scraper or a chef's knife to divide the dough into 3 equal horizontal strips (you can use a kitchen scale to weigh each piece if you want to be exact). Then divide each piece into 3 smaller equal parts crosswise so you end up with a total of 9 pieces.
Note: It is best not to have an overly floured work surface when rolling dough into cylinders, since the flour makes it hard for the dough to gain enough traction to be shaped into a rope.
7. Shape the dough: Set a piece of dough lengthwise on your work surface. Use the palm of your hand to flatten the dough into a flat rectangle; then fold the top portion over and use your palm to press the edge into the flat part of the dough. Fold and press 3 more times—the dough will end up as a cylinder about 7 inches long. Set this piece aside and repeat with the other 8 pieces.
8. Return to the first piece of dough and use both hands to roll the cylinder back and forth to form a long rope, pressing down lightly when you get to the ends of the rope so they are flattened. The rope should be about 14 inches long with tapered ends. Repeat with the remaining 8 cylinders. Lightly flour the long ropes (this allows for the strands of the braid to stay somewhat separate during baking; otherwise, they'd fuse together).
9. Pinch the ends of 3 ropes together at the top (you can place a weight on top of the ends to hold them in place) and lightly flour the dough. Braid the dough, lifting each piece up and over so the braid is more stacked than it is long; you also want it to be fatter and taller in the middle and more tapered at the ends. When you get to the end of the ropes and there is nothing left to braid, use your palm to press and seal the ends together. Repeat with the remaining 6 ropes, creating 3 braided challahs. Place the challahs on 2 parchment paper–lined rimmed sheet pans, cover them with a kitchen towel (or place them inside an unscented plastic bag; see box), and set them aside in a warm, draft-free spot to rise until the loaves have doubled in volume, about 40 minutes (depending on how warm the room is).
10. Adjust the oven racks to the upper-middle and lower-middle positions and preheat the oven to 425°F.
11. Test the dough: Once the challah loaves have roughly doubled in size, do the press test: Press your finger lightly into the dough, remove it, and see if the depression fills in by half. If the depression fills back in quickly and completely, the dough needs more time to rise; if you press the dough and it slightly deflates, the dough has overproofed and will be heavier and less airy after baking.
12. Bake the loaves: Make the egg wash by mixing the egg, water, and salt together in a small bowl. Gently brush the entire surface of the loaves with egg wash, taking care not to let it pool in the creases of the braids. You want a nice thin coating. Generously sprinkle the loaves with the seeds.
Note: Try dipping the egg-washed dough facedown into a large tray of seeds and then rolling it from side to side to heavily coat the bread. If you just sprinkle a few pinches over the top, it won't look very generous or appealing after the bread has expanded and baked, so be generous with the seeds whether sprinkling or rolling.
13. Bake for 15 minutes. Rotate the bottom sheet pan to the top and the top sheet pan to the bottom (turning each sheet around as you go) and bake until the loaves are golden brown, about 10 minutes longer. Remove the loaves from the oven and set them aside to cool completely on the sheet pans.
Black Tie Challah
Makes 1 loaf (580 grams/1 pound 4 ounces of dough)
This challah has a thin raised braid running lengthwise on top of the braided dough. To make it even more striking, coat the thin braid in nigella seeds (black sesame seeds work too), then coat the sides of the challah loaf in white sesame seeds so the starkness of the black nigella braid stands out.
1. After dividing the challah dough into three 550-gram (1 pound 1 ounce) pieces as described in step 6, take about 50 grams (1¾ ounces) from 1 piece of dough and set it aside. Divide the resulting 500-gram (17-ounce) piece of dough into 3 smaller pieces and flatten, fold, and roll each piece into a rope with tapered edges, as described in steps 7 and 8. Repeat this process with the 50-gram (1¾-ounce) piece of dough, dividing it into thirds, flattening, folding, and pressing each piece into a cylinder and then rolling them into thin ropes about 12 inches in length. Set all the pieces aside, covered, to rest for a few minutes. Then stretch each of these thin ropes until it is about 20 inches long, lightly flour each piece, and braid them. Follow the instructions here to braid the 3 larger ropes of dough into a challah loaf.
2. Make the egg wash (see Note) and set it aside. On a piece of parchment paper, spread about 1 cup of nigella seeds in a long, thin strip. Brush the skinny braid with egg wash, then dip the braid, sticky-side down, in the nigella seeds to evenly coat it. Brush the larger braid with egg wash, then set the long nigella-coated braid right down the middle of the larger loaf. You can pinch the ends together and then tuck them under, or just gently press them onto the end of the loaf and leave them somewhat loose (the "loose ends" fan out as they bake). Generously coat the sides of the large challah with white sesame seeds. Follow the rising instructions in step 9, then bake.
Variation
Crazy and Festive Challah
Making bread doesn't have to be serious or scary. Leave the ends of the challah loose like fingers on a hand (like the hamsa, a famous good-luck symbol), or overlay other twists of challah on top of the dough to create an almost Medusa-like shape that is at once otherworldly and completely organic. Play with the dough. Leave the ends open, or twist instead of braid. Try different seeds—pumpkin seeds, nigella seeds, black sesame seeds, sunflower seeds. Bake a bowl into the bread (an oven-safe bowl, of course), or bake three bowls into it!
While you're shaping the bread, remember not to weave the strands or shapes too tightly—make sure you leave enough room for the dough to expand during the proofing stage. Also remember to flour all the individual pieces before braiding so the strands remain separate during baking. A fine dusting is all it takes. This really helps the final shape stand out.
Note: When egg-washing the challah, do so with a light hand—no one wants a pocket of scrambled egg in their challah braid! Apply the egg wash from one direction and then turn the sheet pan around to brush in the other direction as well, so you're sure to evenly coat all of the surfaces. A spray bottle works well too—it applies an even spritz without the risk of tearing or marring the dough.
Whole Wheat and Flax Challah
Makes 3 loaves (1.5 kilos/3⅓ pounds of dough)
For this challah, some whole wheat flour is incorporated with the white flour, along with red quinoa, flaxseeds, and molasses-y brown sugar instead of white. Because the seeds and flour are moisture-hungry, there is 5 to 10% more water in this recipe than in others. Keep a little extra water next to the mixer bowl in case your dough needs it (it will depend on the kind of whole wheat flour you are using).
The coil shape of this challah is common during Rosh Hashanah, symbolizing the completeness and continuity of the year that has passed and the one that lies ahead. As with all the challahs in this chapter, you can shape the dough any way you'd like.
Genre:
- On Sale
- Sep 15, 2020
- Page Count
- 112 pages
- Publisher
- Artisan
- ISBN-13
- 9781579659769
Newsletter Signup
By clicking ‘Sign Up,’ I acknowledge that I have read and agree to Hachette Book Group’s Privacy Policy and Terms of Use