Promotion
Use code SIZZLE26 for 25% off sitewide!

By clicking “Accept,” you agree to the use of cookies and similar technologies on your device as set forth in our Cookie Policy and our Privacy Policy. Please note that certain cookies are essential for this website to function properly and do not require user consent to be deployed.
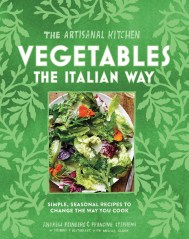
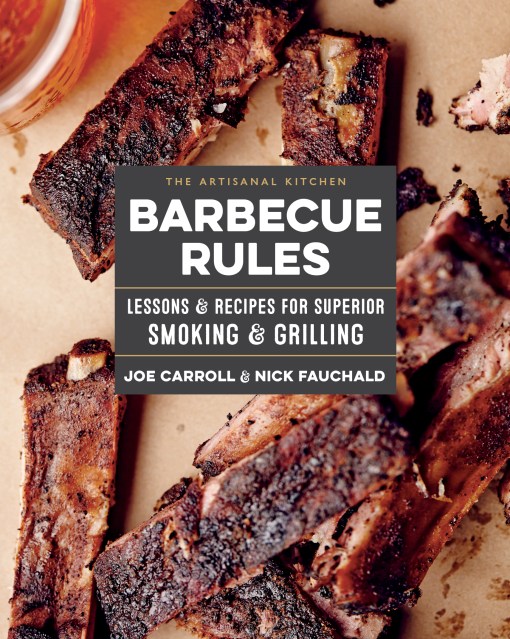
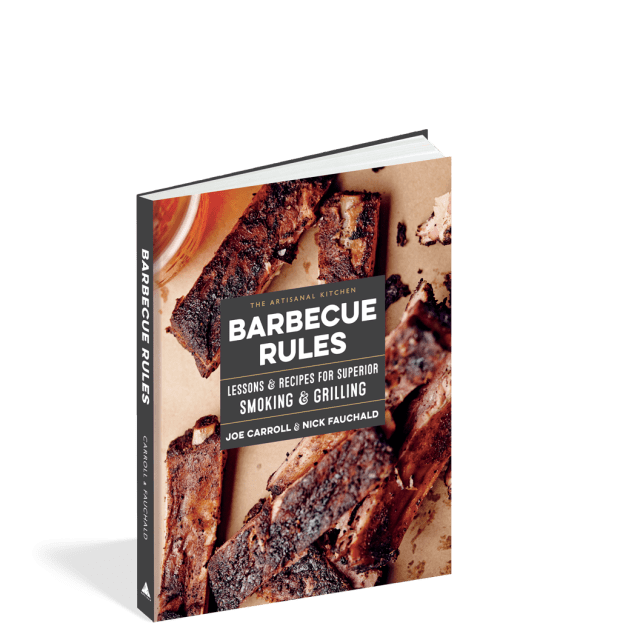
The Artisanal Kitchen: Barbecue Rules
Lessons and Recipes for Superior Smoking and Grilling


Contributors
By Joe Carroll
Formats and Prices
- On Sale
- Mar 5, 2019
- Page Count
- 112 pages
- Publisher
- Artisan
- ISBN-13
- 9781579658687
Price
$13.00Price
$17.00 CADFormat
Format:
- Hardcover $13.00 $17.00 CAD
- ebook $9.99 $12.99 CAD
This item is a preorder. Your payment method will be charged immediately, and the product is expected to ship on or around March 5, 2019. This date is subject to change due to shipping delays beyond our control.
Buy from Other Retailers:
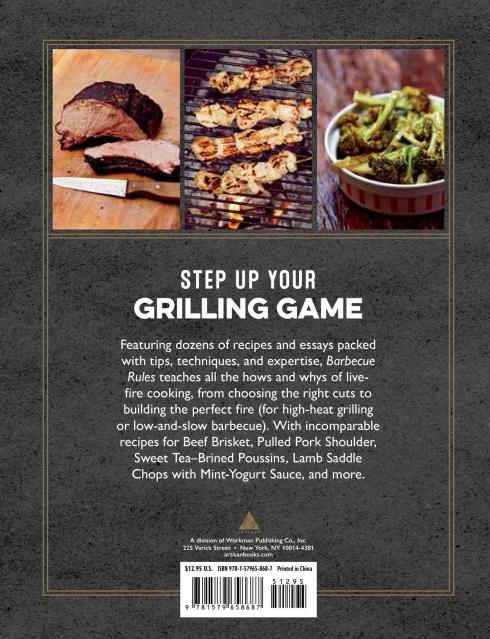
Great barbecue and grilled meats are at the heart of summer cooking, and in this book from barbecue expert Joe Carroll, fire-cooked foods are approachable and downright delicious. With more than 30 mouthwatering recipes and six informational essays in this handy book—adapted from Carroll’s Feeding the Fire—he proves that you don’t need fancy equipment or long-held regional traditions to make succulent barbecue and grilled meats at home. Barbecue Rules teaches the hows and whys of live-fire cooking: how to roast a pork loin (and what cut to ask your butcher for), how to create low and slow heat, why quality meat matters, and how to make the best sides to accompany the main event (the key is to keep it simple). With recipes for classics like Beef Brisket and Pulled Pork Shoulder and more adventurous flavors like Sweet Tea–Brined Poussins and Lamb Saddle Chops with Mint-Yogurt Sauce, there are recipes for every palate and outdoor occasion.