Magic Cakes

Easy-Mix Batters That Transform into Amazing Layered Cakes!
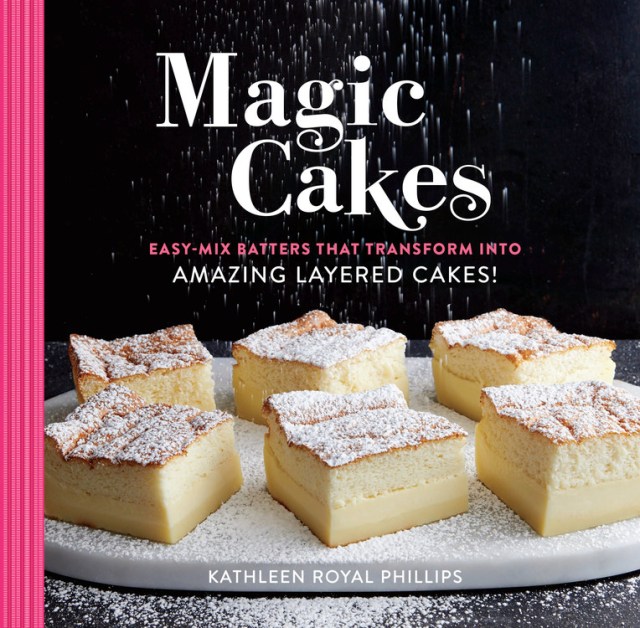
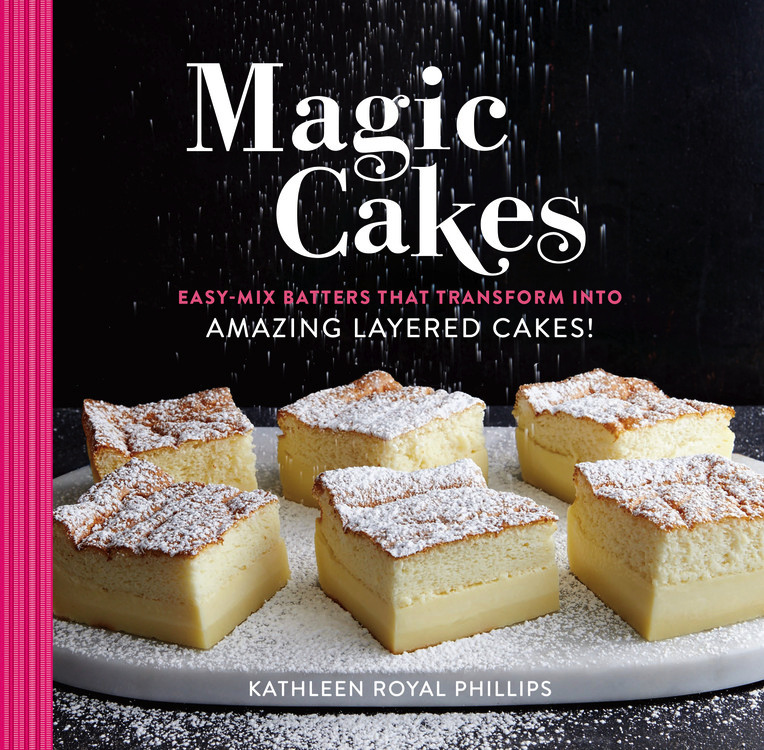
Contributors

By Kathleen Royal Phillips

Formats and Prices

Price

$18.00

Price

$23.50 CAD

Format

Format:

  1. Hardcover $18.00 $23.50 CAD
  2. ebook $11.99 $14.99 CAD

This item is a preorder. Your payment method will be charged immediately, and the product is expected to ship on or around October 10, 2017. This date is subject to change due to shipping delays beyond our control.

Magic Cakes is your easy, no-hassle guide to the latest, Pinterest-fueled baking craze!

If you dream of a layered cake, but want to avoid the endless, complicated steps it takes to make one, then you’re going to fall in love with magic cakes. With only a single batter that magically transforms into three layers of custardy, fudgey, spongey cake, you can have an easy dessert that looks like it took hours to put together (and tastes like it, too!)

This book contains 40 recipes for cakes, frostings, icings, and other delightful extras that are simple to make and difficult not to devour. Magic cakes can be your classic chocolate or vanilla, a tiramisu cake reimagined, or even an unconventional cardamom-scented sweet potato cake if you’re feeling adventurous. Top each treat with a frosting or a simple dusting of powdered sugar, and you’ve got yourself a magical dessert to savor and enjoy!

Excerpt

INTRODUCTION

Making the Magic Happen

One Batter. One Cake. Three Layers.

Have you ever wanted to wave your magic wand and have a fantastic dessert appear before you—or at least not have to spend hours in the kitchen preparing it? Magic cake is the answer. One thin batter goes in the oven with less than 15 minutes prep time and, magically, a three-layer cake comes out in about 40 minutes. One thick, fudge-like layer on the bottom, a creamy, silky custard middle layer, crowned with a light and spongy cake on the top: three desserts in one! From the foundational recipe Vanilla Magic Cake (here) to the more elaborate Salted Dark Chocolate Magic Cake (here), these unbelievable cakes are sure to amaze you and captivate the attention of your family and friends.

No sleight of hand here. No tricks or secret ingredients in magic cakes. The thin batter is made from staple ingredients you probably already have on hand—eggs, butter, sugar, flour, and milk. The results may look intimidating, but you won’t find any difficult techniques in the making of these cakes. If you have a strong arm, you can even make them without an electric mixer with just a whisk and a couple of bowls: I opted for the mixer. The magic happens in the oven. While baking, the batter separates into three distinct layers.

The low baking temperature (325°F) allows the starch in the flour to bind with the sugar and trap moisture from the milk, then settle to the bottom forming the dense texture of the base layer. The base layer is dense like a rich, thick blonde or chocolate brownie. Clouds of whipped egg whites coated with batter rise to the top to transform into a fluffy cake layer that is a cross between a génoise and an angel food cake. Finally, the custard layer “levitates” between the top and bottom layers. Be careful not to overcook a magic cake or this velvety layer will vanish, leaving you with only two layers. The key is to bake it just until it jiggles slightly in the center. Unlike other baked goods, you can’t use a toothpick to test for doneness: it’s all about the jiggle in a magic cake.

You can finish off your magic cakes simply with confectioners’ sugar sprinkled on top. To gild the lily, add fruit, icings, and sauces (see here for an array of toppings).

BEHIND THE SCENES

In this section, you’ll find details on ingredients—how they work and best practices for handling them—and simple equipment: the baking pans, whisks, and mixers that will make all your cakes magical.

You’ll notice that all of the recipes call for ingredients to be at room temperature or warmed. Bringing ingredients to lukewarm or room temperature may seem like an unnecessary step, but it does make a difference in baking: egg whites will whip higher, egg yolks and butter will trap air better, but cold milk added to a creamed butter mixture will firm the fat, hindering emulsion.

But allowing ingredients to sit on the counter to come to room temperature can take a while, keeping you from your magic cakes! Follow the tips below for each ingredient to shave a few minutes off the prep time.

EGGS: Eggs are a crucial ingredient in cakes in general and have a dual role in magic cakes. Egg yolks help moisten the bottom layer and thicken the custard layer. The eggs and sugar are beaten together for several minutes to incorporate sugar crystals into the mixture. This creates air bubbles in the batter. The air bubbles expand during baking, lifting the batter, which causes the cake to rise.

I was curious about how the magic cake batter would fare with the egg yolk mixture whisked by hand versus with an electric mixer, so I performed a side-by-side test with two identical cakes, whisking the egg yolks and sugar for 2 minutes by hand for one cake (I got my upper body workout!) and beating the second one with an electric hand mixer for 2 minutes. Both mixtures became light in color, although the second mixture was lighter (closer to lemon colored). Although both mixtures turned out acceptable cakes, the one beaten with the mixer had a taller sponge cake and slightly less dense bottom layer. Your takeaway is this: it is important to beat the eggs yolks and sugar together at least 2 minutes in these recipes, preferably with a mixer. Set a timer to make things easy. I didn’t even attempt to whisk the egg whites by hand. Unless you have some serious arm muscles and for the best overall cake results, go electric.

The egg whites form the structure of the sponge cake layer. When egg whites are beaten into a foam that forms stiff peaks, tiny air bubbles are trapped and the egg whites multiply in volume up to eight times. For maximum volume, start with room-temperature eggs. Separate the yolk from the white carefully. One tiny drop of egg yolk or fat in the whites can deflate them or prevent them from whipping altogether. Avoid using plastic bowls for beating the egg whites; they tend to trap fat. Acid, such as cream of tartar, vinegar, or lemon juice, is used to help stabilize and increase the volume of the egg whites. I prefer cream of tartar over vinegar or lemon juice, especially when using large amounts of egg whites in recipes, because of the extra liquid they add to the foam. Cream of tartar also does a better job of preventing the egg whites from overbeating. The typical ratio of cream of tartar is teaspoon per egg white.

It takes at least 30 minutes for refrigerated eggs sitting on the counter to reach room temperature. It’s like watching paint dry. If you separate them first, then let them come to room temperature, you can shave off a few minutes. But the quickest way to bring them to room temperature is to place the whole eggs in a small, deep bowl and pour warm, not hot, water over them and let them stand for 5 minutes. All eggs used in magic cakes are grade A large.

BUTTER: Most every pastry textbook will tell you that unsalted butter is best in cakes and desserts so you can control the amount of salt by adding your own. While this is true, I have found after testing and retesting more than forty magic cakes that salted butter contains just the right amount of salt for my taste without having to add another ingredient. I even love salted butter in the peanut butter cake. If you prefer less salt or have unsalted butter on hand, then it is perfectly fine to use what you have and adjust accordingly. Again, one of the beautiful things about magic cakes is that you can make them from what you already have in your pantry and refrigerator.

My trick for melting butter is to cut one stick of butter into four pieces and place in a small microwave-safe bowl or measuring cup. Save the paper wrapper and place it on the top of the bowl to prevent any splattering in the microwave. Microwave on HIGH for thirty seconds, and you have perfectly melted butter; it’s not too hot so you don’t have to wait for it to cool down. My microwave is 1,200 watts; yours may need another fifteen-second burst if the wattage is lower.

SUGAR: Sugar does more than sweeten. Not only does it help moisten the bottom layer, it tenderizes the sponge cake layer and prevents it from drying out.

FLOUR: You can add as much as 2 tablespoons per cup too much to a recipe if you measure incorrectly. First, stir the flour in the canister with a dry whisk before measuring to loosen the flour. Lightly spoon the flour into dry measuring cups and level it off with a table knife. Avoid scooping the measuring cup right into the flour canister; this packs in extra flour.

MILK: The milk is whole unless otherwise indicated. When developing these recipes, I sometimes changed the milk according to the nature of the recipe. For example, sweet potato pies typically use evaporated milk, so I used a can of evaporated milk, which equals 1¾ cups, in Cardamom Sweet Potato Magic Cake with Chantilly Cream (here). Since the recipe needs a total of 2 cups, I just made up the difference with ¼ cup whole milk I had in my fridge rather than opening another can of evaporated milk for such a small amount. For Coconut-Chocolate Magic Cake Bars (here), I used canned coconut milk. My first test with refrigerated coconut milk beverage was a fail due to the high water content in this “milk.” The carton is for drinking; the can is for cooking.

When I see the words “lukewarm milk” in a recipe, I cringe just a little for fear someone, in an effort to reach lukewarm, might leave milk out at room temperature for too long. Based on my catering experience, I know that milk left out too long could possibly be in the danger zone of 40° to 140°F. To avoid this, microwave 2 cups of cold milk on HIGH for 1 minute and be done with it.

PANS: Most of the magic cake recipes you see posted on the Internet are prepared in square or round cake pans. To that standard equipment, I’ve added springform pans, jumbo muffin pans, loaf pans, and silicone pans and liners. If a recipe includes add-ins, such as fruit or cookies, which increase the volume in the pan, I may suggest increasing the size of the pan from 8 to 9 inches, but the basic recipes are prepared in 8-inch pans. Eight-inch springform pans are often found in a graduated set of pans. Meyer Lemon Magic Cake Bars (here) is made in a 13 x 9 x 2-inch baking pan. When I prepare traditional lemon bars, I’m usually making them for an occasion that demands more than twelve bars, so I start by almost doubling the basic Vanilla Magic Cake (here) recipe and go from there to serve a crowd.

For all round cake pans, I recommend using a springform pan because the removable sides make it easier to transfer the cake to a serving plate; plus they have higher sides, which can hold 8 to 9 cups of batter. Be sure to check a springform pan for leaks. Simply fill it with tap water before using. If it leaks, wrap the outside of the pan with aluminum foil. This is an old cheesecake-baking trick. Lining a regular cake pan with aluminum foil or parchment paper will also help remove the cake from the pan if you don’t have a springform pan. Make sure the foil and parchment overhang by about 2 inches to use as handles to remove the cake from the pan. You don’t have to purchase a new pan if you already have a regular 8-or 9-inch cake pan, but be sure the cake pans have at least 2-inch sides. You can extend the height of the sides of a pan by using a large piece of aluminum foil to line the pan and shaping the overhang upward to form higher sides.


Lining the regular pans with aluminum foil or parchment is not necessary for the success of a magic cake, but it is extremely helpful when removing the cake from a pan that doesn’t have removable sides. I prefer aluminum foil to parchment paper to line round pans because the aluminum foil can be pressed almost flat against the pan to take on the shape of the pan; parchment tends to create folds, which are baked into the sides of the cake. I fell in love with silicone pans of all shapes. When the cake is chilled, you can either pull back the sides of the pan and push up on the bottom as you slide the cake onto a serving plate with the help of a metal spatula, or turn the pan upside down on the plate and pull back on the sides. Be sure to place a silicone pan on a baking sheet first before putting it in the oven: it is nearly impossible to transfer the pan to the oven without it bending inward, full of the thin batter… trust me on this one.

Glass and ceramic dishes can be used for magic cakes, but they are not ideal, especially glass. Glass is not a good conductor of heat, so it takes a little longer to heat up than metal. Once hot—and it can get very hot—it takes much longer to cool down, causing the cake to continue to cook slightly, which could affect the creaminess of the custard layer. If you do use glass or ceramic pans, reduce the oven temperature by 25°F and possibly bake 5 minutes less, still giving it the jiggle test.

MIXER: An electric mixer comes in handy when beating the egg whites for 2 minutes. The egg yolks will almost achieve the lemon-colored look with just a wire whisk, but my best results were with a mixer because of the amount of air it can incorporate (see here for more details about the side-by-side comparison). I initially tried making several magic cakes using one hand mixer for the entire recipe. By washing the beaters thoroughly in between beating the batter with the egg yolks in one bowl and the egg whites in a separate bowl—to ensure that no fat from the batter encountered the whites—I achieved excellent results. I then tested most of the remaining recipes using both a stand mixer and a hand mixer. While the egg yolks were beating for 2 minutes in the stand mixer, I beat the egg whites in a separate bowl with the hand mixer. Though using both is not crucial, if you do have a stand mixer and hand mixer, it will provide added insurance and speed up the cake making. One of the “magical” things about magic cakes is that they seem to defy the traditional laws of cake-baking science, one of which states that egg yolks and sugar must be beaten for a long time; many sponge cake recipes recommend beating the eggs and sugar for at least 3 to 5 minutes—versus the 2 minutes needed for magic cakes. But then, these are not ordinary cakes.

BAKING AND STORAGE

Magic cakes are incredibly easy desserts. The most challenging step is determining the jiggle in the cake when baking: too much jiggle and you end up spooning it out of the pan instead of slicing it; not enough jiggle and the custard layer disappears. The right amount of jiggle is similar to the jiggle you see when baking a cheesecake, with just a little less jiggle in the center. The 1 to 2 inches across the very middle should jiggle like Jell-O, not slosh like thin batter.

In order to achieve the right amount of jiggle in the center, baking times will vary slightly depending on the ingredients used, thickness of the pan, and accuracy of the oven. Thicker pans will require a longer baking time. An inexpensive oven thermometer will determine if your oven is accurate and help you achieve the right amount of jiggle in just the right amount of time.

Magic cakes can be covered and refrigerated up to three days.

CREATE YOUR OWN MAGIC

Genre:

  • "The adorably petite cookbook mimics Phillips endearing personality."—-MyRecipes.com
  • "Magic Cakes recipes are absolutely delicious and unbelievably easy-to-make. If you like to bake cakes at home, you will simply love these recipes."—-The Washington Book Review

On Sale
Oct 10, 2017
Page Count
128 pages
Publisher
Running Press
ISBN-13
9780762463053

Kathleen Royal Phillips

About the Author

Kathleen Royal Phillips is a writer, recipe developer, tester, and food stylist who works regularly with clients such as Time Inc., Pillsbury, and Betty Crocker. Her recipes and food styling have been featured numerous times in Southern Living and Cooking Light cookbooks as well as Christian Woman, Coastal Living, and Parents magazine. She lives in Gardendale, Alabama.

Learn more about this author