Promotion
Sign up for our newsletter to get 20% off sitewide!

By clicking “Accept,” you agree to the use of cookies and similar technologies on your device as set forth in our Cookie Policy and our Privacy Policy. Please note that certain cookies are essential for this website to function properly and do not require user consent to be deployed.
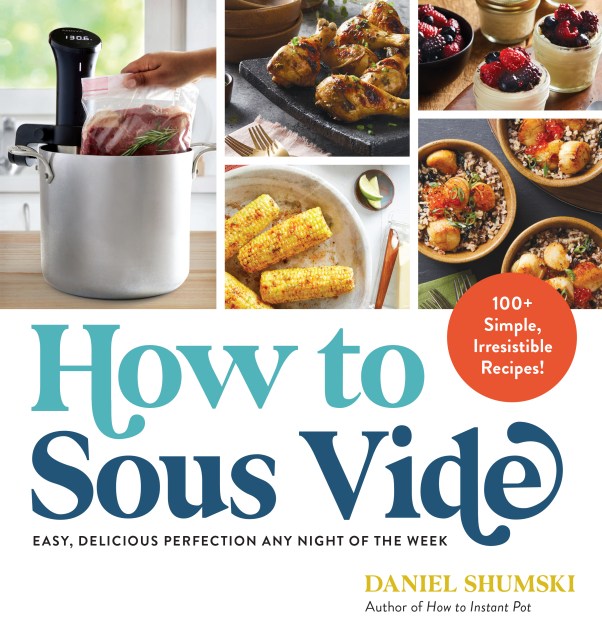
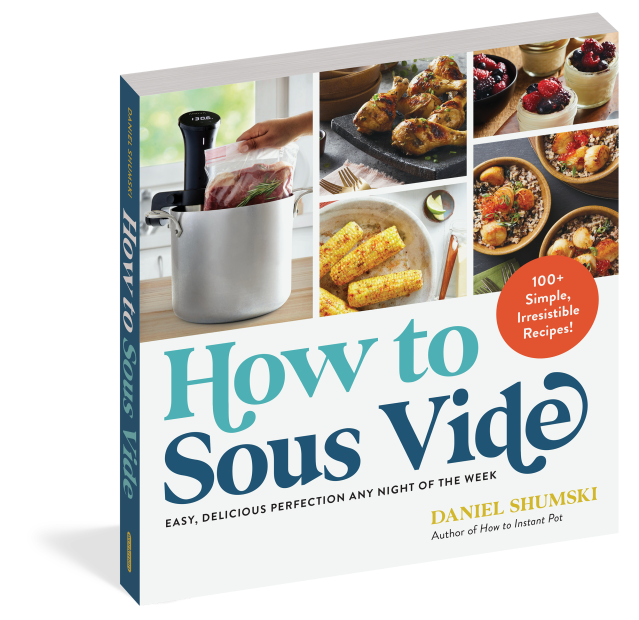
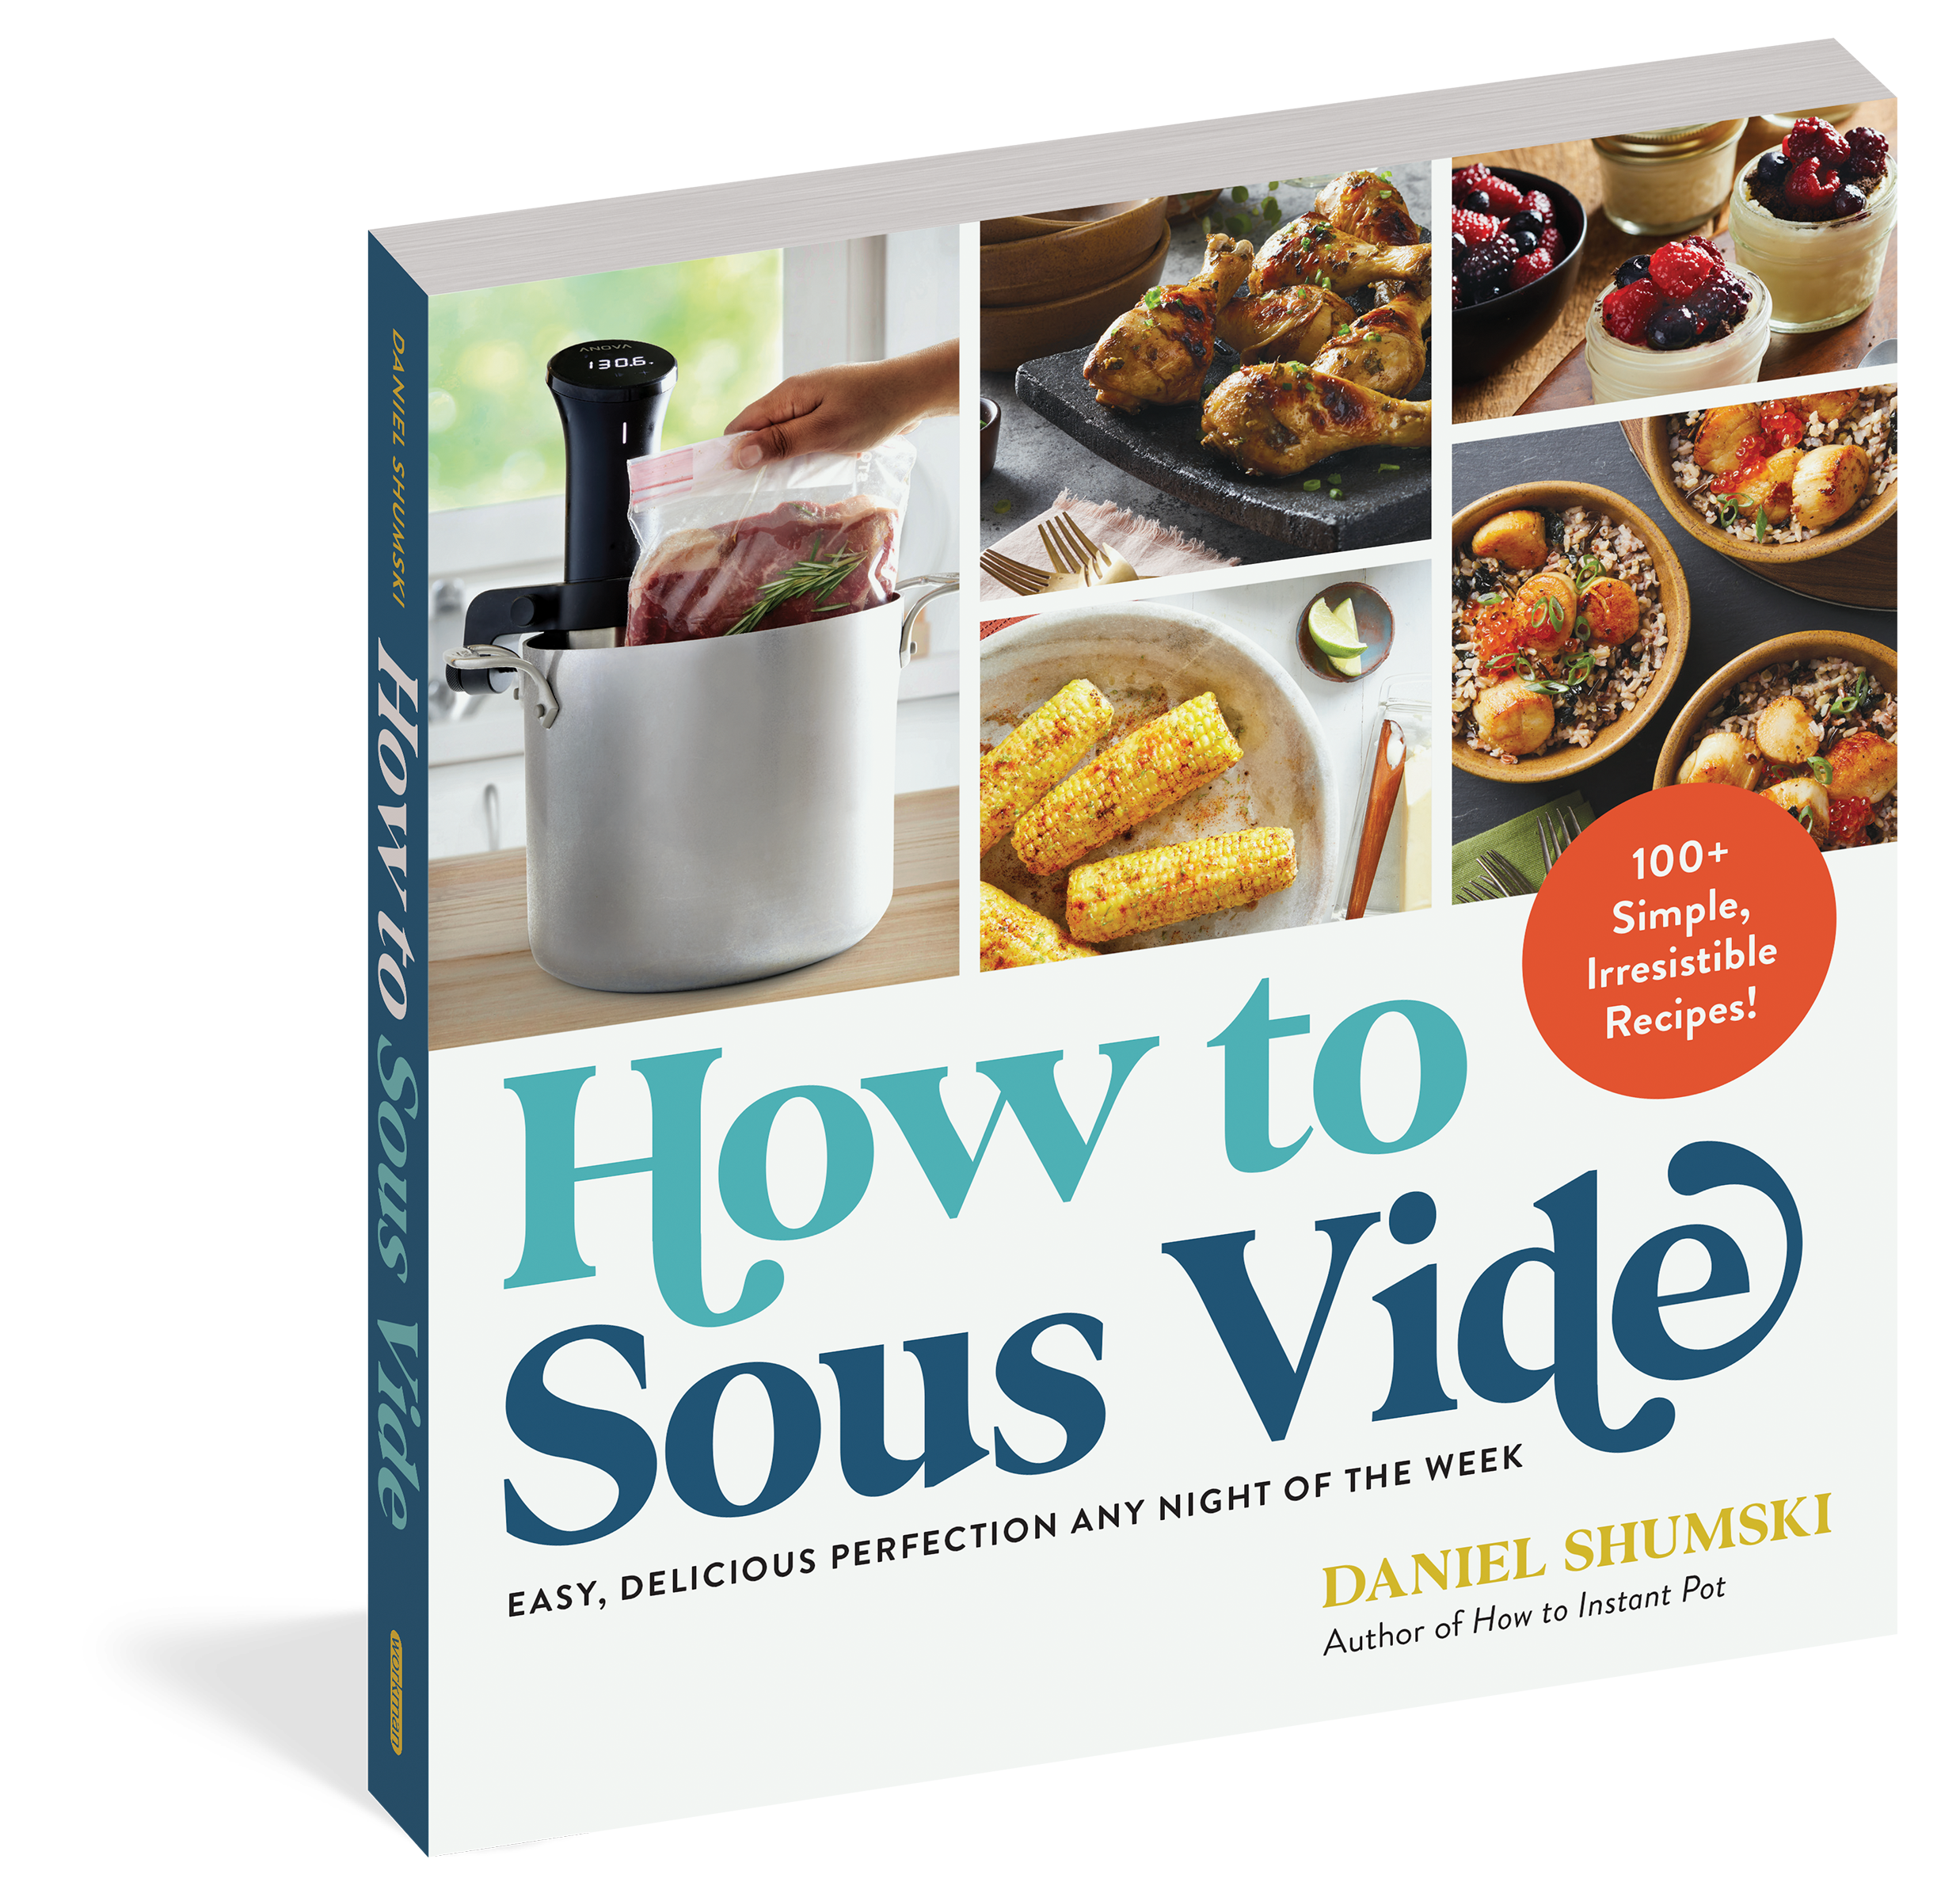
How to Sous Vide
Easy, Delicious Perfection Any Night of the Week: 100+ Simple, Irresistible Recipes


Contributors
Formats and Prices
- On Sale
- Nov 23, 2021
- Page Count
- 240 pages
- Publisher
- Workman Publishing Company
- ISBN-13
- 9781523512331
Price
$19.95Price
$24.95 CADFormat
Format:
- Trade Paperback $19.95 $24.95 CAD
- ebook $11.99 $15.99 CAD
This item is a preorder. Your payment method will be charged immediately, and the product is expected to ship on or around November 23, 2021. This date is subject to change due to shipping delays beyond our control.
Buy from Other Retailers:
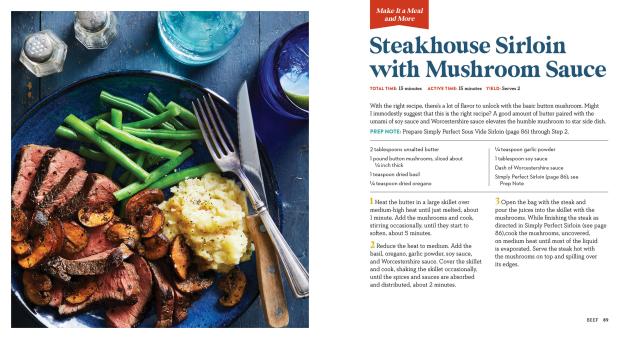
Ready to turn out the best steak of your life by sealing it in a plastic bag and simmering it in a bath of warm water?
The technique is called sous vide— it’s how a lot of the pros do it—and now with sous vide devices affordable and available, you can too. Daniel Shumski, the gadget whisperer who demystified the Instant Pot, unlocks the secrets of professional sous vide for home use. He explains step by step the process, timing, precise temperatures by ingredient, best techniques, and ins and outs of the equipment. And then offers 100 brilliant recipes designed to take full advantage of this revolutionary method, plus a dozen unexpected sous-vide hacks (make short-cut “cold-brew” coffee; infuse your olive oil with new flavors!)
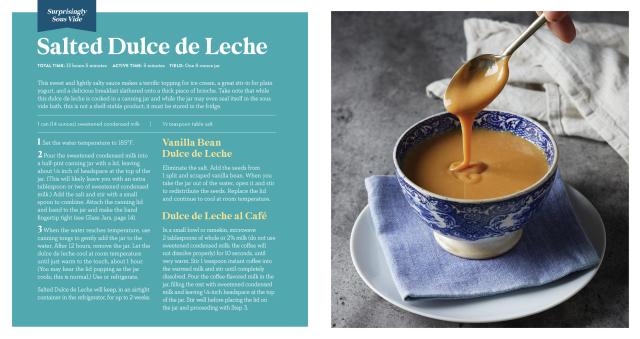
With Shumski’s guidance, anything can be made better through sous vide, from favorite meats (you’ll never cook a chicken breast any other way) to the surprises of sous vide carrots (try them with miso butter) to the showstopping glory of a Berry Cheesecake in a jar.
Genre:
-
“Cooking sous vide (in water with an immersion circulator) can often make dinner prep easier (and more flexible). For anyone who isn’t yet convinced, this accessible cookbook from the author of How to Instant Pot will help to demystify the whole process.” I>EpicuriousLibrary Journal
“A terrific how-to... In Shumski’s estimation, this cooking method is forgiving, flavorful, and foolproof—and his enticing recipes go a long way to prove it.” I>Publishers Weekly
"Sharing his enthusiasm in an approachable style, Shumski’s take on sous vide should get any cook excited to try the technique."