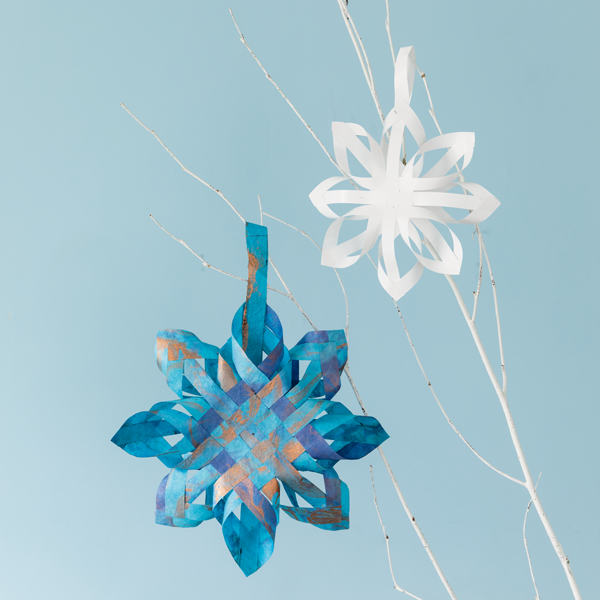
Weaving with Paper: Swedish Stars
Some weaving projects require no loom at all! Swedish stars are woven from strips of paper and make a beautiful addition to holiday décor.
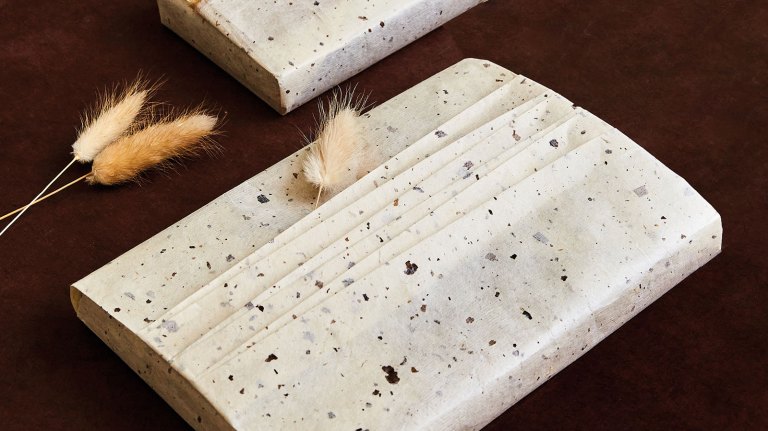
Paper opens a whole new world of weaving. These Swedish stars are made using a traditional Scandinavian paper weaving technique. You can choose to work with the most ubiquitous of papers — newspaper, brown craft paper, maps, sheet music, or even pages from used books. On the other hand, it’s also a pleasure to explore specialty papers with lovely textures and colorful patterns. White is elegant and classic, but I’ve also used a variety of colors as well as printed origami paper. You can make these stars in a wide variety of sizes, depending on the length of the paper strips you use.
Swedish Star
You will need:
- 21 paper strips, each 7″ x ½”
- Glue stick
For the Swedish star featured below, I used Magicoo Star Origami Paper, available in precut strips, 1 cm x 24 cm (about ½” x 9½”). I cut these strips into 7″ lengths.
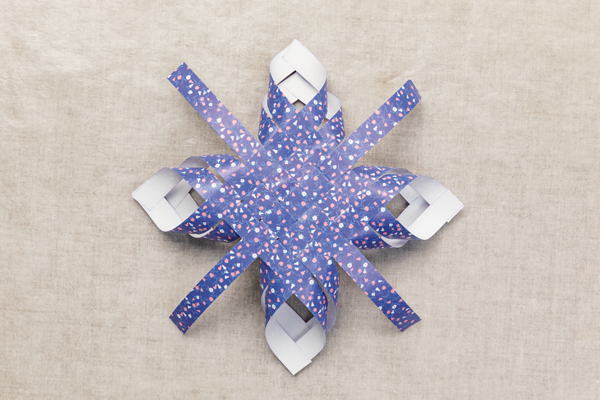
Weaving the Stars (make 2)
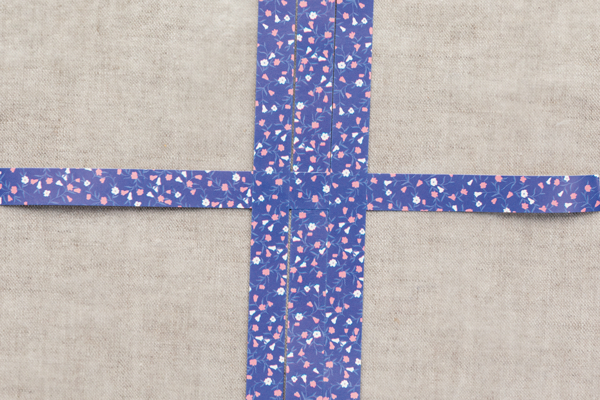
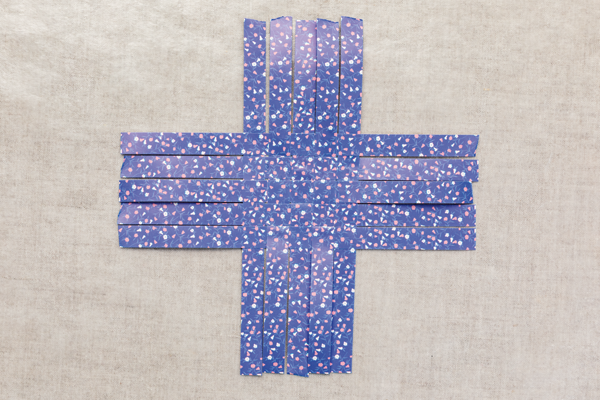
Step 1. With the first paper strip laid vertically on your work surface, find its center and put a dab of glue on it. Find the center of a second strip and place it on top of the first strip and at a right angle to it, gluing it in place.

Step 2. Lay down two more vertical strips, one on each side of and parallel to the first, positioning them over the first horizontal strip. Glue them in place. Take care to butt the corner joins exactly.
Step 3. Weave and glue a strip above and below the first horizontal, keeping edges butted tightly as before. Note that these will each go over the two outer vertical strips and under the center one. Add a dab of glue to the center verticals as well.
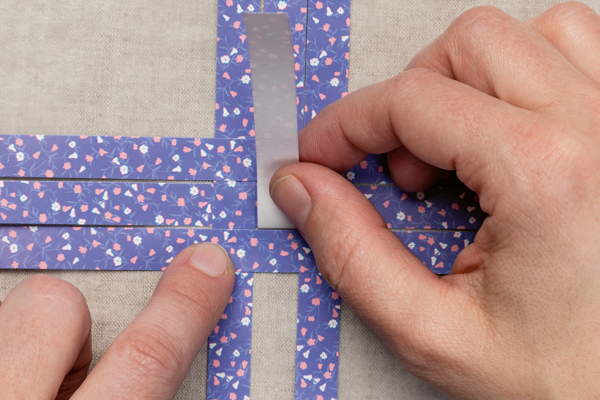
Step 4. Weave in four more strips in the same way, one on each side of the three verticals and one on each side of the three horizontals.
Step 5. Working at a corner, roll one strip from each side of the corner to the back, and overlap the ends of the strips at right angles as shown. Use a dab of glue to hold the ends in place.

Step 6. Repeat step 5 using the next two strips at the same corner.
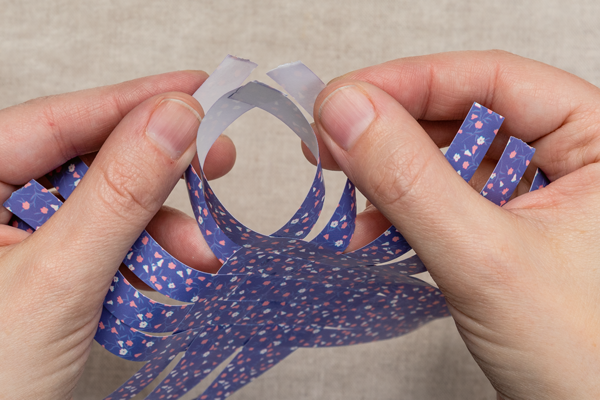
Step 7. Repeat steps 5 and 6 at each corner.
Joining the Two Stars
Step 8. With wrong sides facing, position the two stars so that the center squares are offset.
Step 9. Draw each remaining strip (the center strips) through to the tip of the other star, and glue it to both layers of corner strips.
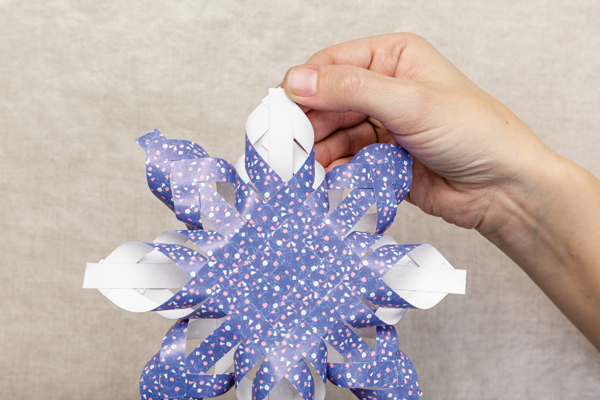
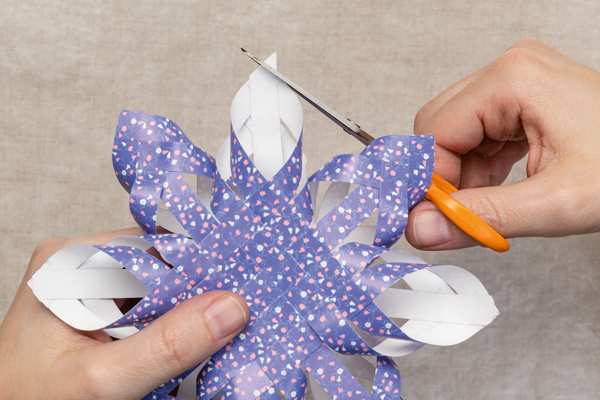
Step 10. Trim each tip to make a point.
Step 11: To create a hanger, glue the remaining strip into a loop and glue that inside one of the star points.

Text and photos excerpted from The Weaving Explorer © 2019 by Deborah Jarchow and Gwen W. Steege. Step-by-step photos by Mars Vilaubi. All rights reserved.