How to Wrap a Book without Tape
Discover how the presentation of a gift can carry meaning beyond the gift itself with this step-by-step excerpt for wrapping a book with gratitude, creativity, and care from The Soul of Gift Wrapping.
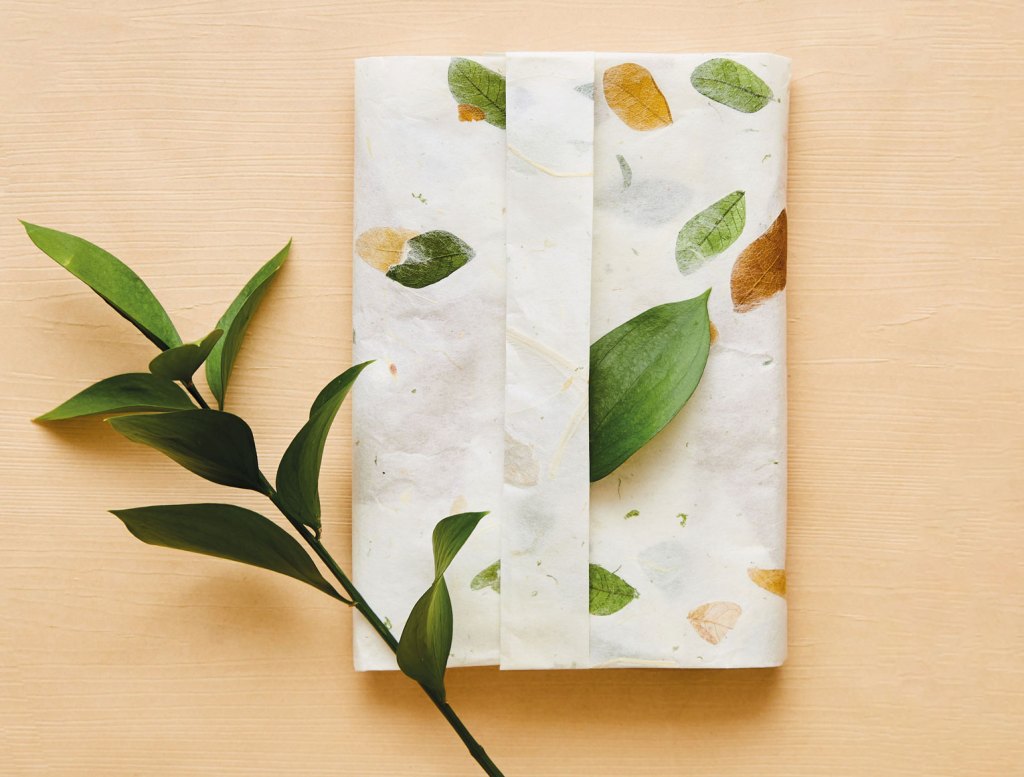
I originally designed this style as a wrap for books and shallow boxes, but it works equally well for all box sizes, square and rectangular. It has become my all-around favorite tapeless wrapping method. I’m particularly fond of how it easily unwraps—like an unveiling—giving books, especially, a pleasurable reveal. Books are one of my favorite things to give and to wrap; I feel grateful to the authors who share their stories, creative skills, and perspectives, which I can then gift to others.
WHAT YOU NEED
- A sheet of paper to fit the gift
- Scissors
HOW TO MEASURE PAPER FIT
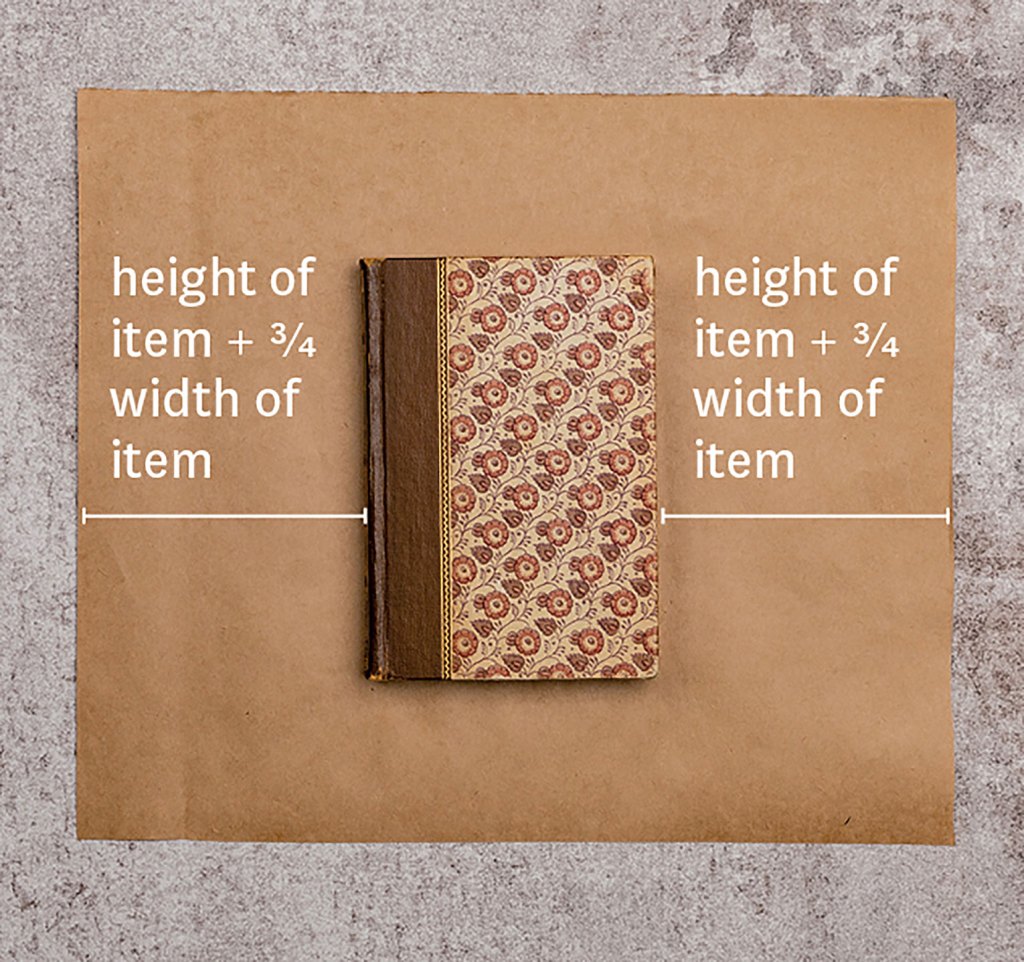
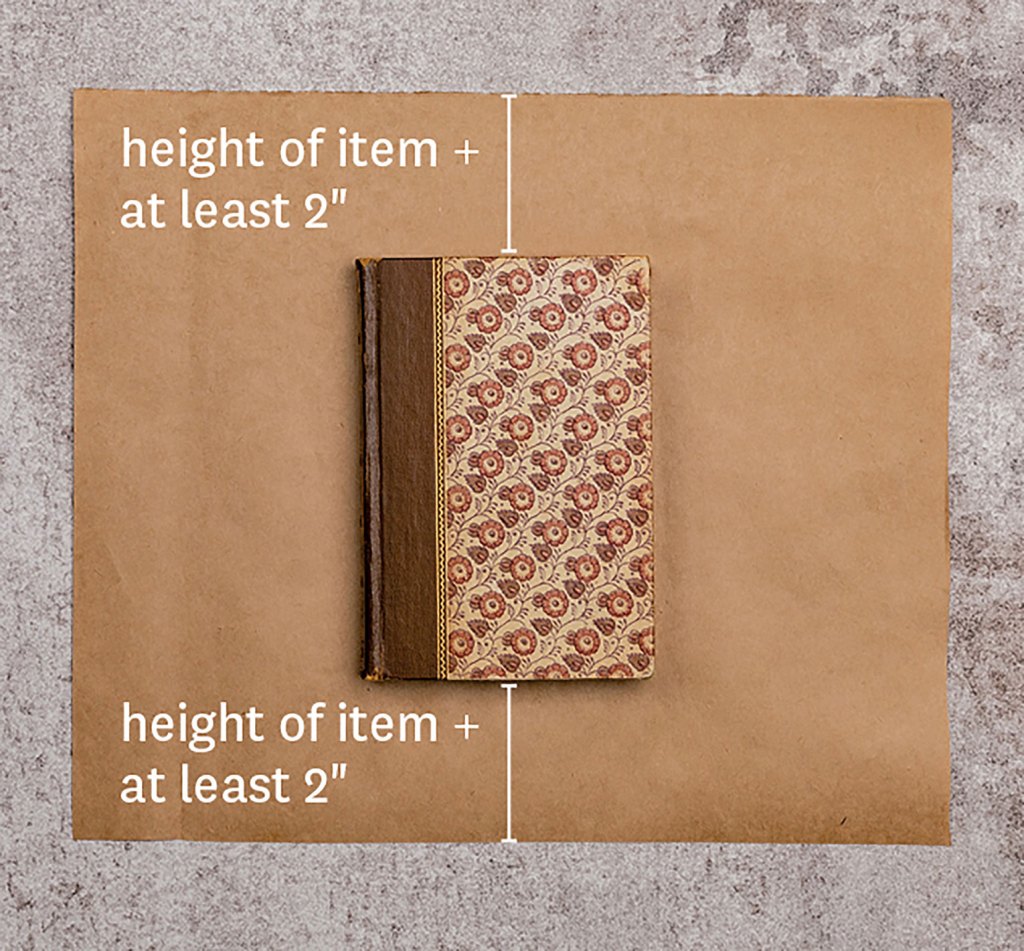
HOW TO WRAP
1. With the design side of the paper facing up (if your paper has a design), fold the right edge approximately ½” along the full length of the paper. Repeat to create a double fold.
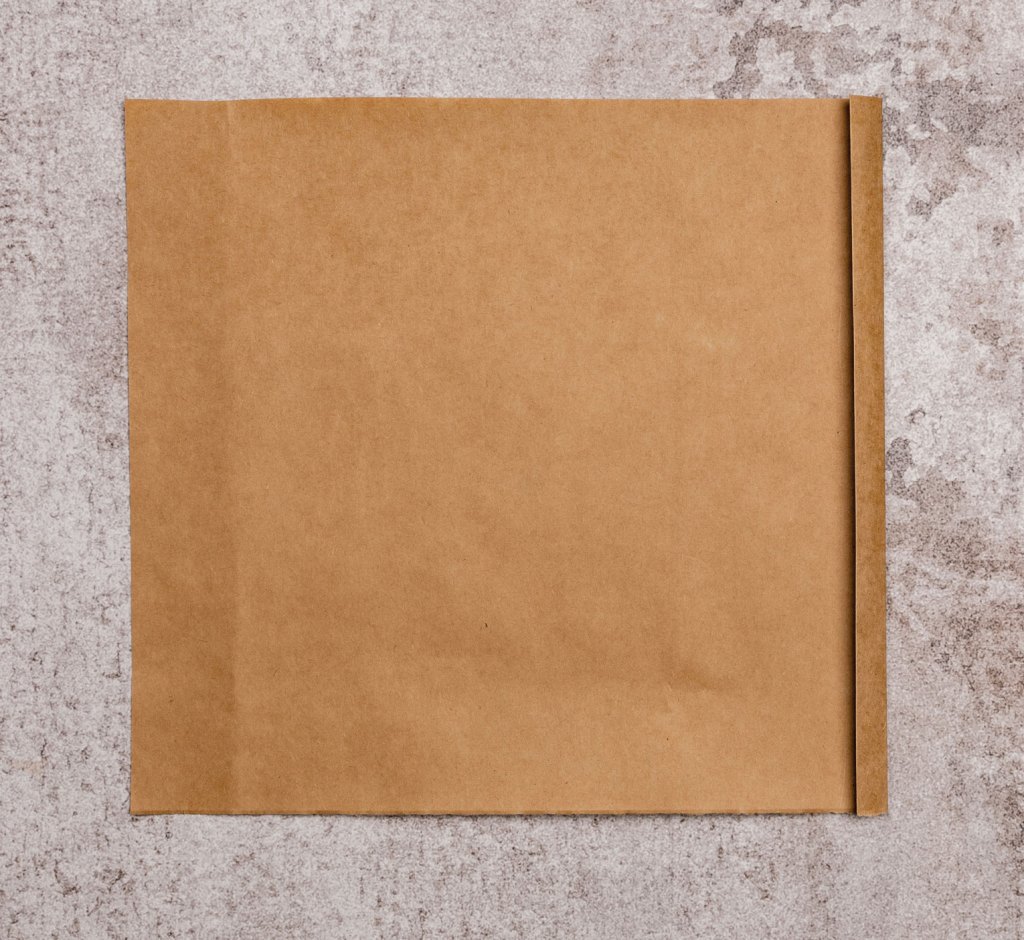
2. Turn the paper over so that the double fold is facedown on the right side. Mark or crease the point at which the paper folds around the top and base of the book or box.
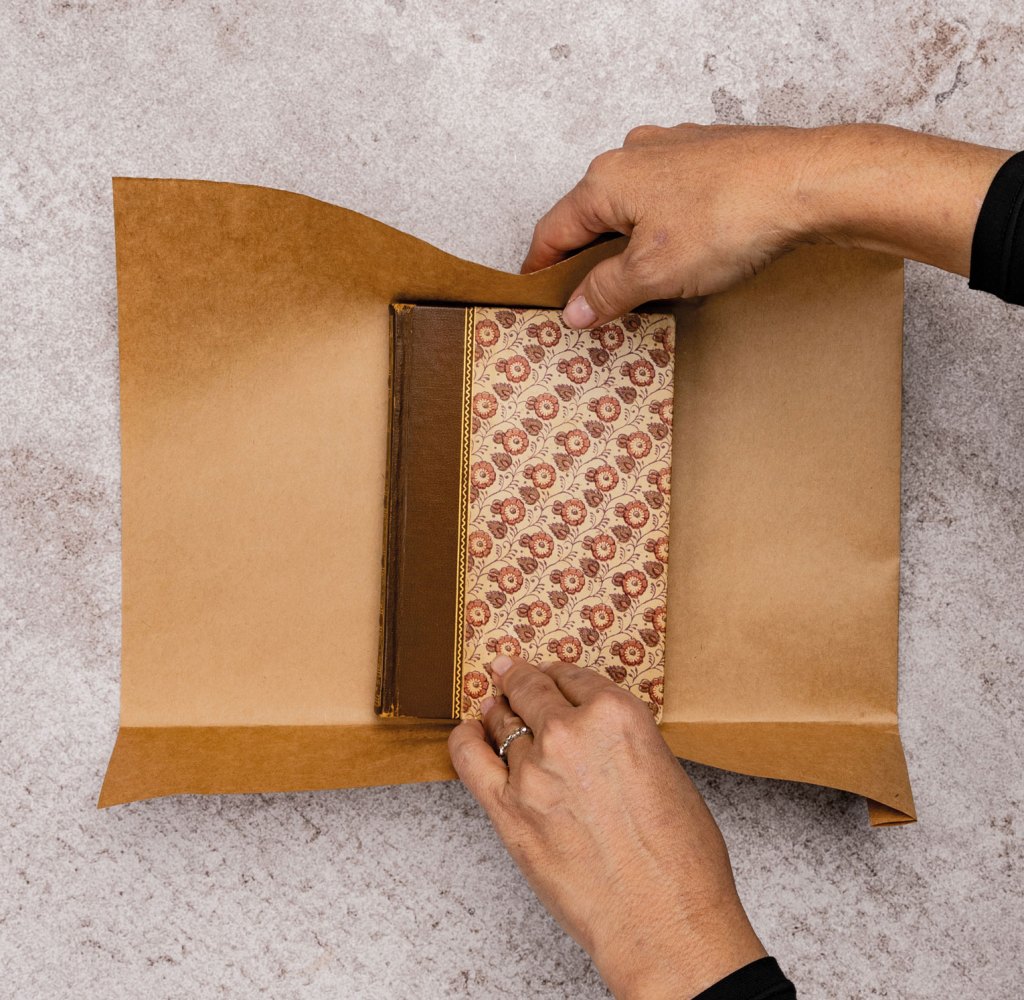
3. Using these marks, strongly crease the top and bottom of the paper to match the length of the item. Place the item inside the top and bottom flaps, aligning it to fit within the crease lines. Turn the package so the left side is on top.
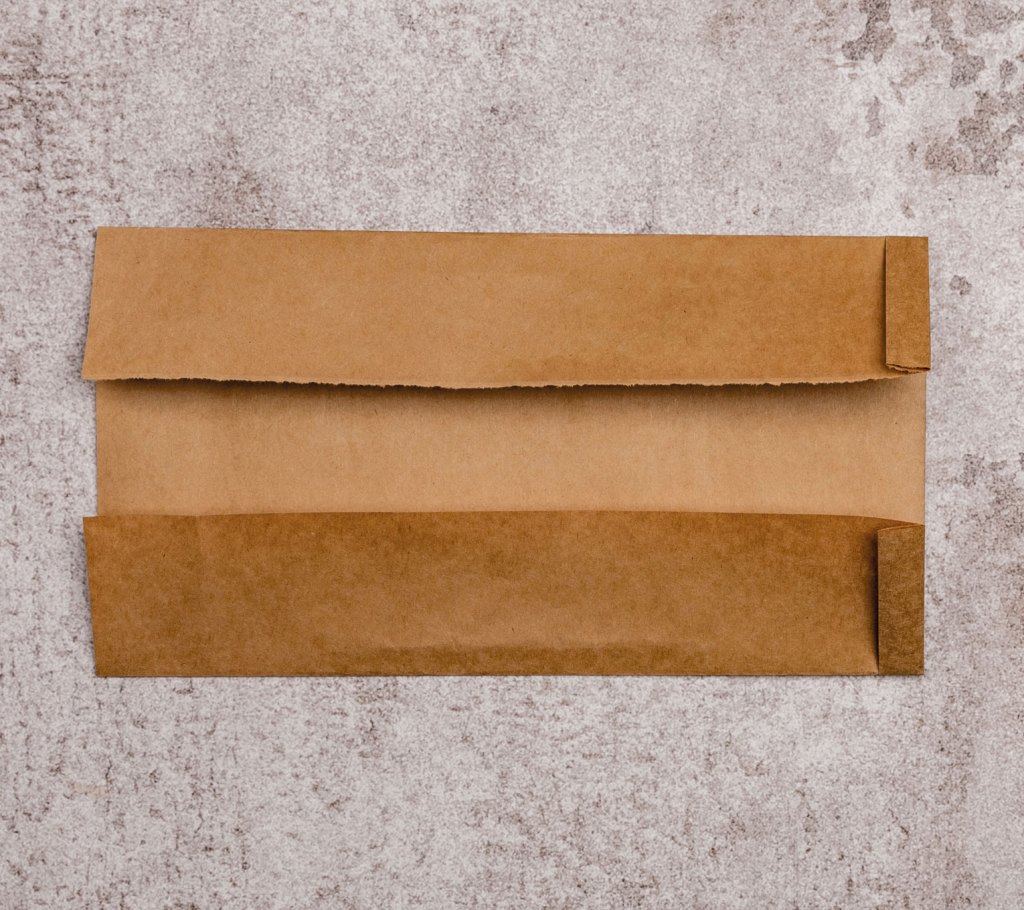
4. Pinch the paper at the top corners of the item at an angle, creating triangle shapes. The top flap will lift slightly, guiding you to the next step.

5. Fold the flap over the item and then repeat step 4 on the opposite side.
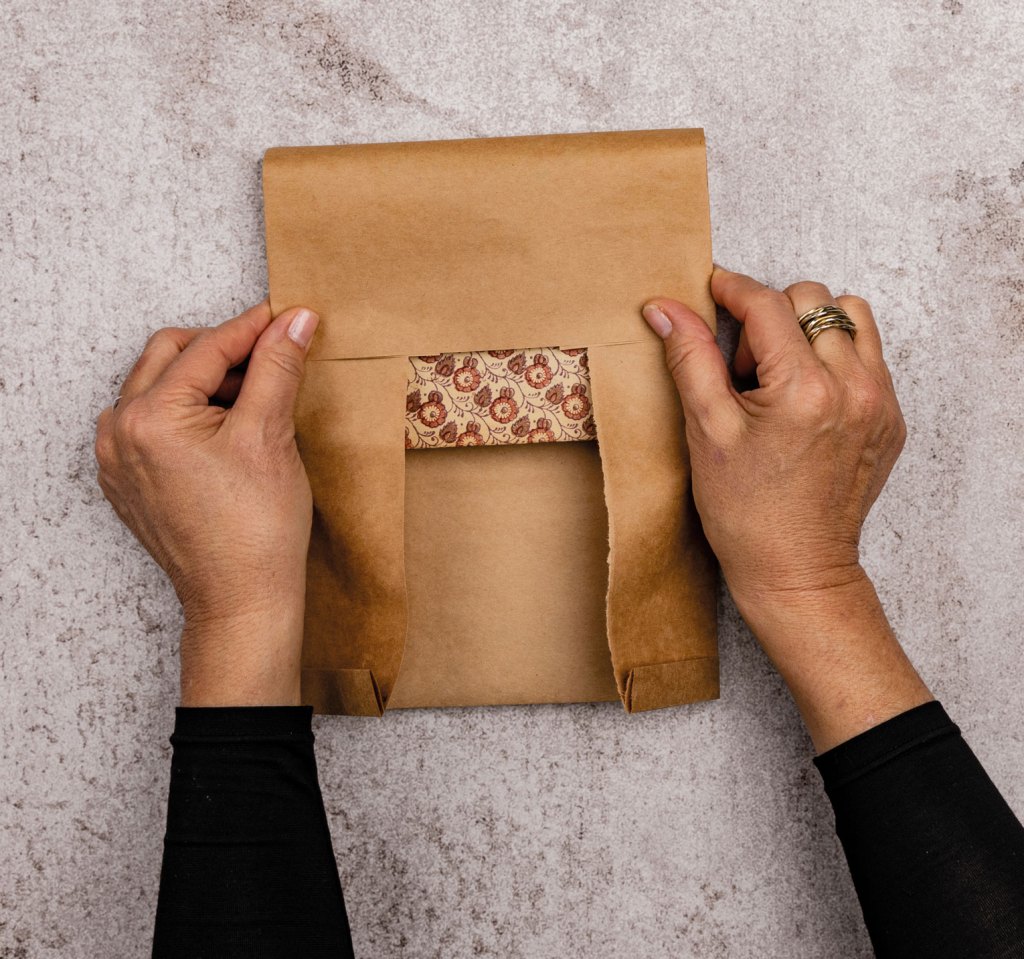
6. Insert the unfolded flap into the folded flap. Sharpen the creases at all edges for a clean, finished look.
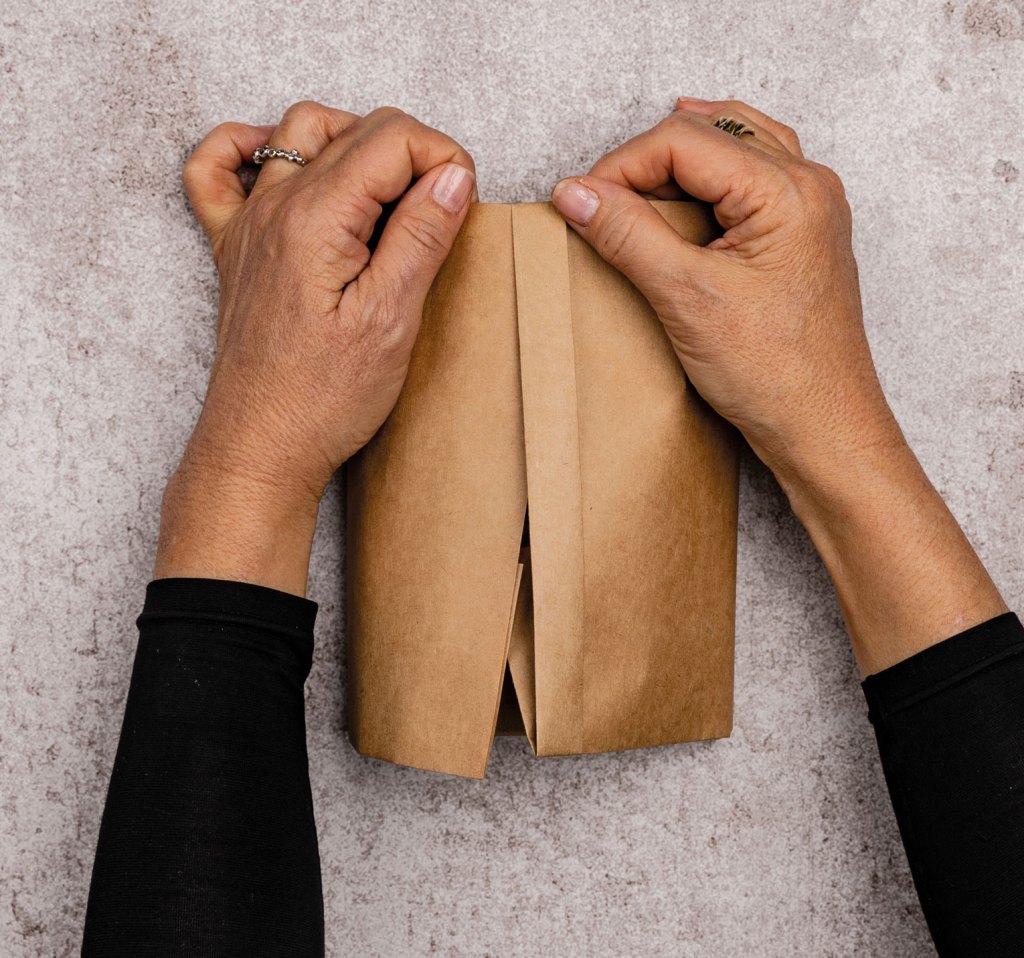
Variations:
Step 1 offers room for a lot of creative variation. The downward vertical fold is what will be visible on the front of the package. Try:
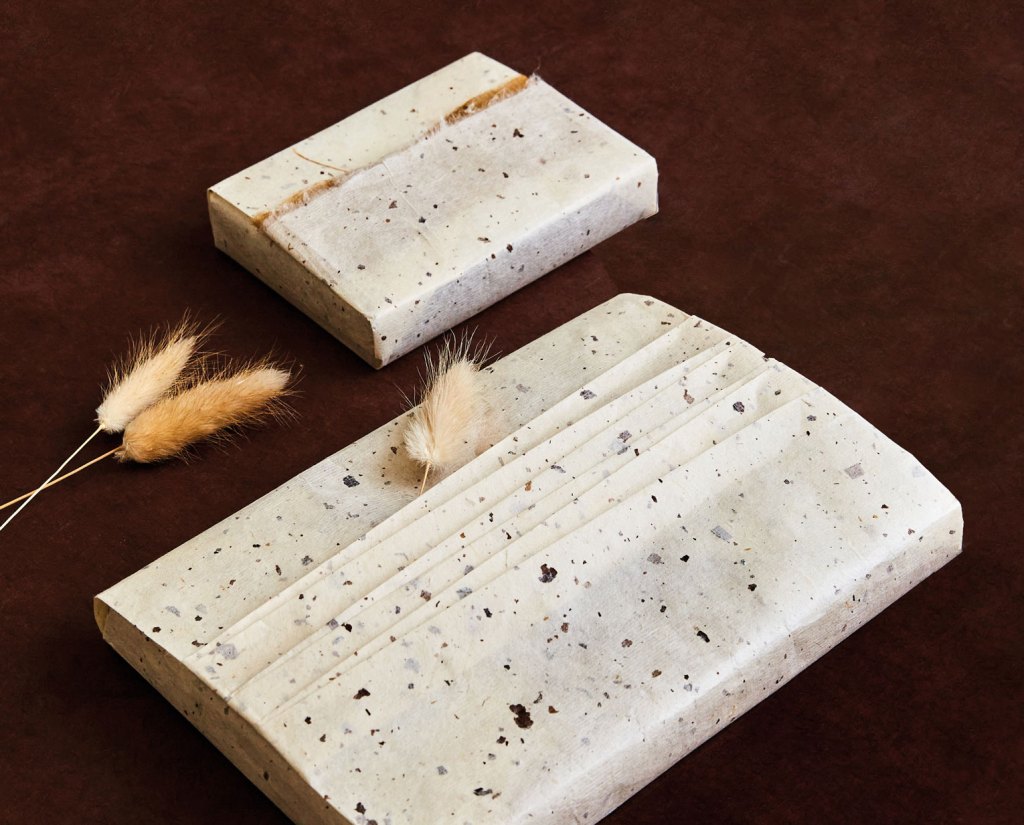
- Tearing the paper’s edge
- Pleating the edge (note that you need to add width to the paper if pleating)
- Shaping the edge with scalloped, serrated, or other craft scissors
Excerpted and adapted from The Soul of Gift Wrapping © by Megumi Lorna Inouye.

Transform a simple package into a beautiful gift with simple, tape-free wrapping designs for any occasion.
“A mindful option that takes back the commercialism in gift giving and makes it a personal experience again.” —Library Journal, starred review
Origami Gift Wrap offers a new approach to gift wrapping, with easy, elegant wrapping techniques designed to accommodate every gift. With clear step-by-step photos and a variety of wrapping techniques—from folded boxes to fabric wraps—artist Megumi Inouye’s approach to wrapping transforms a simple gift into an act of care and intention.
Whether you’re wrapping a last-minute host gift or endless holiday presents, the beautiful designs transform recycled and repurposed materials into stunning gift wrappings that are sure to delight.
From simple folded gift wraps for everyday presents to more elaborate bows and tags for special keepsakes, you’ll find techniques for every occasion.
“In this moving and gorgeous book, Megumi Lorna Inouye shares ideas and instructions for wrapping gifts and expressing appreciation of others in more beautiful and sustainable ways. I came away feeling inspired to live more intentionally, connect more deeply with the world around me, and give more freely from my own heart.” —Karen Olson, editor in chief of American Craft