Promotion
Sign up for our newsletter to get 20% off sitewide!

By clicking “Accept,” you agree to the use of cookies and similar technologies on your device as set forth in our Cookie Policy and our Privacy Policy. Please note that certain cookies are essential for this website to function properly and do not require user consent to be deployed.
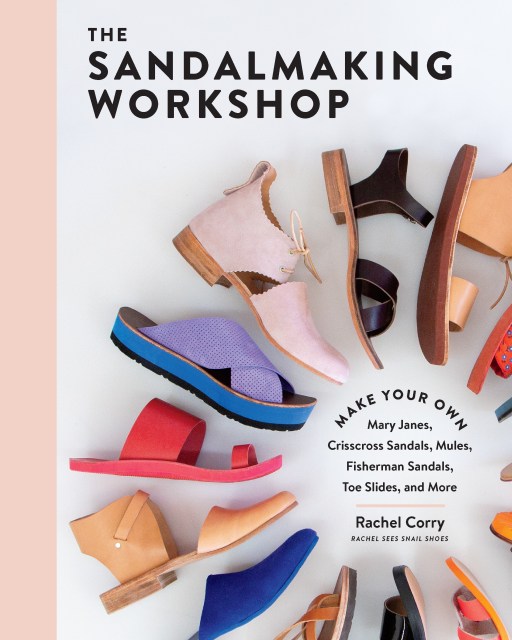
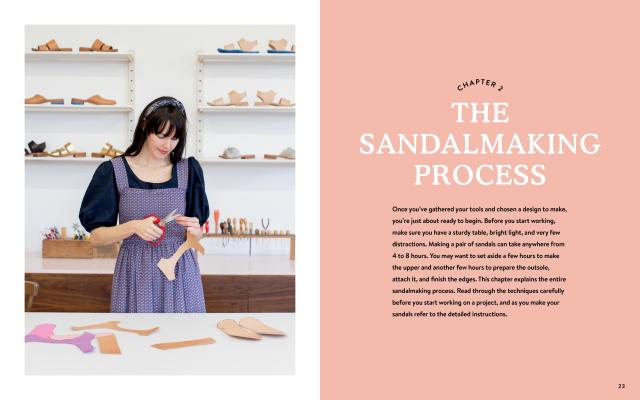
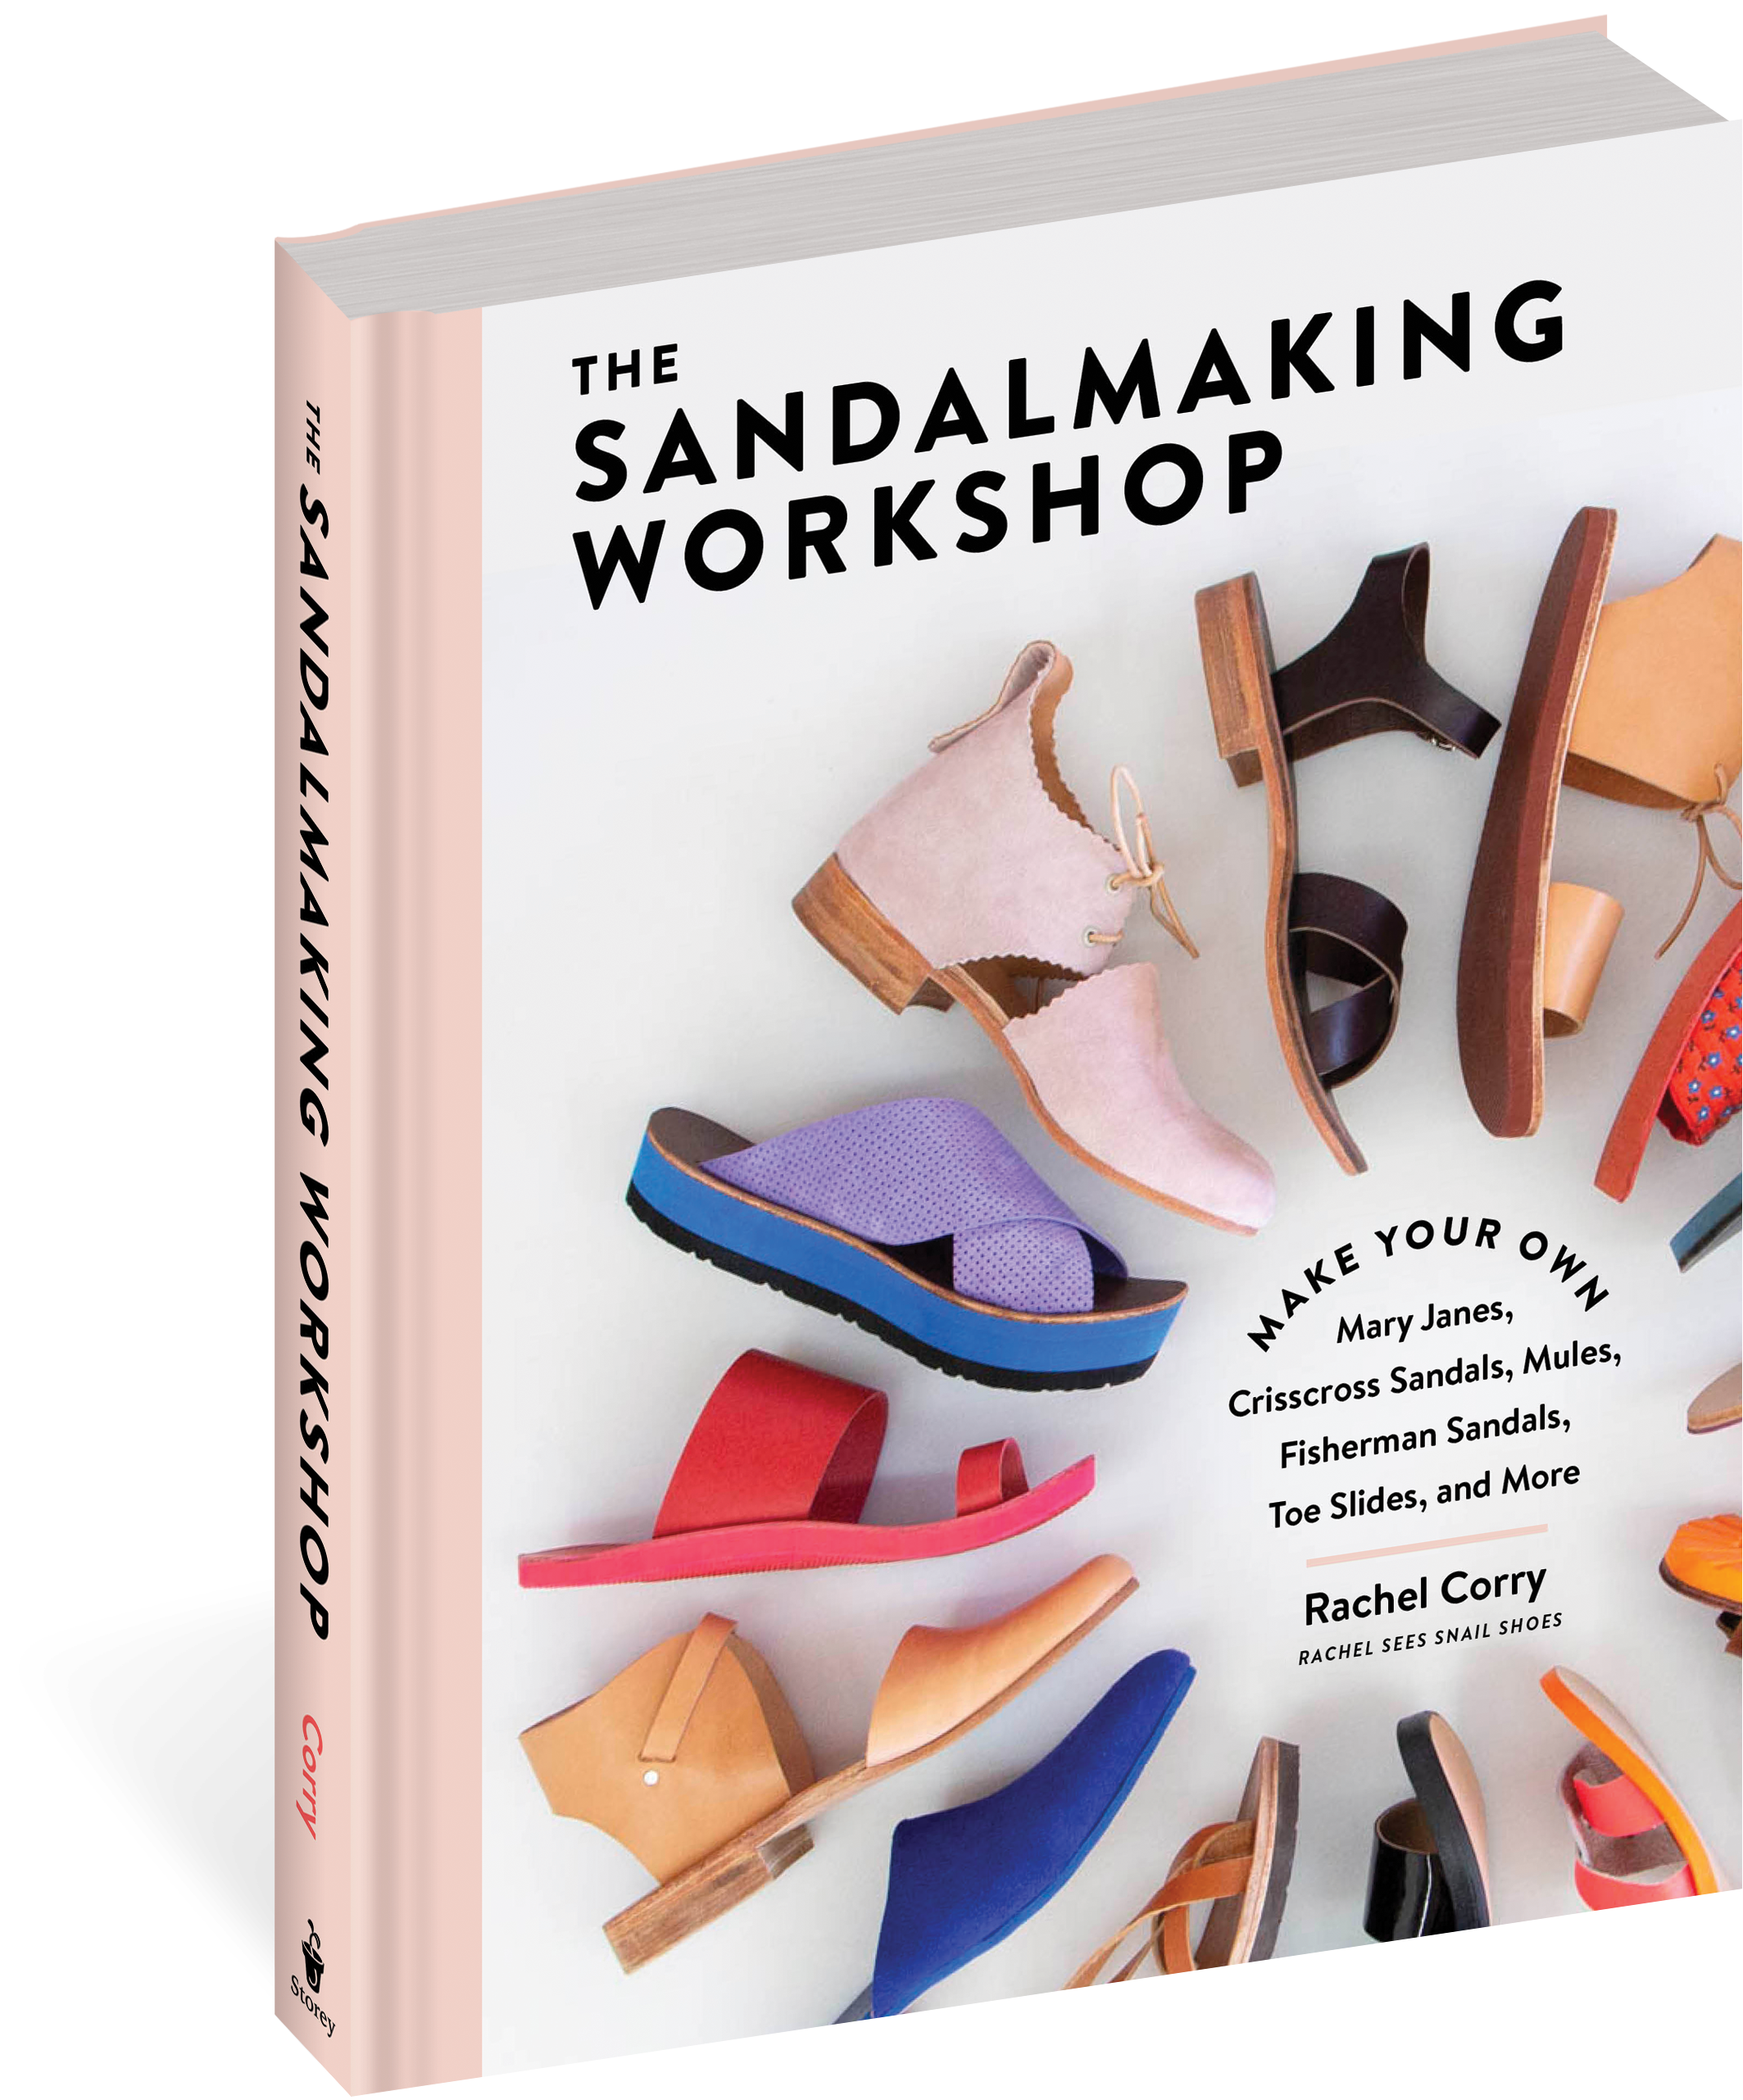
The Sandalmaking Workshop
Make Your Own Mary Janes, Crisscross Sandals, Mules, Fisherman Sandals, Toe Slides, and More


Contributors
By Rachel Corry
Formats and Prices
- On Sale
- Apr 13, 2021
- Page Count
- 208 pages
- Publisher
- Storey
- ISBN-13
- 9781635862355
Price
$30.00Price
$39.00 CADFormat
Format:
- Hardcover $30.00 $39.00 CAD
- ebook $14.99 $19.99 CAD
This item is a preorder. Your payment method will be charged immediately, and the product is expected to ship on or around April 13, 2021. This date is subject to change due to shipping delays beyond our control.
Buy from Other Retailers:
Genre:
-
"I absolutely love this book and its personal, approachable style. Rachel shares her passion for simple and accessible shoemaking beautifully."
— Amanda Overs, Founder of I Can Make Shoes
“A beautiful and modern take on an ancient craft. Corry's book puts the art of making shoes at your fingertips.”
— Anna Joyce, Author of Hand Dyed and Stamp Stencil Paint
“Rachel Corry is gifted, and her playful vision turns the concept of sandalmaking into a reality!”
— Emily Katz, Author of Modern Macramé
"A delightful introduction to the world of shoemaking! Rachel's love of the craft shines through each page and her joyful teaching style beckons you to join in on all the fun."
— Laura Schoorl, Sandalmaker and Founder of Pansy.co