Promotion
Sign up for our newsletter to get 20% off sitewide!

By clicking “Accept,” you agree to the use of cookies and similar technologies on your device as set forth in our Cookie Policy and our Privacy Policy. Please note that certain cookies are essential for this website to function properly and do not require user consent to be deployed.
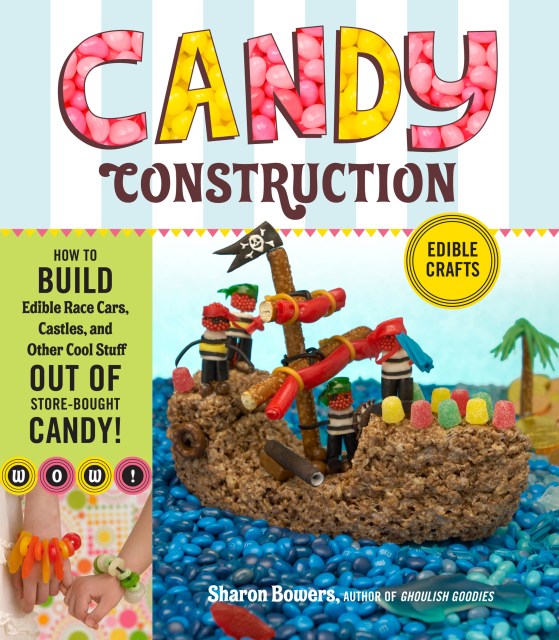
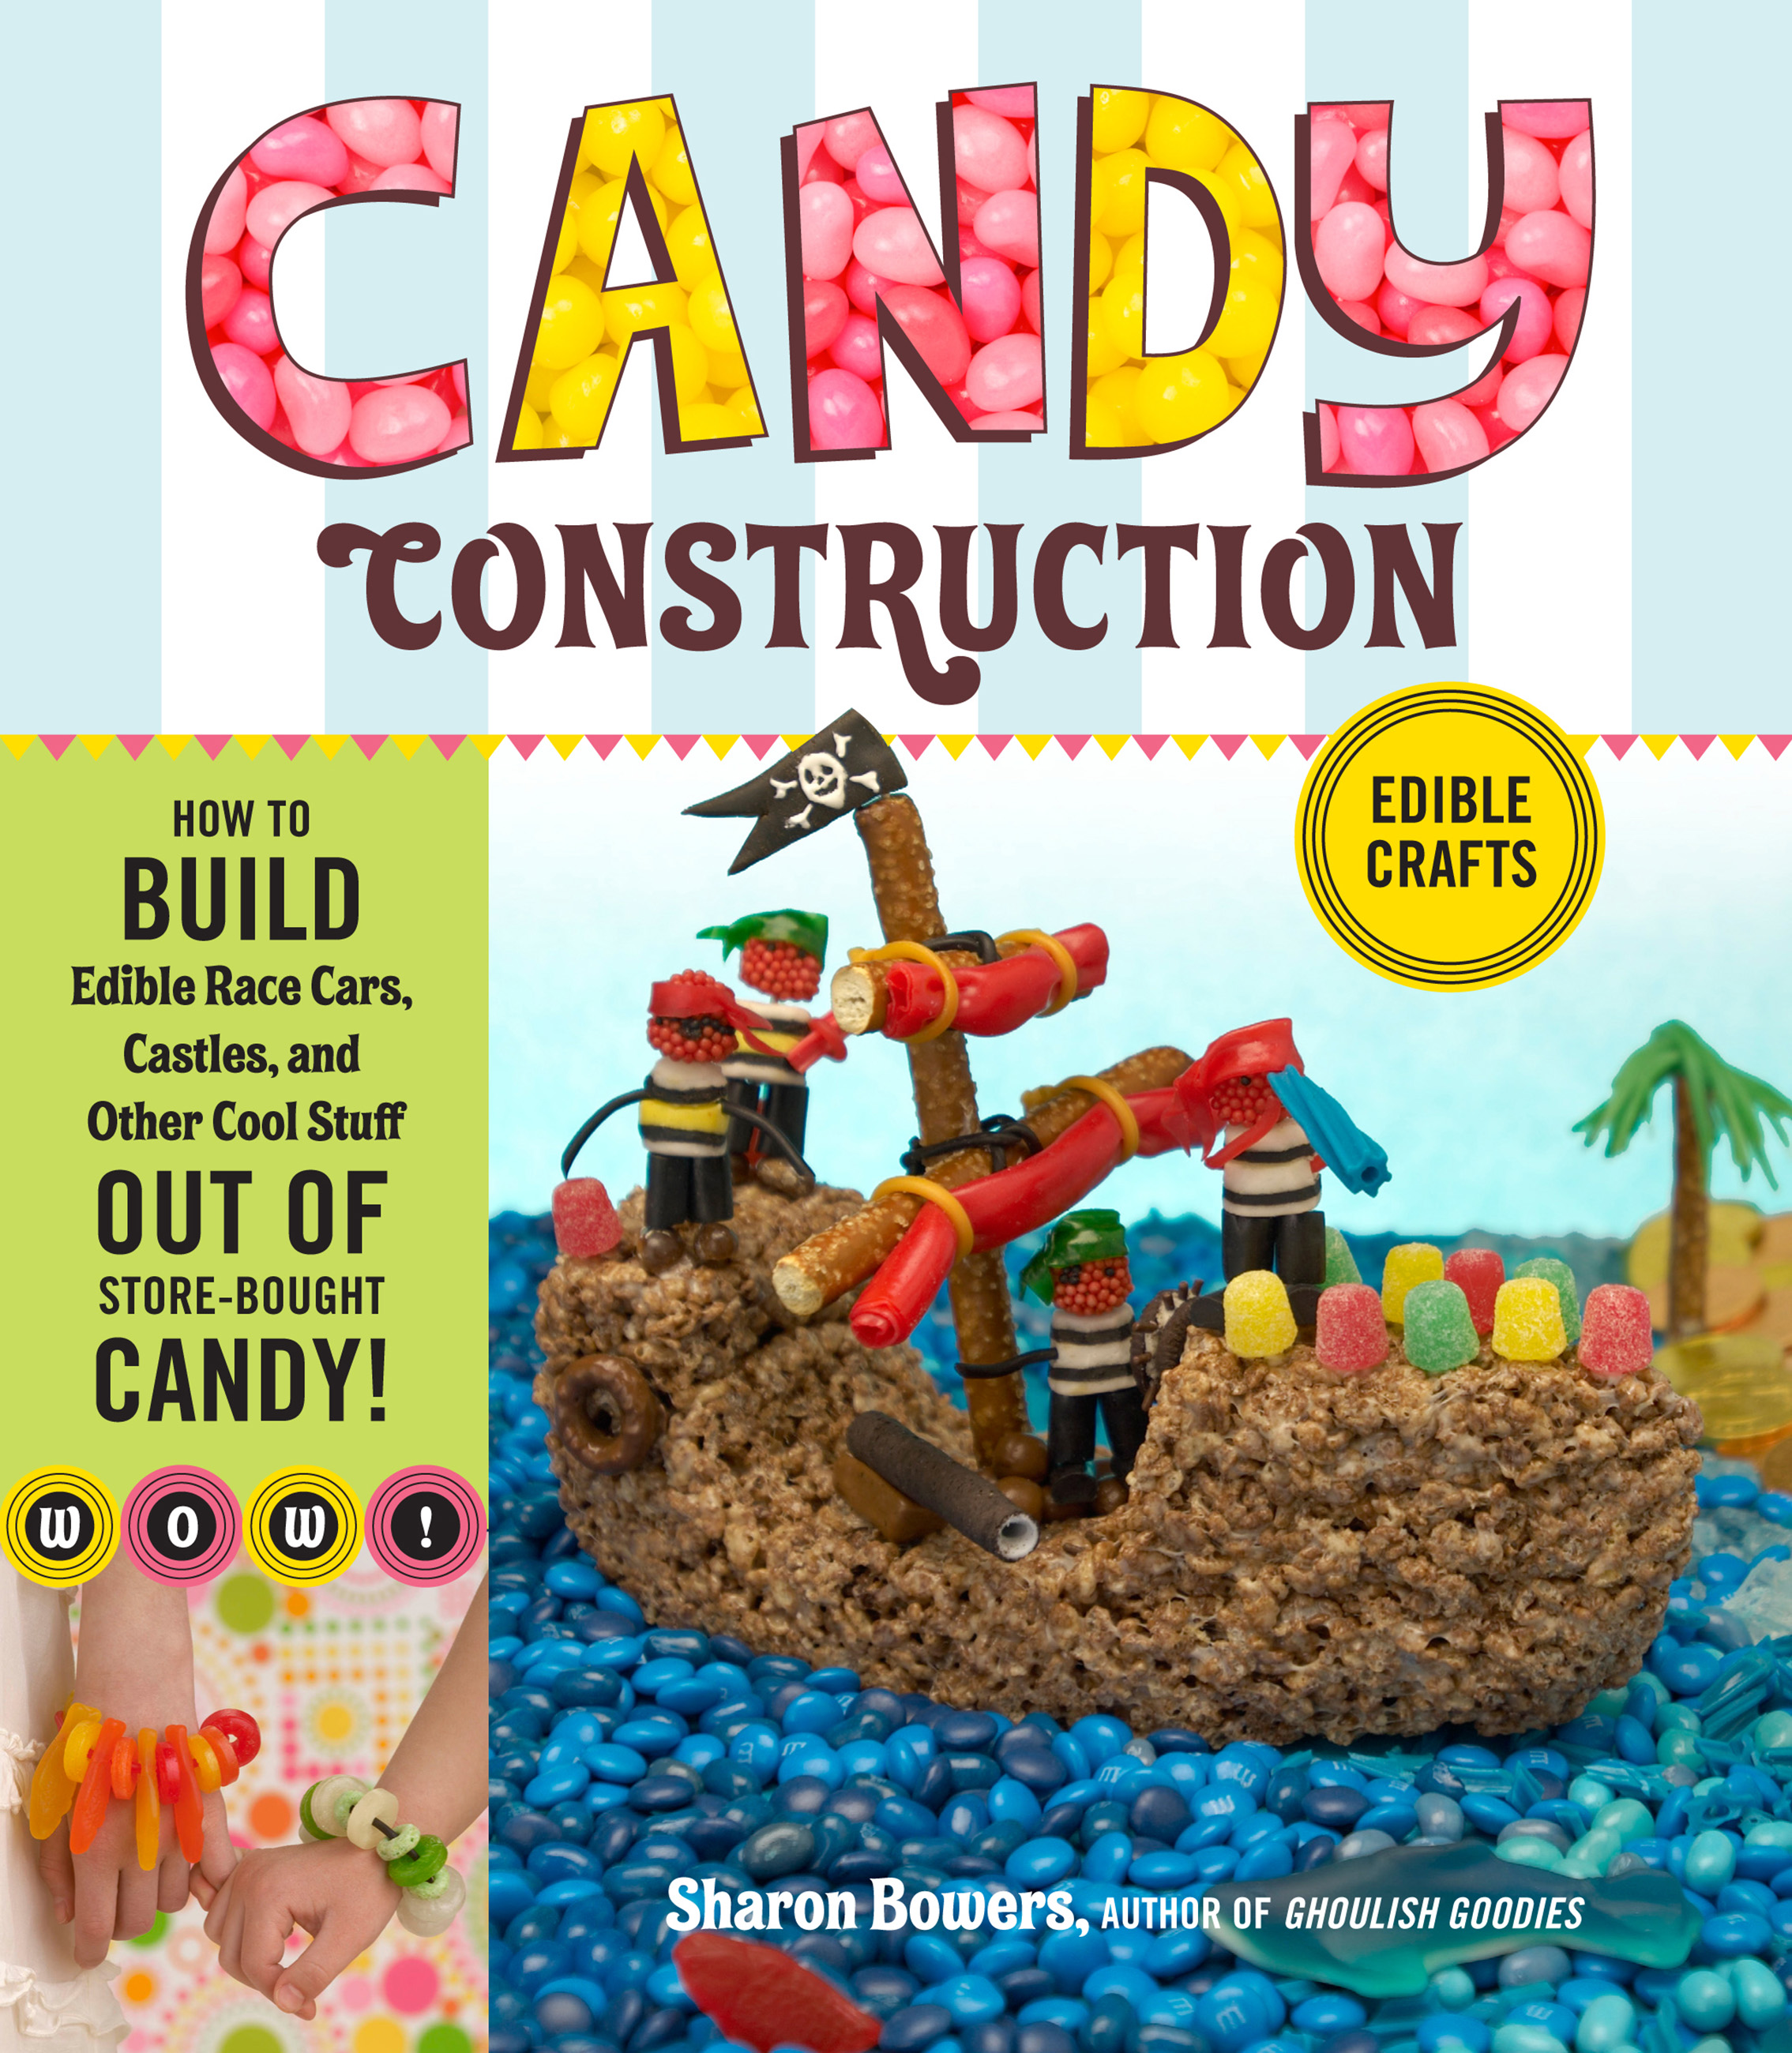
Candy Construction
How to Build Race Cars, Castles, and Other Cool Stuff out of Store-Bought Candy
Contributors
Formats and Prices
- On Sale
- Oct 8, 2010
- Page Count
- 144 pages
- Publisher
- Storey
- ISBN-13
- 9781603424455
Price
$9.99Price
$12.99 CADFormat
Format:
ebook $9.99 $12.99 CADThis item is a preorder. Your payment method will be charged immediately, and the product is expected to ship on or around October 8, 2010. This date is subject to change due to shipping delays beyond our control.
Buy from Other Retailers:
Build a candy fantasy! Use ordinary store-bought candy and cookies as the raw material for a brand-new kind of crafting, where castles are made with wafer-cookie walls and race cars have Oreos for wheels. Sharon Bowers provides step-by-step instructions for dozens of whimsical and fun projects that will have you seeing candy in a whole new way. From licorice pirates and centipedes made from Life Savers to marshmallow aliens and candy bento boxes, the sweet possibilities are endless.
Genre:
-
...plenty of fabulous ideas using all kinds of colorful sweet treats.