Promotion
Sign up for our newsletter to get 20% off sitewide!

By clicking “Accept,” you agree to the use of cookies and similar technologies on your device as set forth in our Cookie Policy and our Privacy Policy. Please note that certain cookies are essential for this website to function properly and do not require user consent to be deployed.
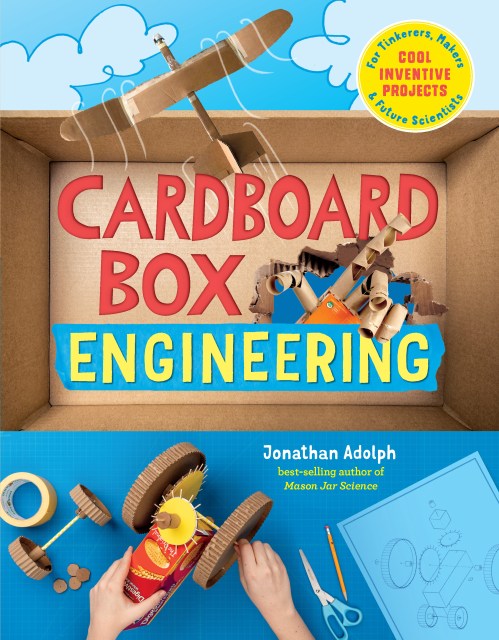
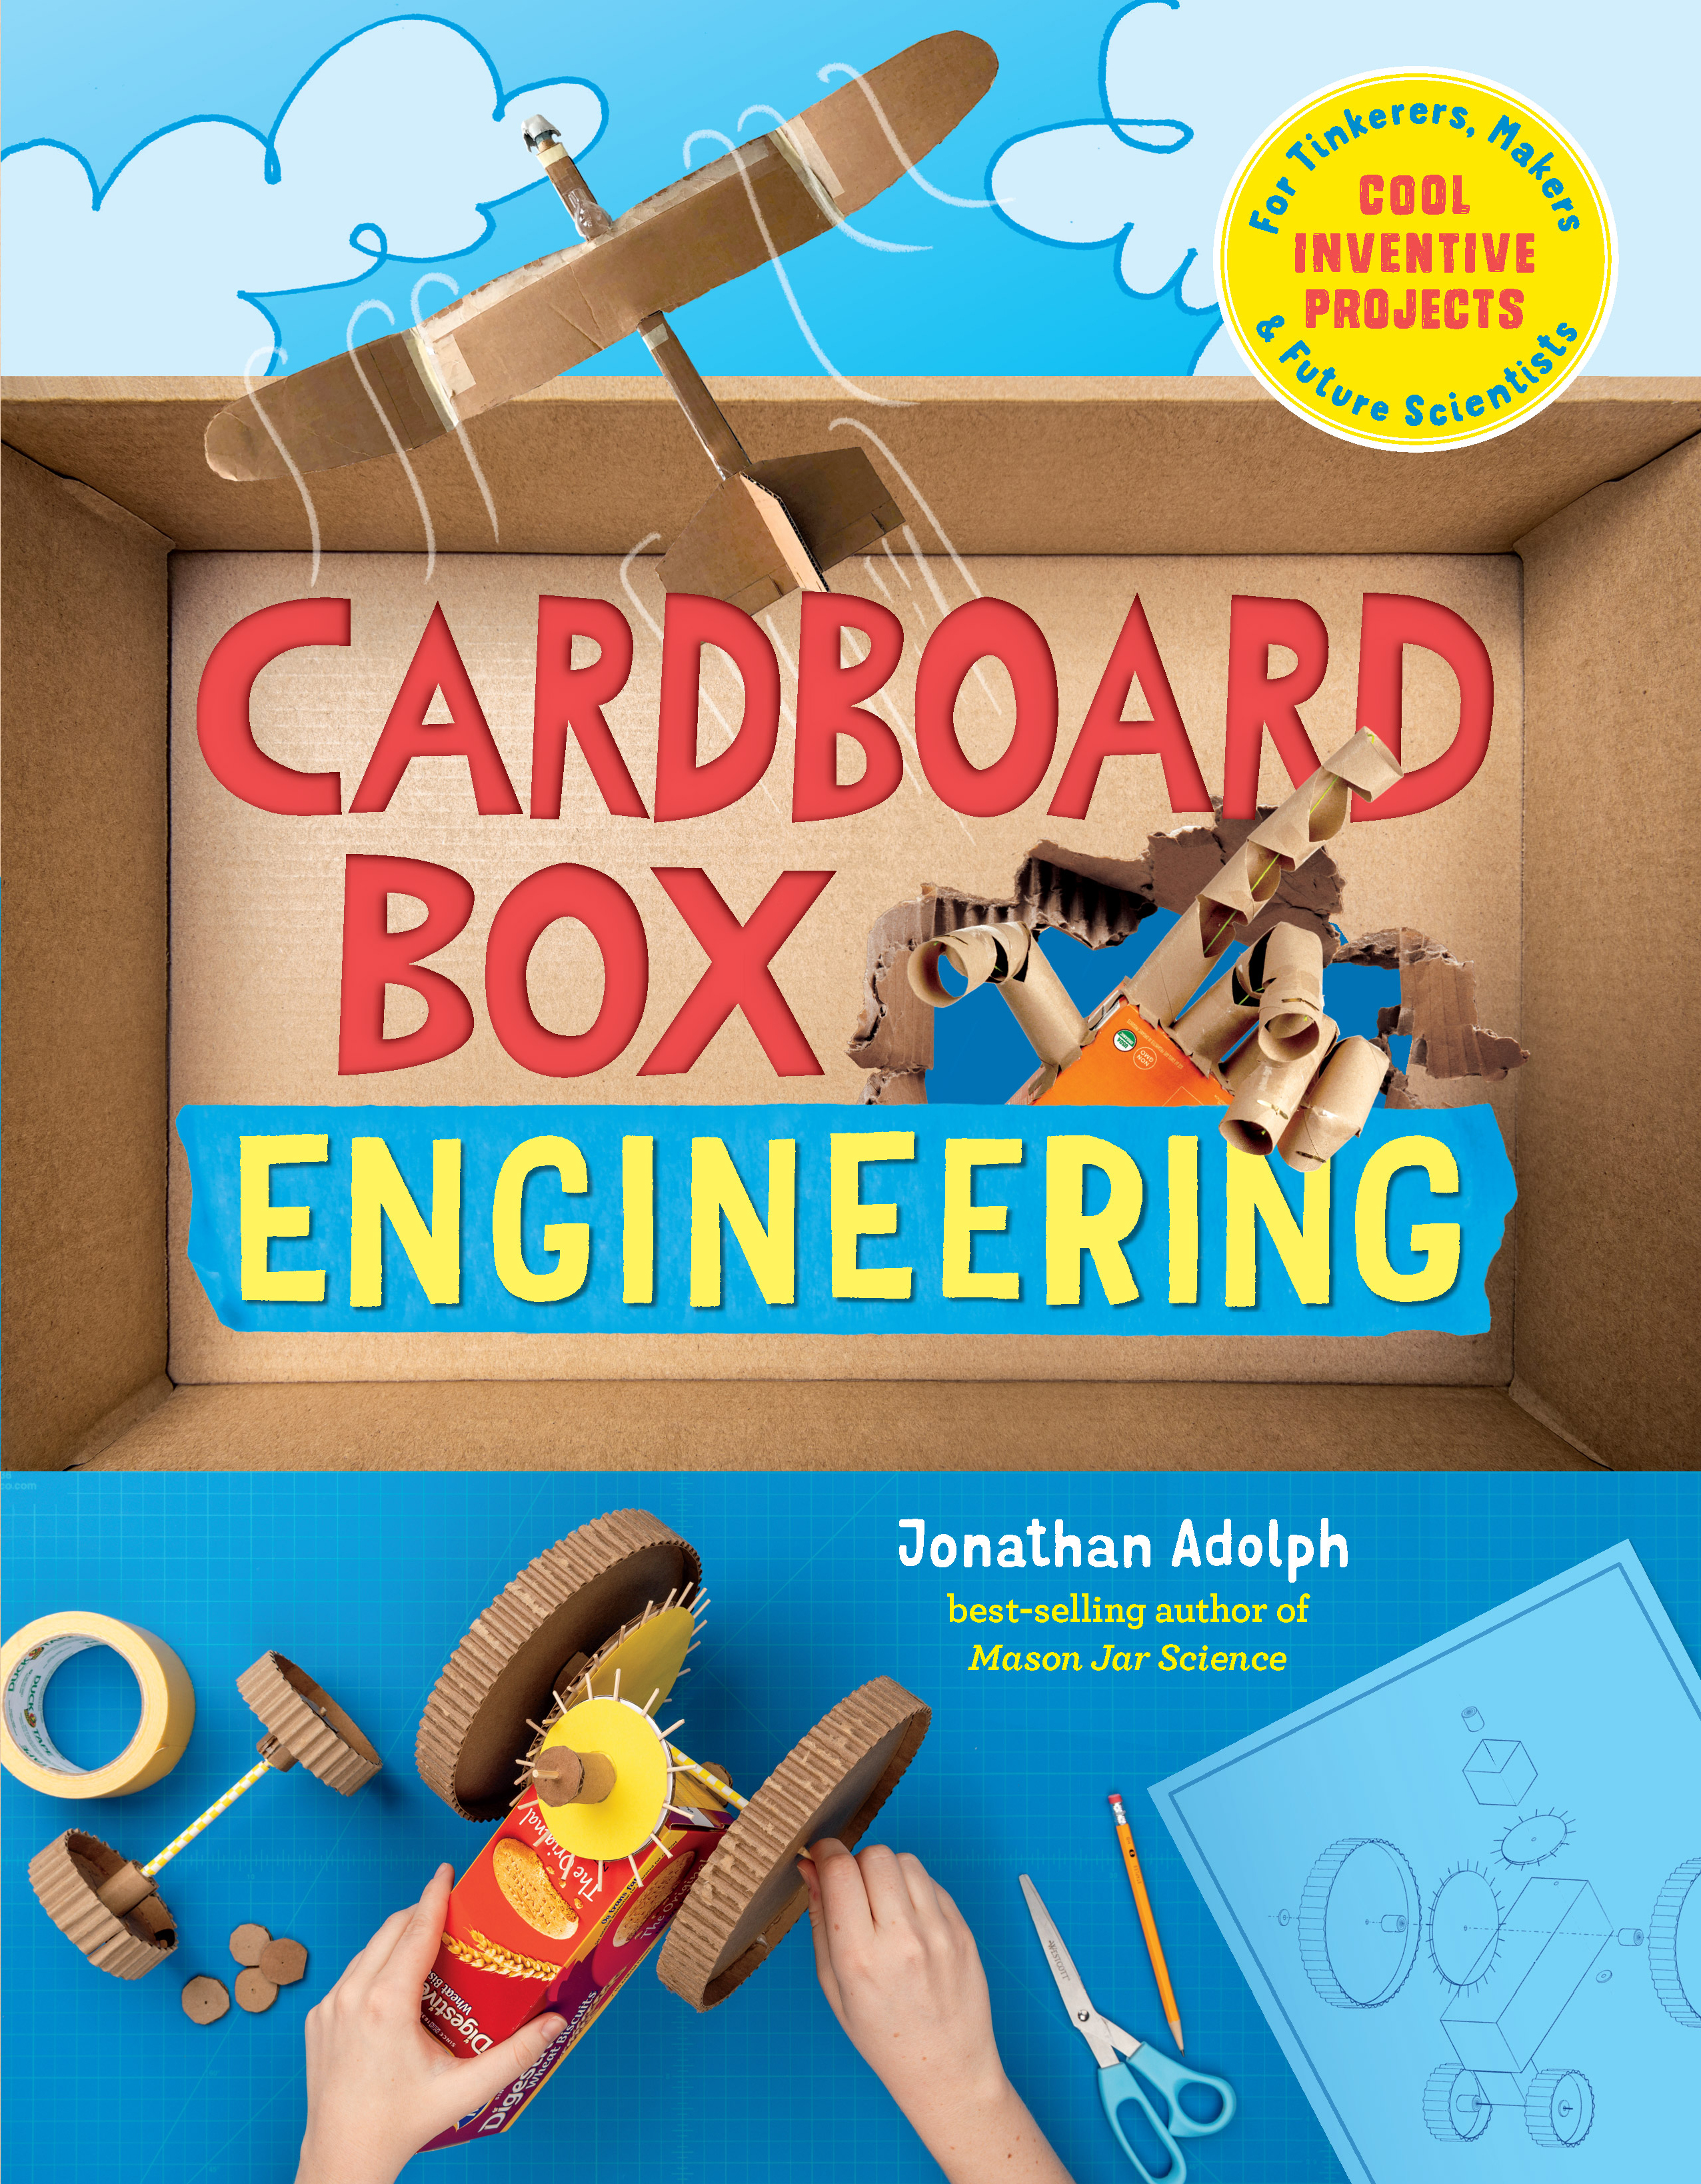
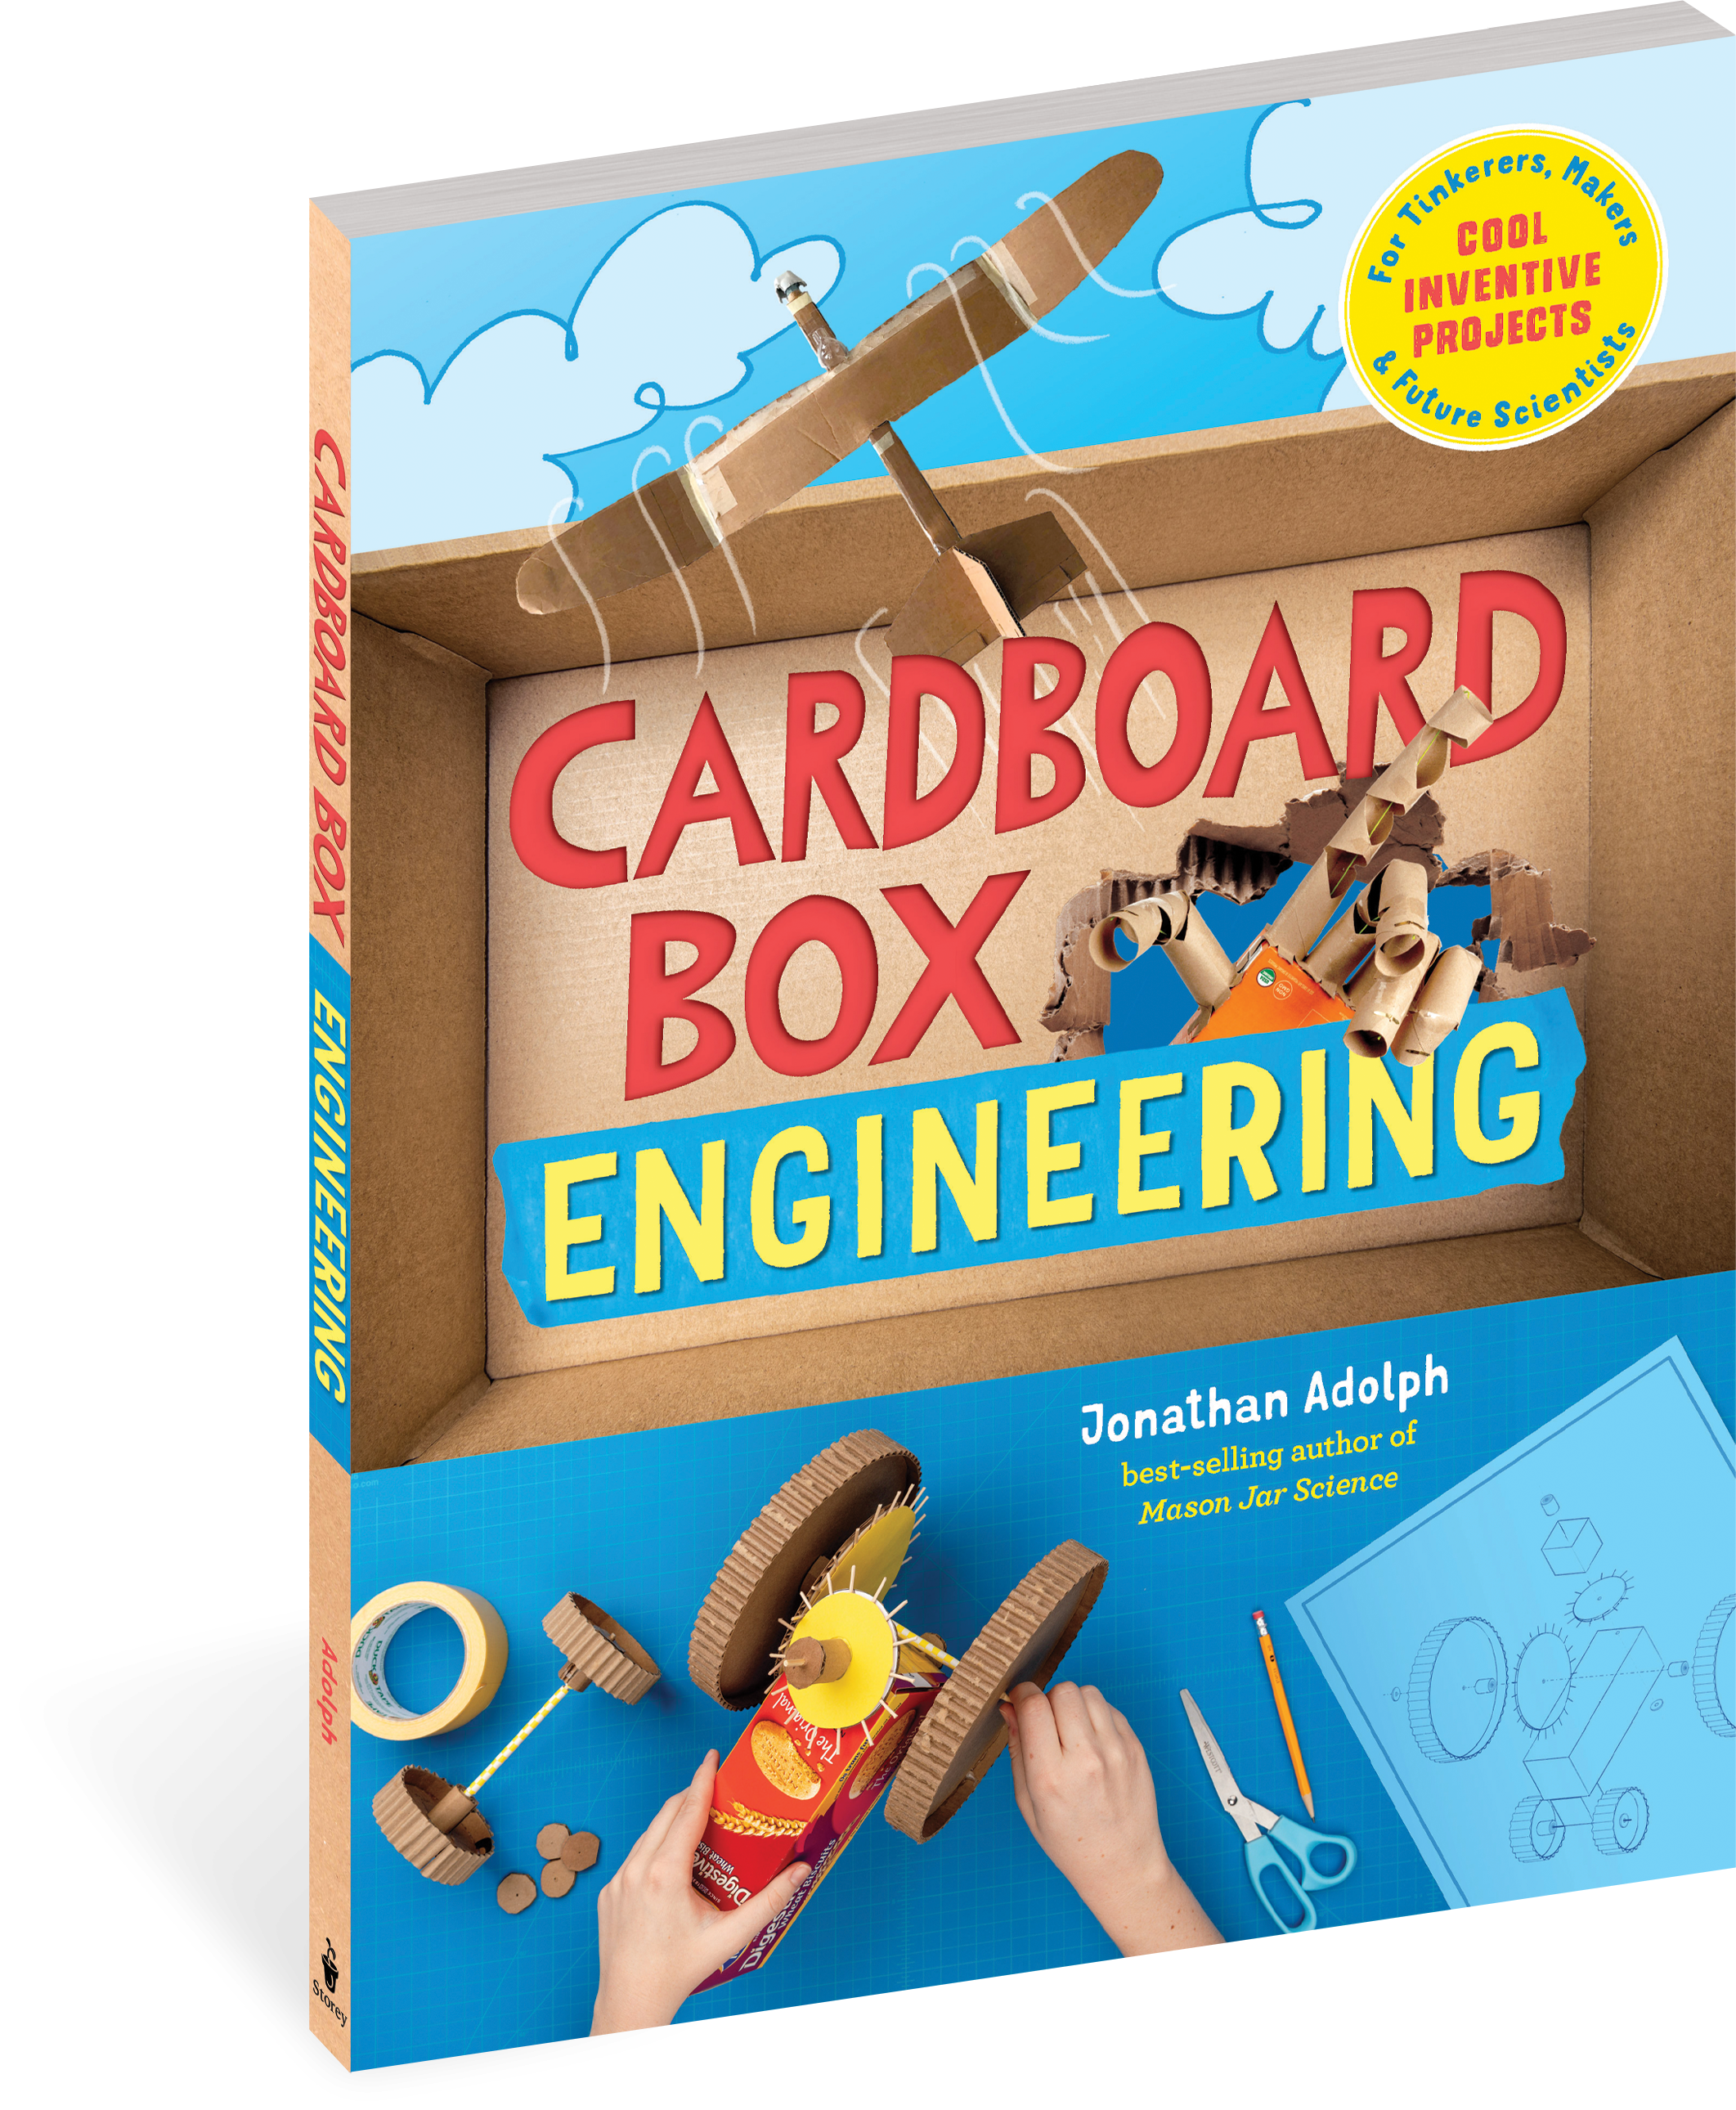
Cardboard Box Engineering
Cool, Inventive Projects for Tinkerers, Makers & Future Scientists


Contributors
Formats and Prices
- On Sale
- Oct 27, 2020
- Page Count
- 176 pages
- Publisher
- Storey
- ISBN-13
- 9781635862140
- Age Range
- 9–14
Price
$18.99Price
$24.99 CADFormat
Format:
- Trade Paperback $18.99 $24.99 CAD
- ebook $11.99 $15.99 CAD
- Hardcover $27.99 $36.99 CAD
This item is a preorder. Your payment method will be charged immediately, and the product is expected to ship on or around October 27, 2020. This date is subject to change due to shipping delays beyond our control.
Buy from Other Retailers:
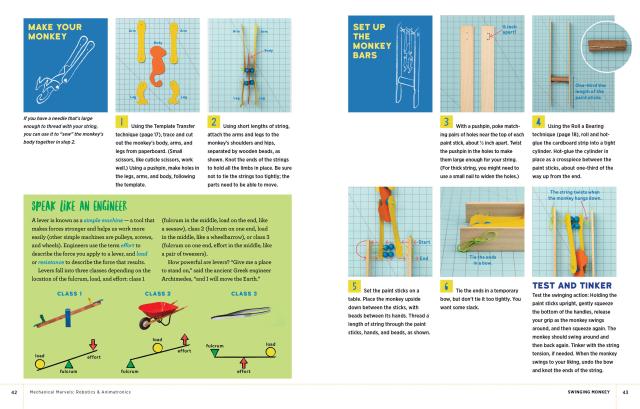
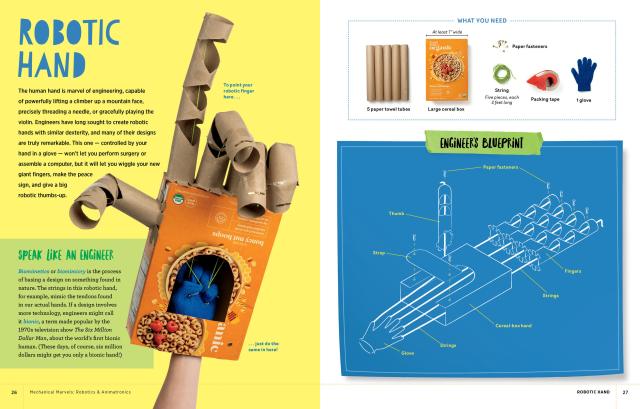
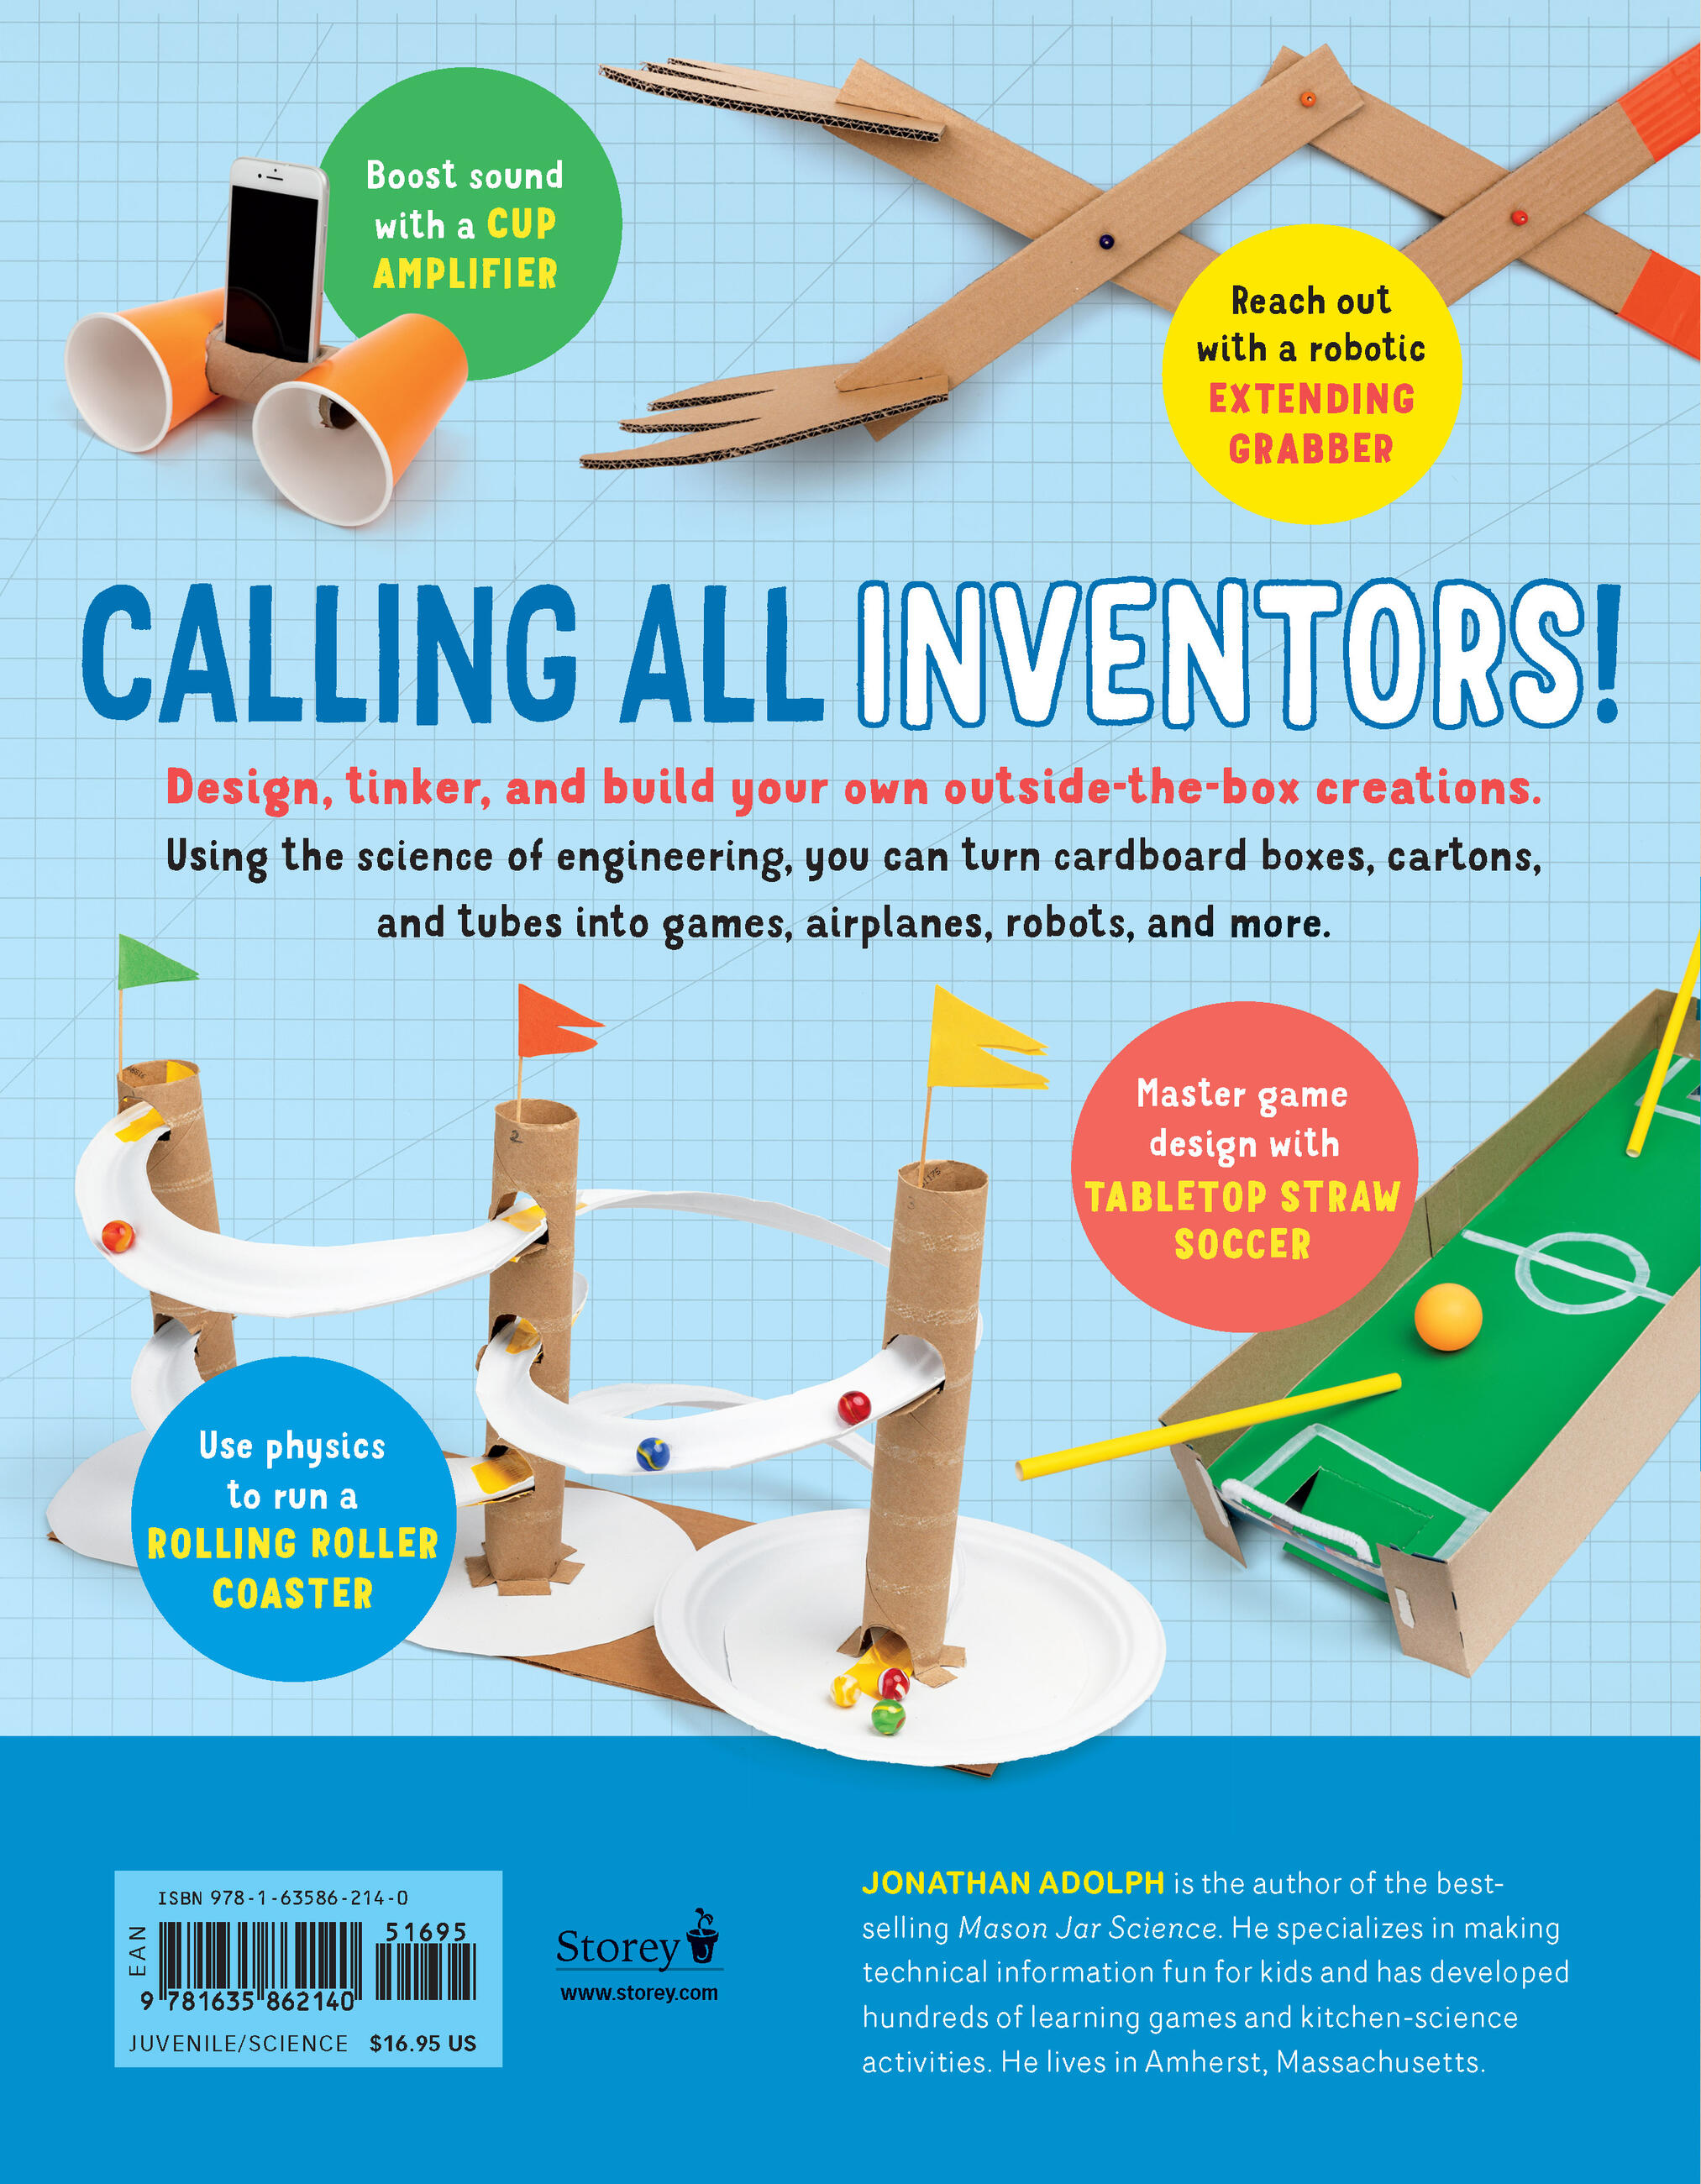
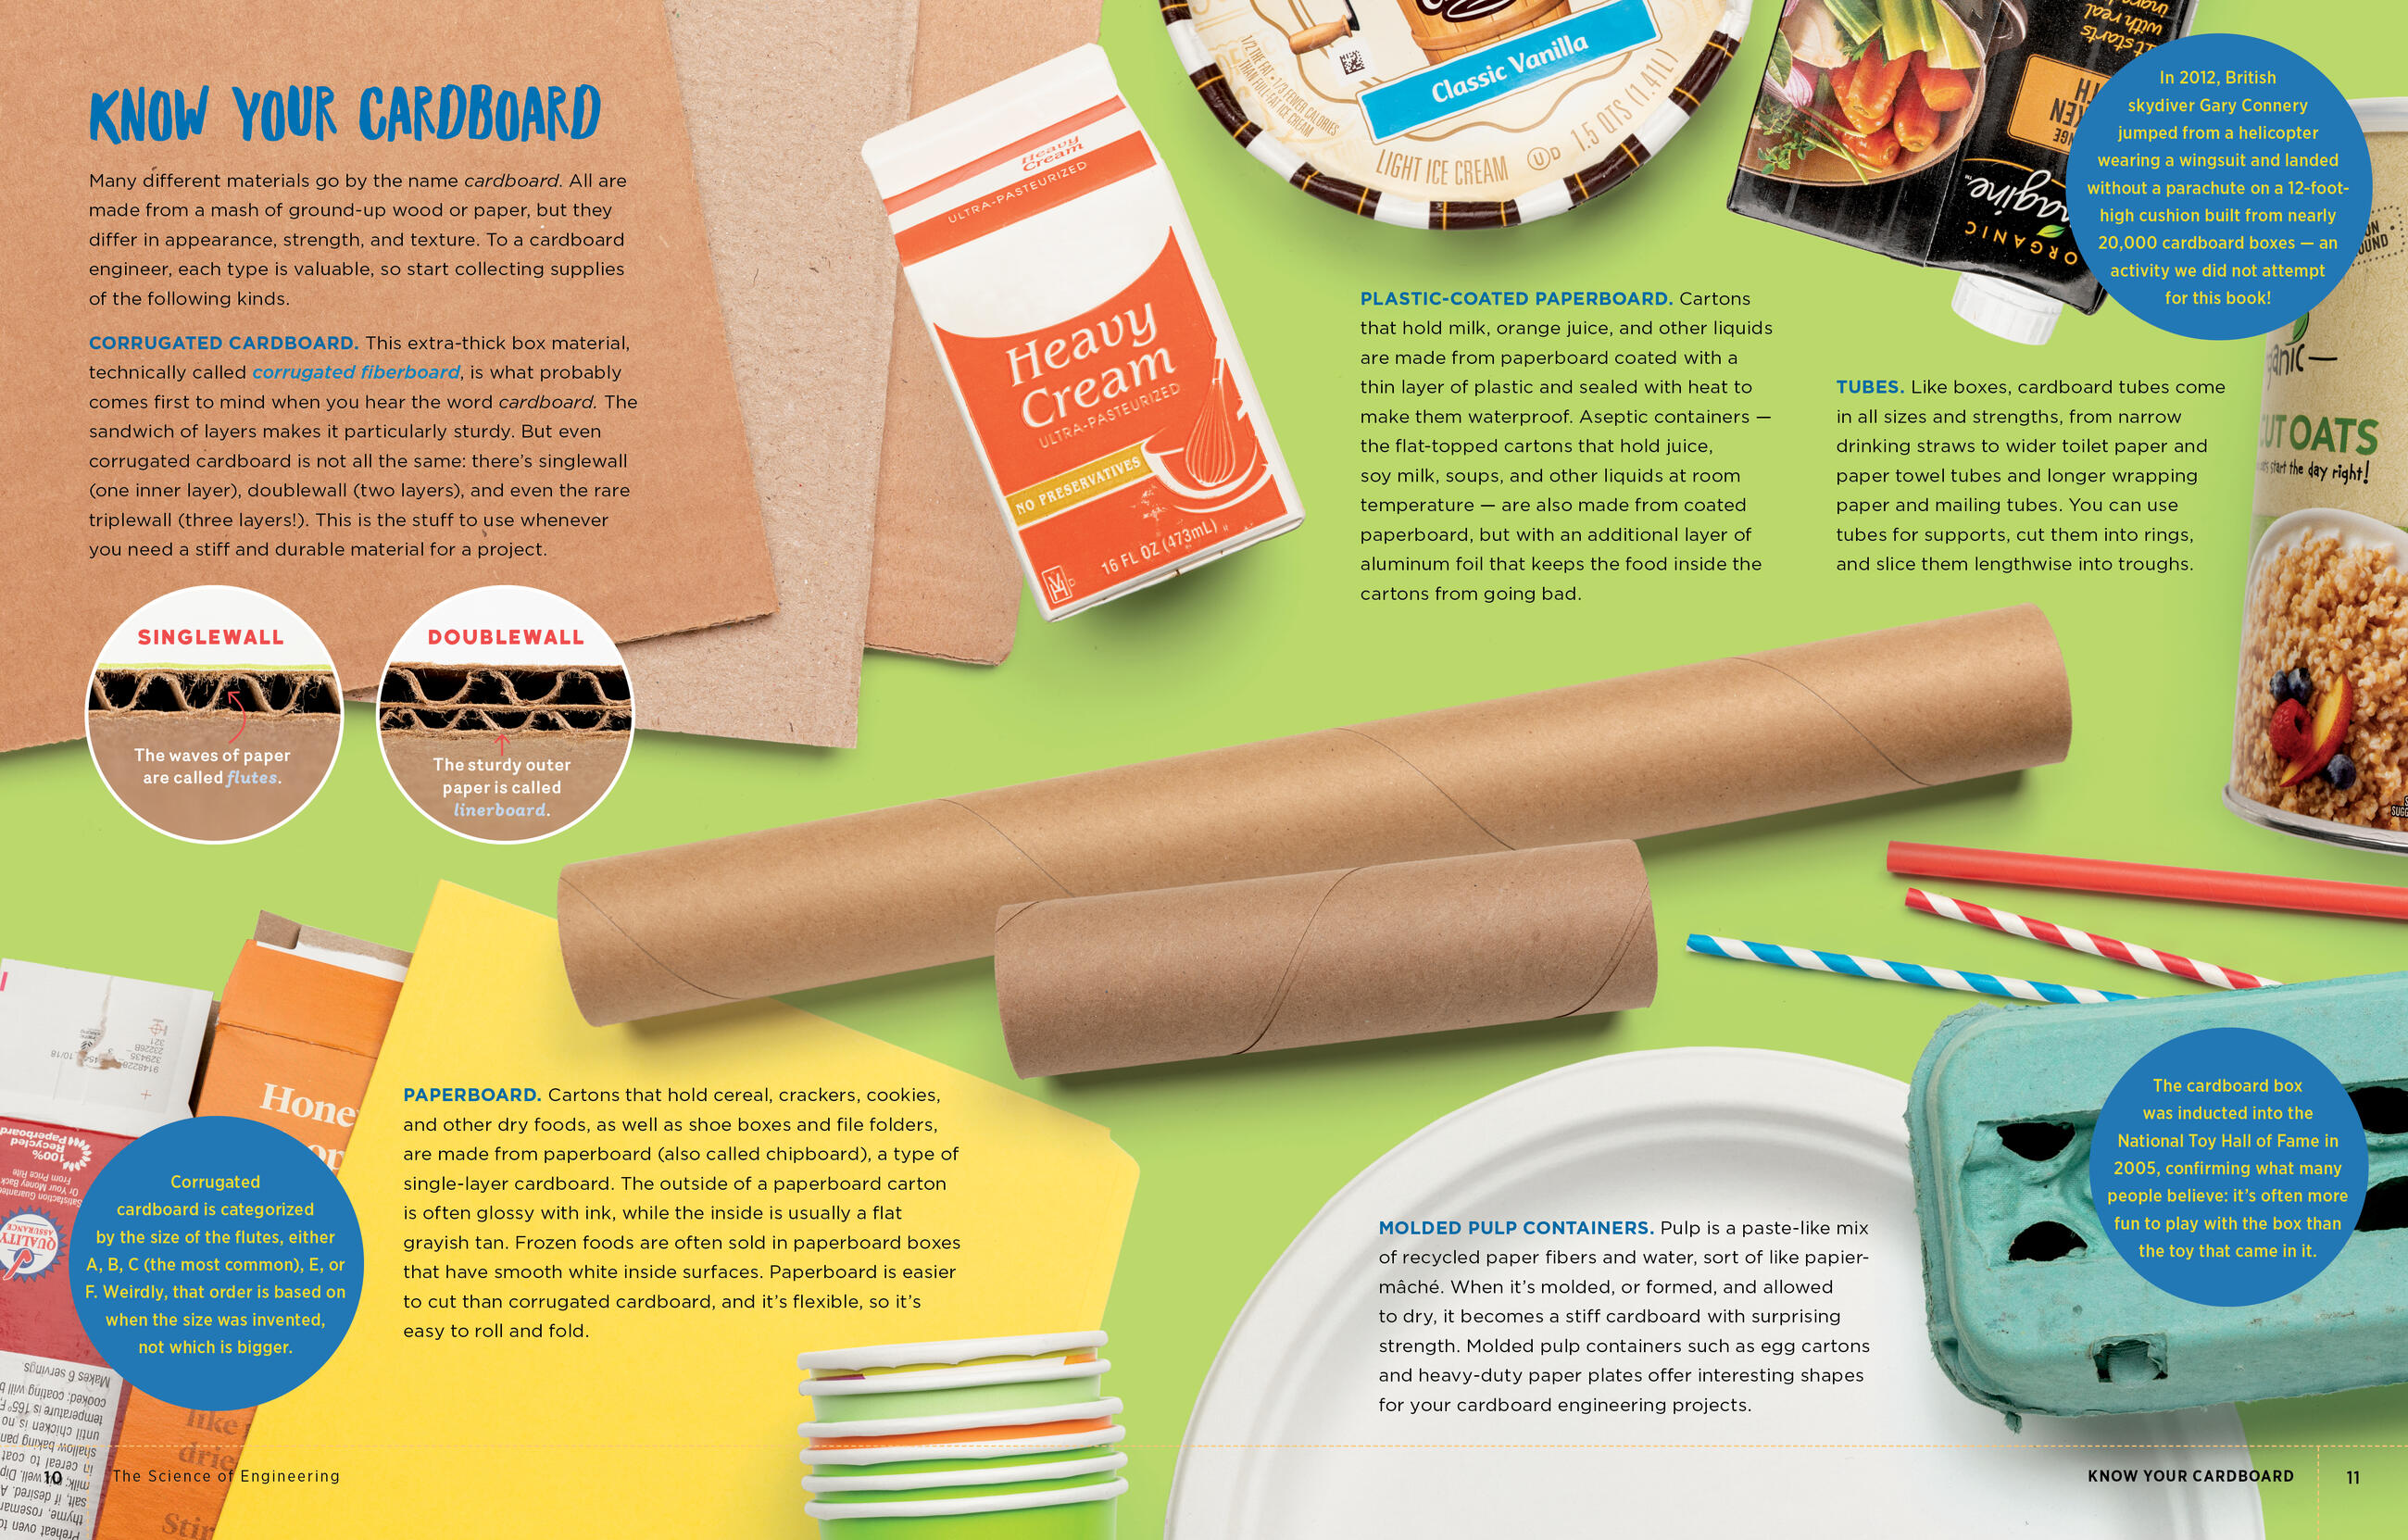
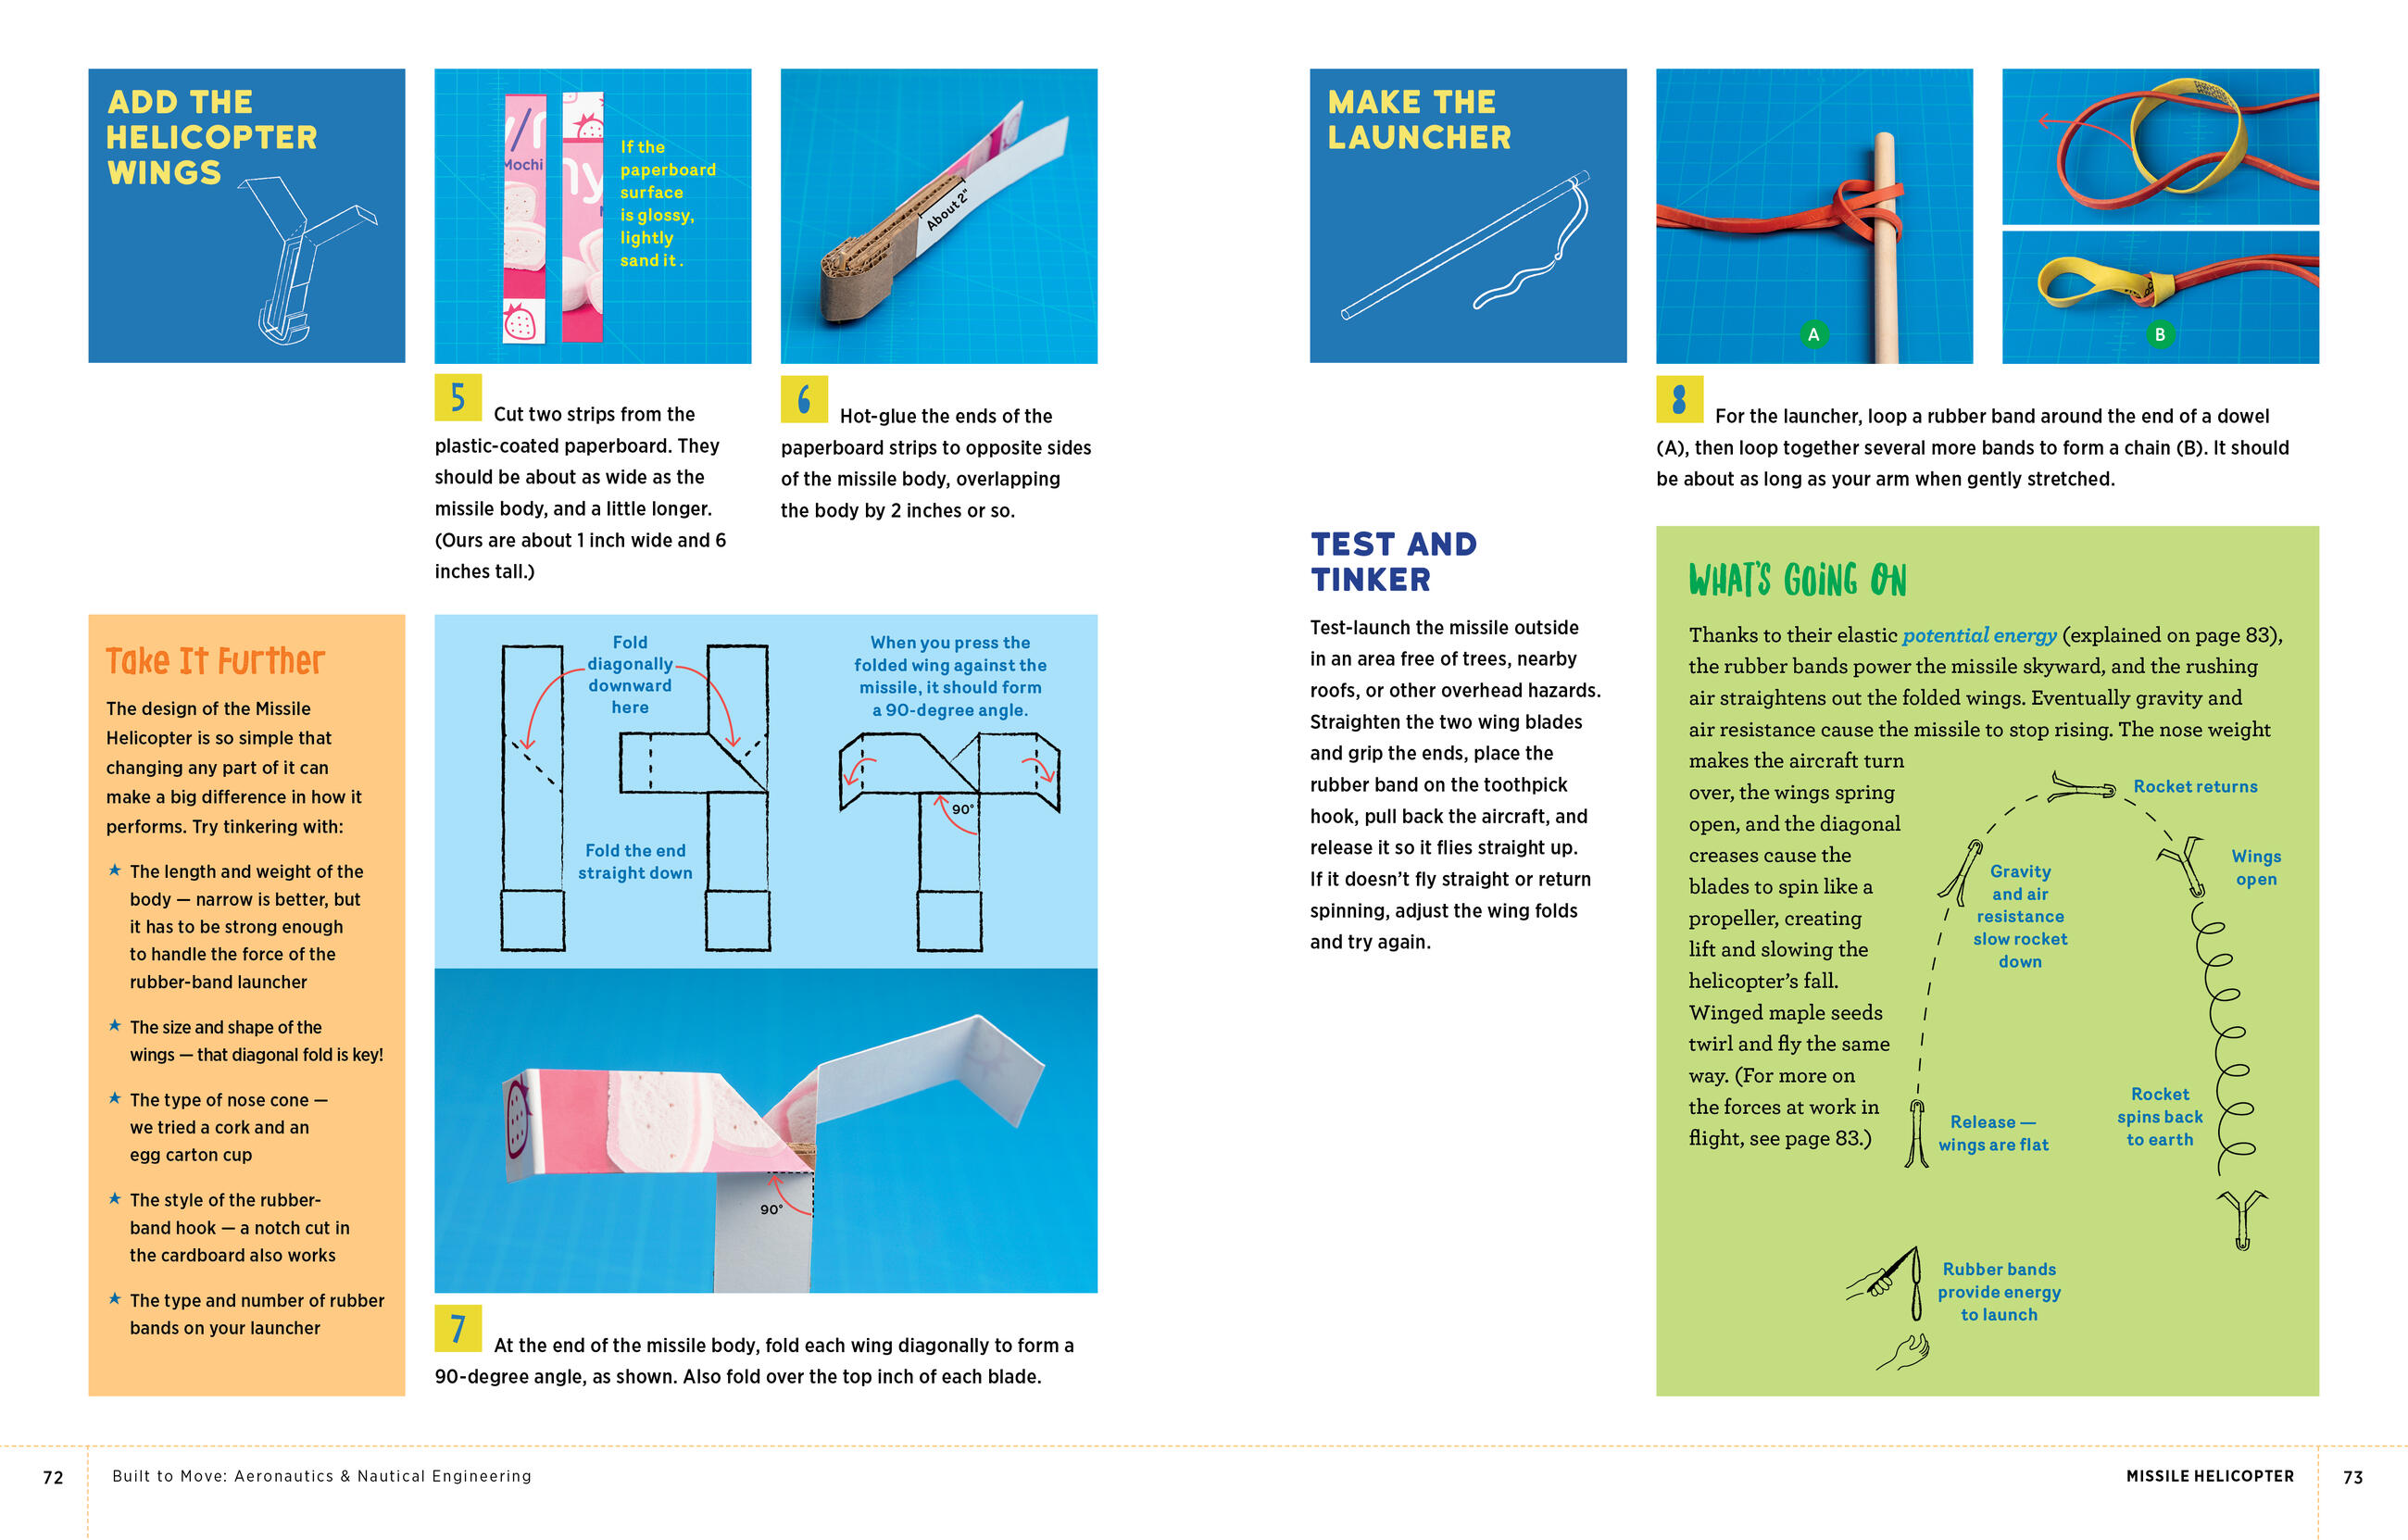
Cardboard is everywhere! For creative kids aged 9 to 14, it’s the perfect eco-friendly building material, and Cardboard Box Engineering is the perfect guide to get them started on inventive tinkering. A working kaleidoscope, a marble roller coaster, a robotic hand, and a wind-powered tractor with cardboard gears are just some of the ingenious projects developed by Jonathan Adolph, author of the best-selling Mason Jar Science. Working with simple household tools, kids can follow the step-by-step photographic instructions to exercise their design smarts, expand their 3-D thinking, and learn the basics of physics and engineering with activities that have real-life applications.
Genre:
-
“I really wish I'd had a book like this when I was a kid, and I think any young person who gets their hands on this book is really lucky. Who knows what kind of awesomeness this will inspire? I can't think of a better way to get kids away from screens and working with their hands, thinking, and inventing. This book might even change the world!” — Christian Ristow, robotic sculpture artist
“STEAM activities, such as the ones featured throughout the text, foster creativity, problem-solving, and teach the value of repurposing items… An engaging addition to any “How To” section. This book could be an exciting resource for students and teachers.”
— School Library Journal