Promotion
Use code SIZZLE26 for 25% off sitewide!

By clicking “Accept,” you agree to the use of cookies and similar technologies on your device as set forth in our Cookie Policy and our Privacy Policy. Please note that certain cookies are essential for this website to function properly and do not require user consent to be deployed.
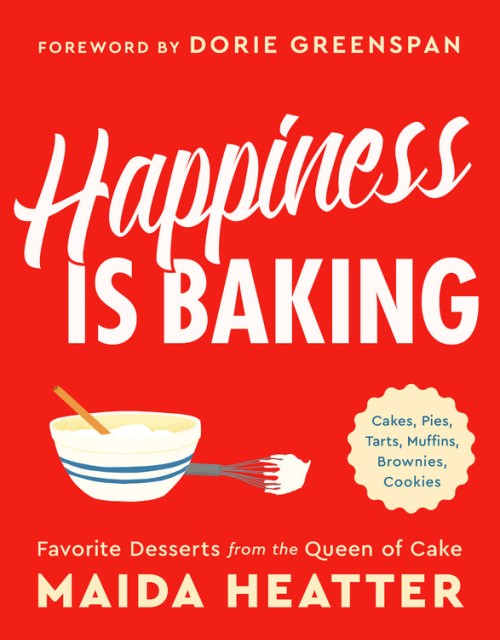
Happiness Is Baking
Cakes, Pies, Tarts, Muffins, Brownies, Cookies: Favorite Desserts from the Queen of Cake
Contributors
Foreword by Dorie Greenspan
Formats and Prices
- On Sale
- Apr 16, 2019
- Page Count
- 288 pages
- Publisher
- Voracious
- ISBN-13
- 9780316420570
Price
$28.00Price
$35.00 CADFormat
Format:
- Hardcover $28.00 $35.00 CAD
- ebook $13.99 $17.99 CAD
This item is a preorder. Your payment method will be charged immediately, and the product is expected to ship on or around April 16, 2019. This date is subject to change due to shipping delays beyond our control.
Buy from Other Retailers:
“Happiness is baking cookies. Happiness is giving them away. And serving them, and eating them, talking about them, reading and writing about them, thinking about them, and sharing them with you.”
Maida Heatter is one of the most iconic and fondly remembered cookbook authors of all time. Her recipes, each a modern classic, are must-haves in every home baker’s bag of tricks: her cookies, cakes, muffins, tarts, pies, and sweets of all kinds range from extravagantly special to the comforting and everyday. Her brown-sugary Budapest Coffee Cake, her minty Palm Beach Brownies, her sophisticated East 62nd Street Lemon Cake, and many other desserts have inspired legions of devotees.
Happiness Is Baking reproduces Maida’s best-loved recipes in a fully illustrated new edition with a foreword by Dorie Greenspan. Developed for foolproof baking by experienced cooks and novices alike, these recipes bear Maida’s trademark warmth, no-nonsense style, and her promise that they will work every time.
Happiness Is Baking is the perfect gift for anyone who loves baking–or who knows the happiness that comes from a delicious dessert.
-
ONE OF THE BEST COOKBOOKS OF THE YEAR -- Food and Wine
-
"While personable and funny, Heatter is relentless in her quest for perfection. These are recipes to read closely, and not just for her delightful borscht belt humor... How lucky that a new generation will get to know the sweet genius of Maida Heatter. These days, we could all use a dazzling grandmother to tell us that everything is going to be all right--or, at the very least, our skinny peanut wafers will."Christine Muhlke, New York Times
-
"Happiness is Baking is for the sons and daughters, grandsons and granddaughters of the bakers who first fell in love with Heatter four decades ago. All of her famous cakes and cookies are here."Boston Globe
-
"An outstanding and approachable collection of classics for bakers of all ages and skill levels... One of the season's standout baking volumes."Publishers Weekly (starred review)
-
"Decades of experience have gone into the making of this delightful collection of cakes, pies, cookies, brownies, and bars. Heatter writes recipes with a precision that will embolden new bakers to create successful desserts, while offering up explanations that will teach seasoned bakers something new... An excellent collection for novice bakers as well as those who enjoy learning how to bake with precision (and why it matters)."Library Journal
-
"Cause for celebration. It's high time to introduce the queen of cake, as Saveur magazine dubbed her, to a new generation of bakers... Heatter's instructions are meticulous and fool-proof, down to how to line a pan with aluminum foil. But it's her enthusiastic, texture-specific descriptions of the results you can expect if you follow her recipes to a T that inspired a whole generation of bakers to pull out their measuring cups."Christian Science Monitor
-
"For the baker of any age... If you're of a certain age and spent any time around flour, sugar, and eggs, you would know about Maida Heatter and her recipes. Saveur magazine called her "The Queen of Cake," and indeed she is, along with queen of brownies, cookies, muffins, and more... Happiness is Baking is a collection of her favorites that will be welcomed by those who have spent far less time in the kitchen than she has."Minneapolis Star-Tribune
-
"If you love classic American baked goods, then this is your grand prize. Maida's voice is evident on every page and is always a delight."Kitchen Arts & Letters
-
“Doyenne of desserts, queen of cookies, sultana of sweets… People love to bake Maida Heatter recipes… producing luscious creations that almost invariably bring grown men and women to their knees.”New York Times
-
“The Queen of Cake… Maida’s goal is a perfect dessert every time—and she wants those who follow her recipes to achieve the same end.”Saveur
-
“Everything I know about baking I learned from Maida Heatter… it’s as if she’s standing beside you in the kitchen, encouraging you as you go along.”Martha Stewart Living
-
“Her recipes (and Maida herself) are known for their precision; each step is integral, each ingredient intentional… you need to read her cookbooks, and bake from them."Food52
-
“There are no secrets. Maida Heatter is in your kitchen corner. The conversation is easy to follow, and you pick it up whenever you crack open one of her books… Most important, Heatter has recipes for everyone.”Chicago Tribune
-
"A phenomenon."Washington Post
-
"Perfect for a baking newbie... [Maida's] recipes are exceedingly thorough and always reliable."Portland Press-Herald
-
“Whenever someone tells me they want to start baking, I tell them to turn to Maida Heatter.”Dorie Greenspan
-
“Maida Heatter is the fairy godmother of anything sweet, spicy, crunchy, chewy, or fluffy that you could possibly imagine baking.”Wolfgang Puck
-
“I feel as if I am standing alongside her… I often find myself laughing out loud as I read her anecdotes about her successes and her failures … What beginners can expect from Maida’s book is an extremely high success rate.”Nancy Silverton