Promotion
Sign up for our newsletter to get 20% off sitewide!

By clicking “Accept,” you agree to the use of cookies and similar technologies on your device as set forth in our Cookie Policy and our Privacy Policy. Please note that certain cookies are essential for this website to function properly and do not require user consent to be deployed.
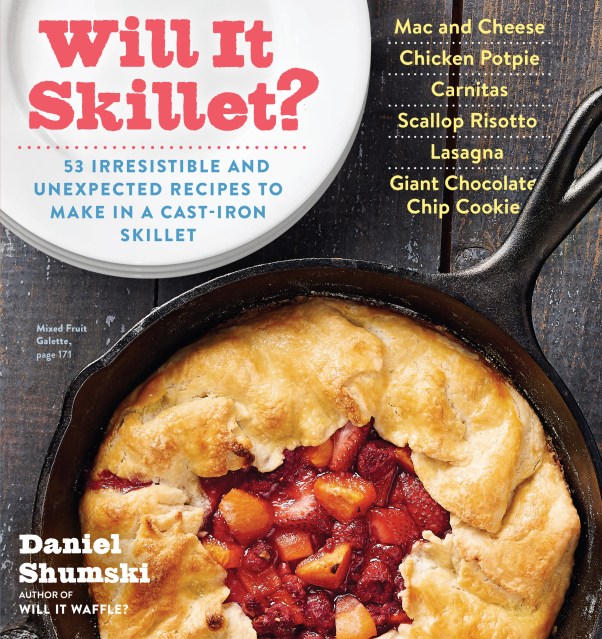
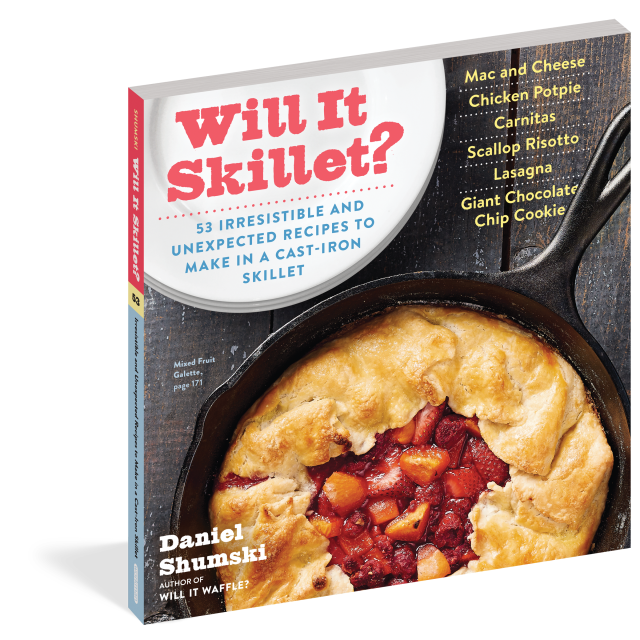
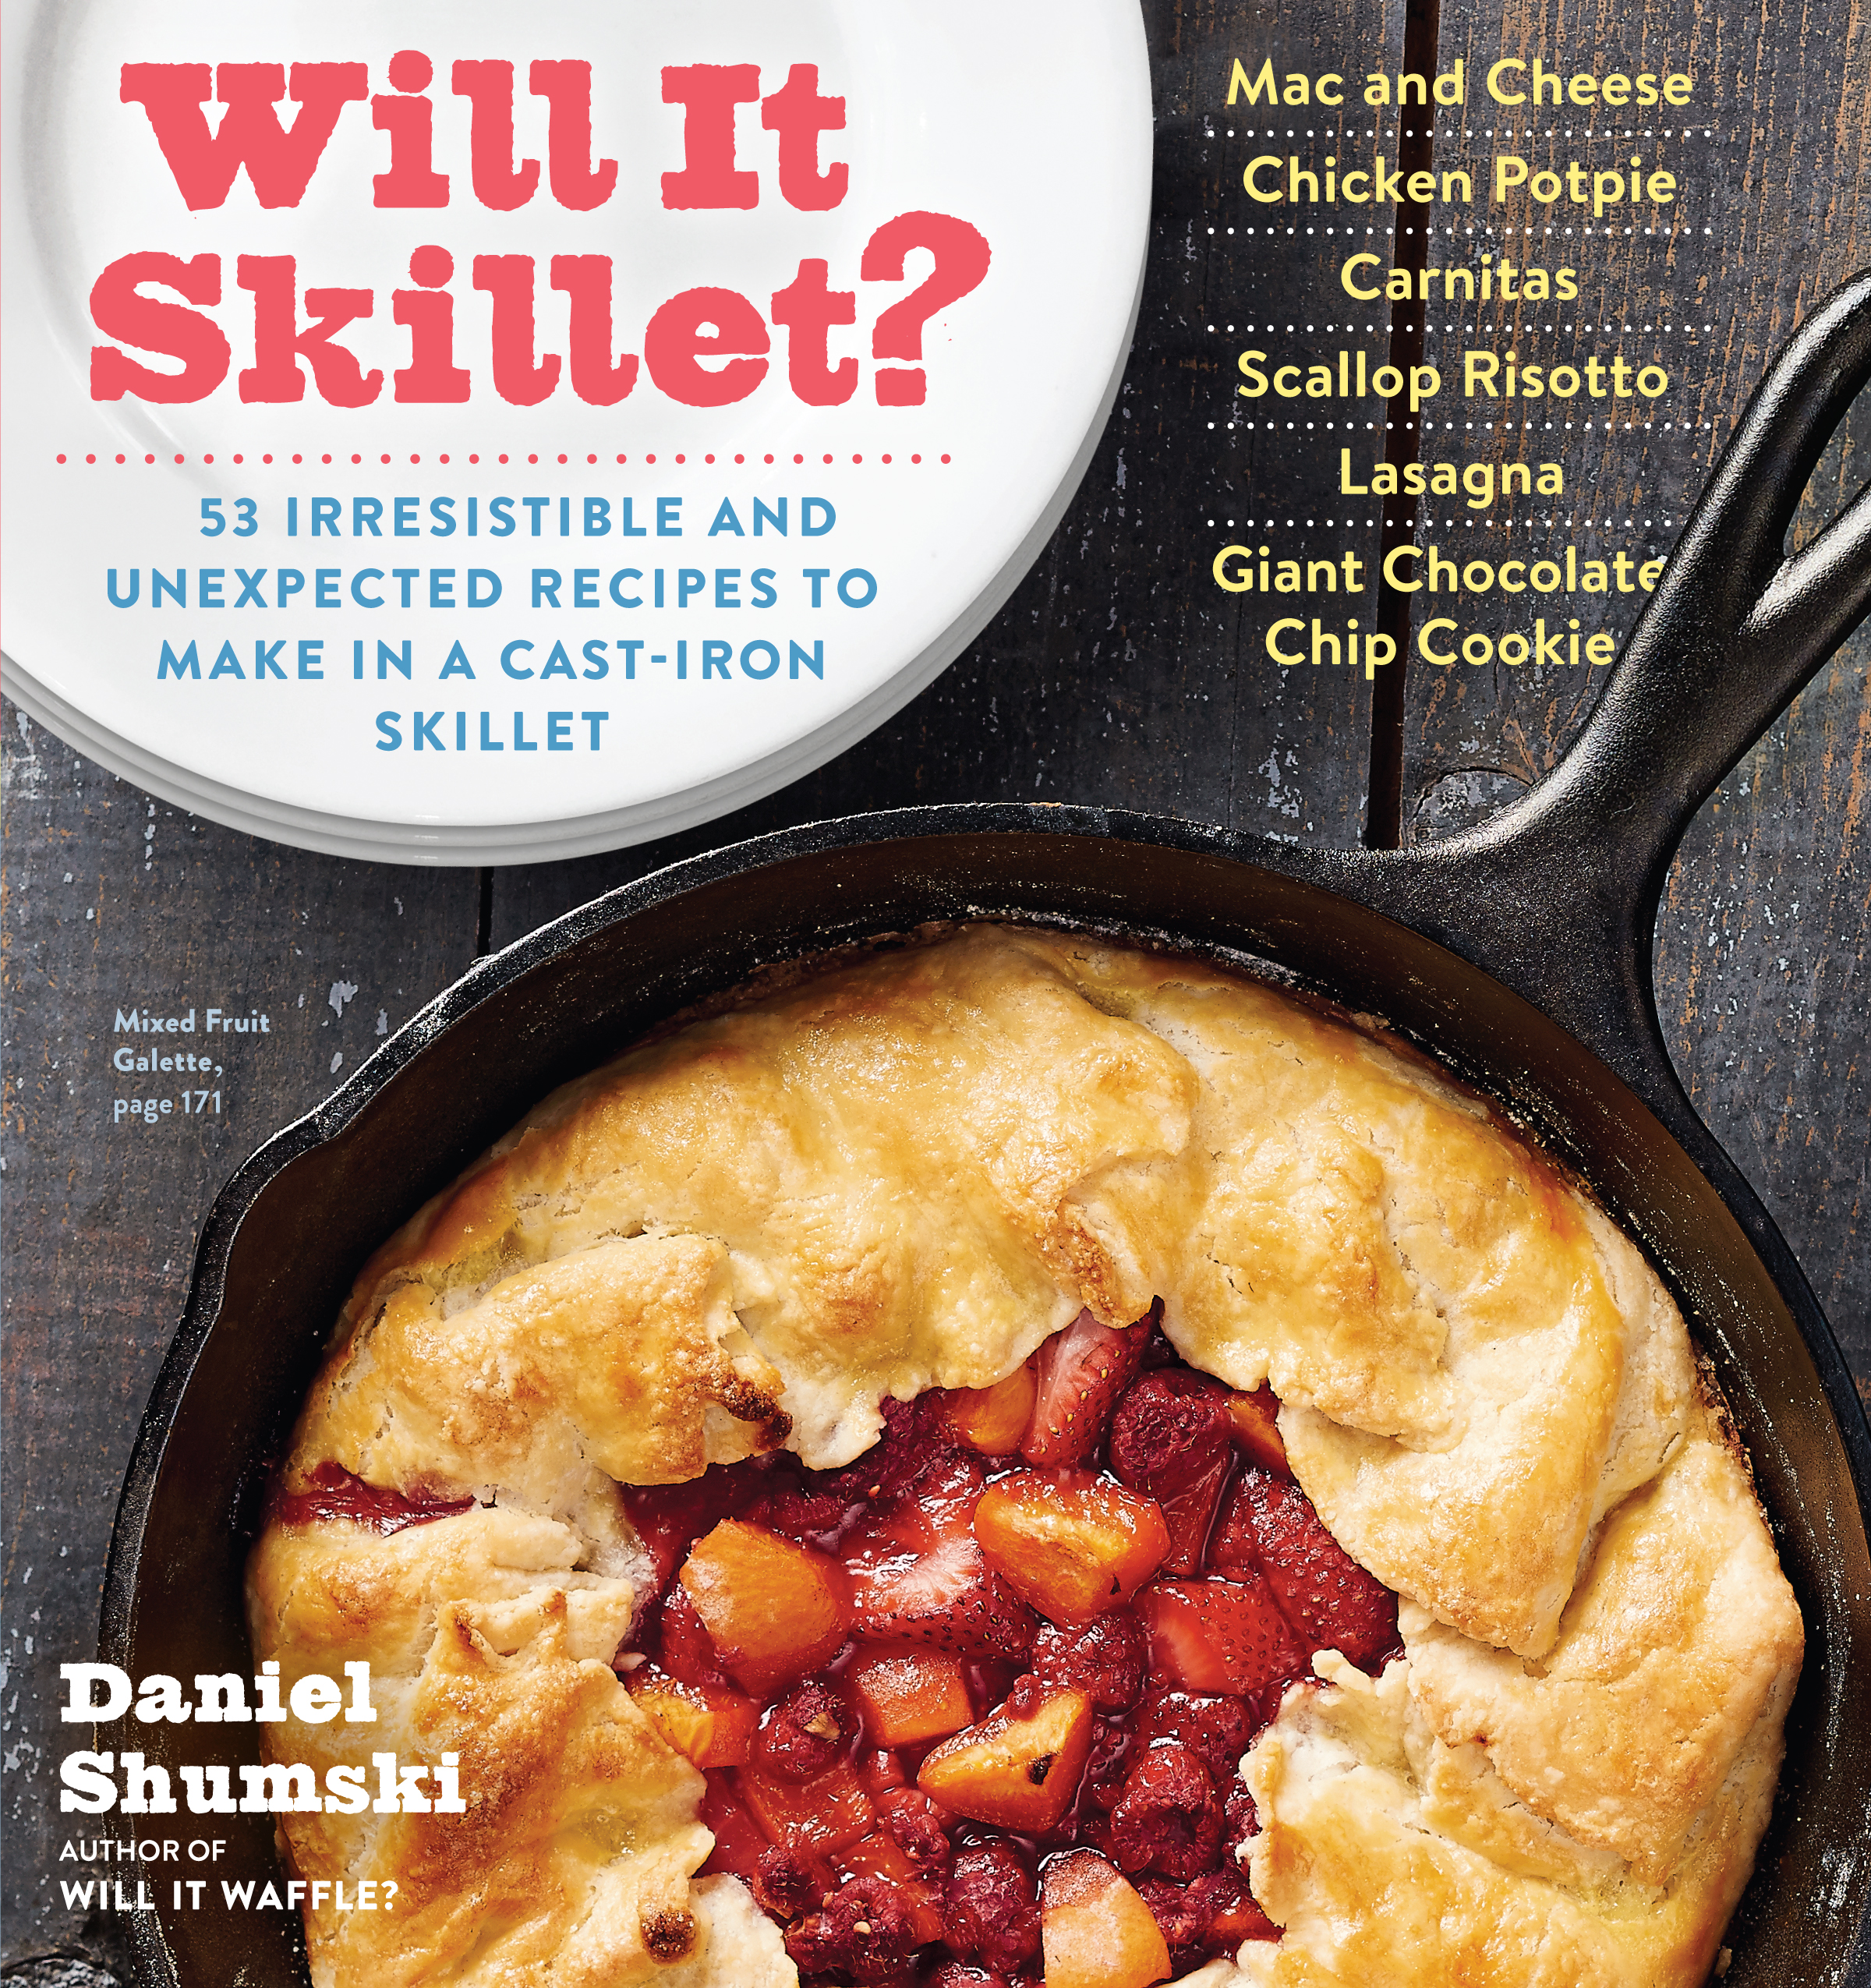
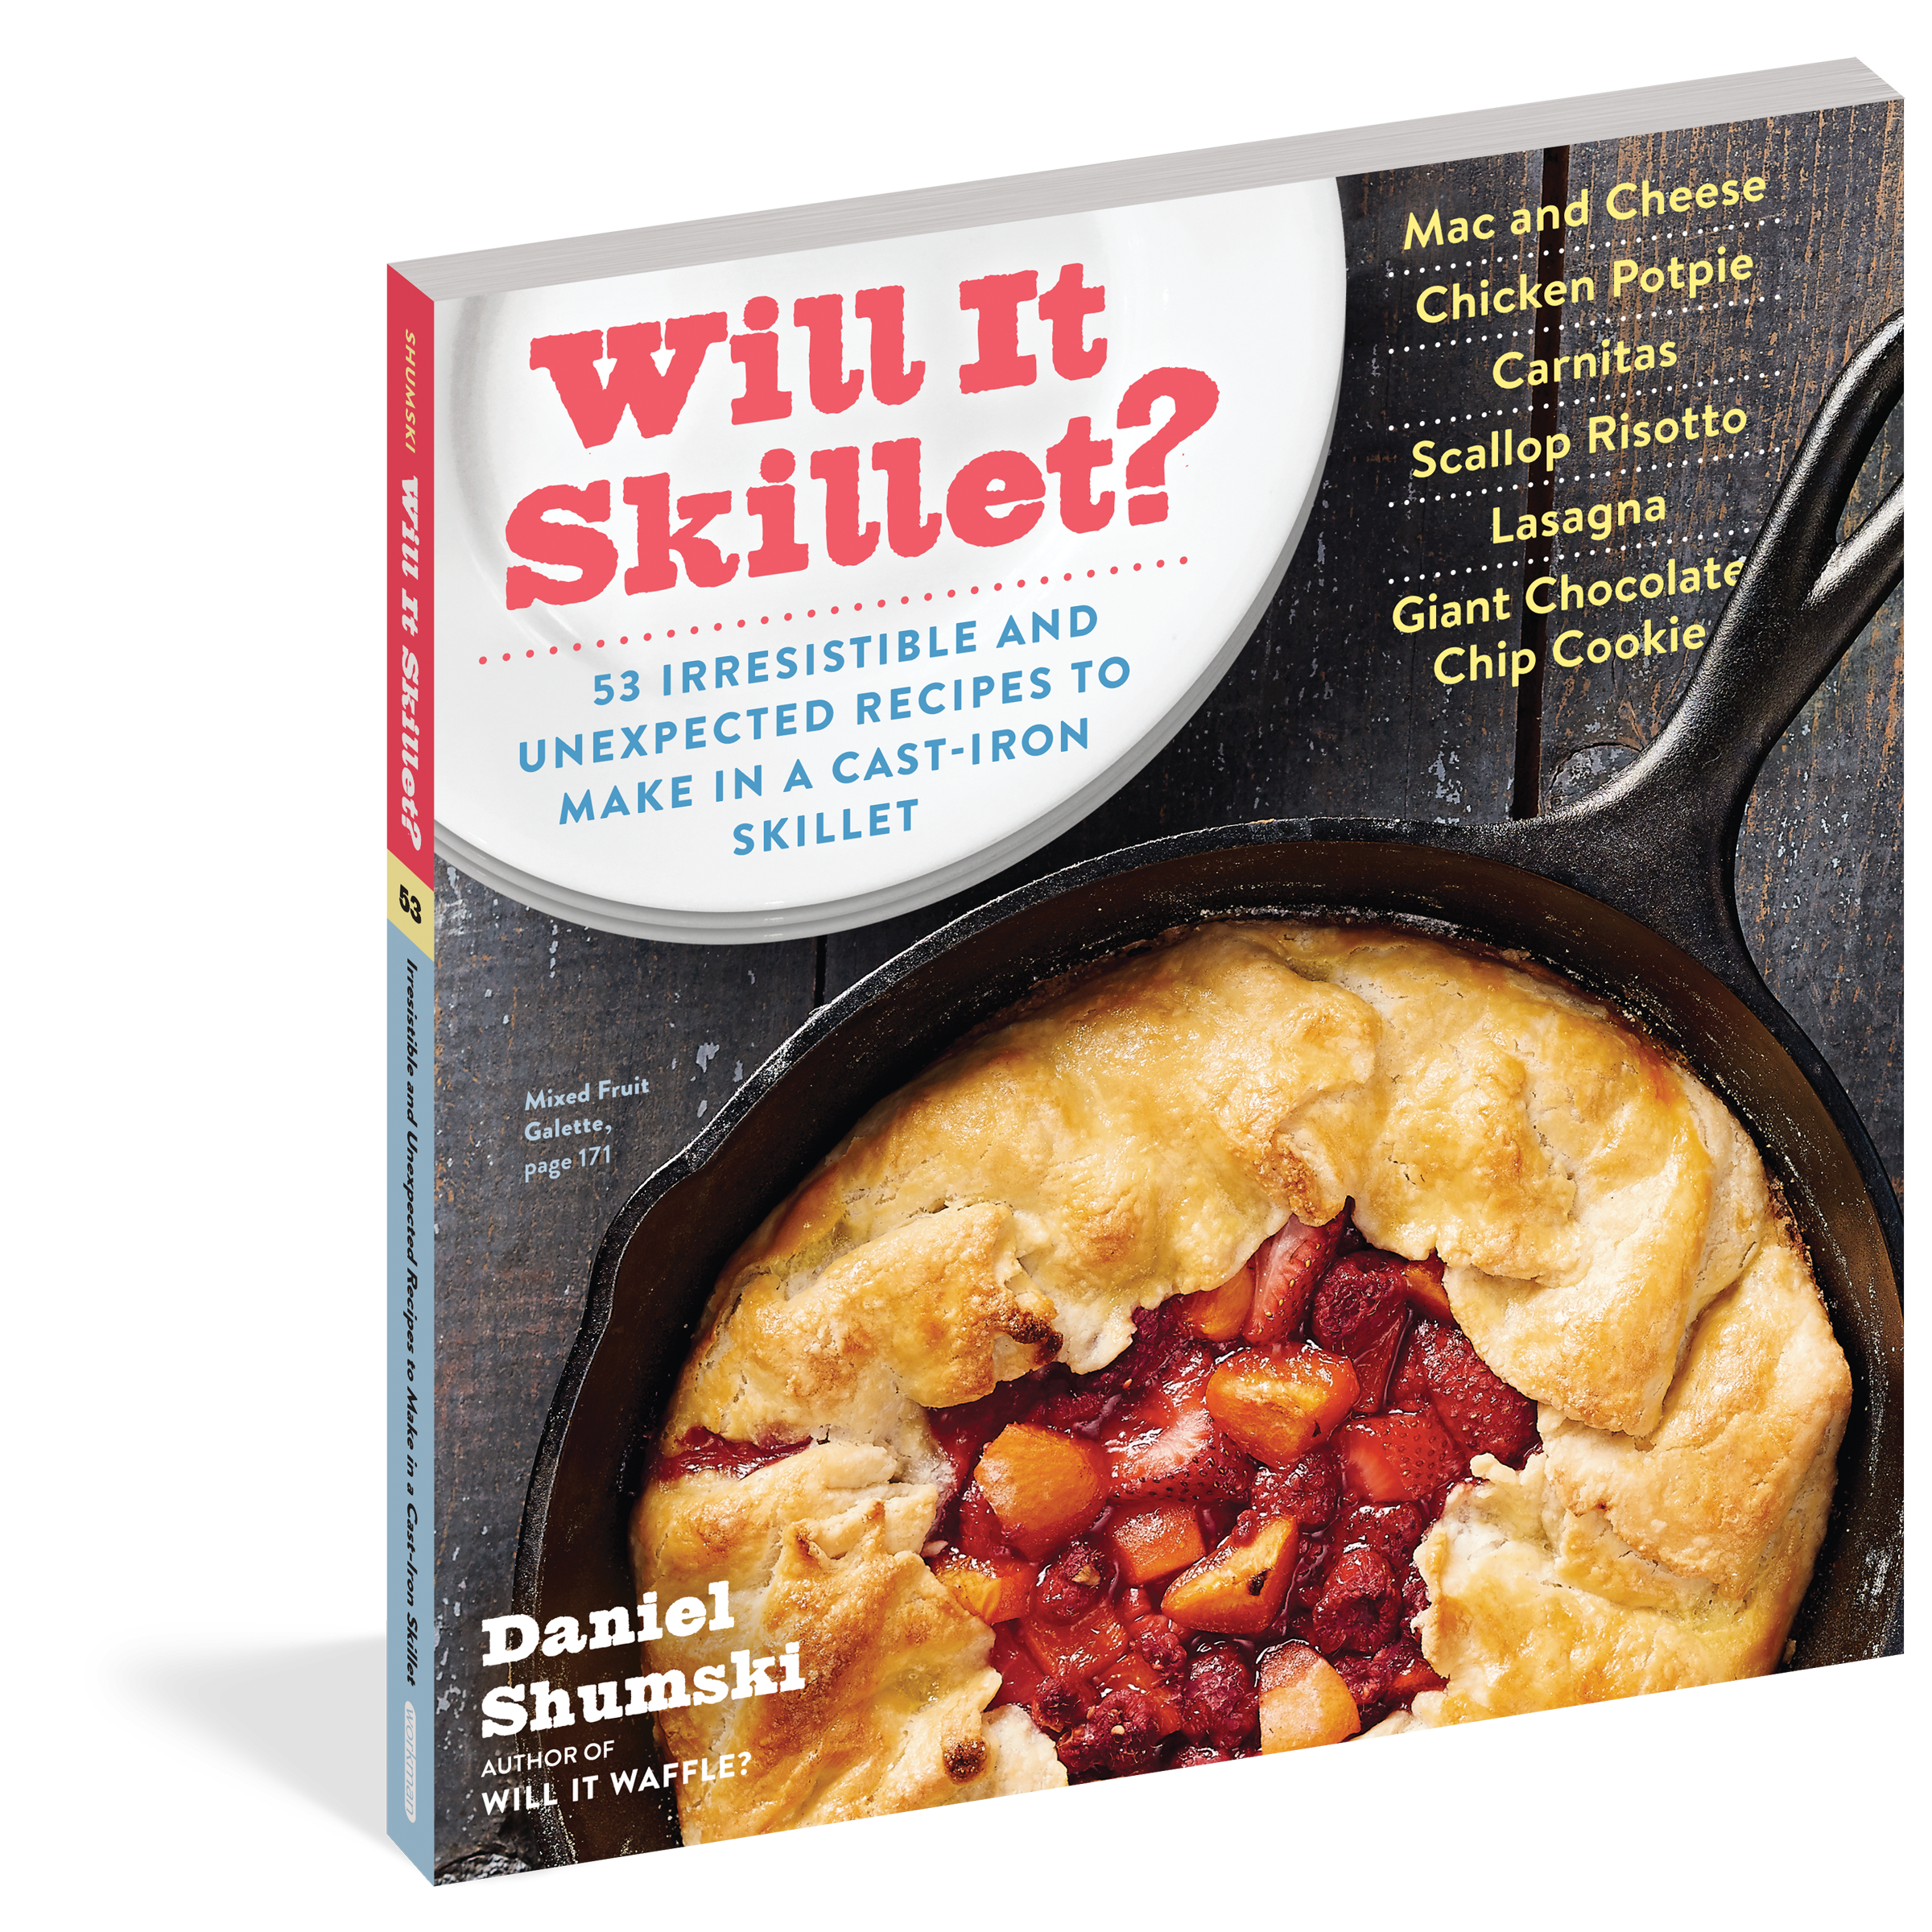
Will It Skillet?
53 Irresistible and Unexpected Recipes to Make in a Cast-Iron Skillet


Contributors
Formats and Prices
- On Sale
- Apr 4, 2017
- Page Count
- 216 pages
- Publisher
- Workman Publishing Company
- ISBN-13
- 9780761187431
Price
$14.95Price
$19.95 CADFormat
Format:
- Trade Paperback $14.95 $19.95 CAD
- ebook $9.99 $12.99 CAD
This item is a preorder. Your payment method will be charged immediately, and the product is expected to ship on or around April 4, 2017. This date is subject to change due to shipping delays beyond our control.
Buy from Other Retailers:
Discover a new world of cast-iron cooking. From Dan Shumski, who last applied his out-of-the-box food-loving sensibility to Will It Waffle?, here are 53 surprising, delicious, and ingenious recipes for the cast-iron skillet.
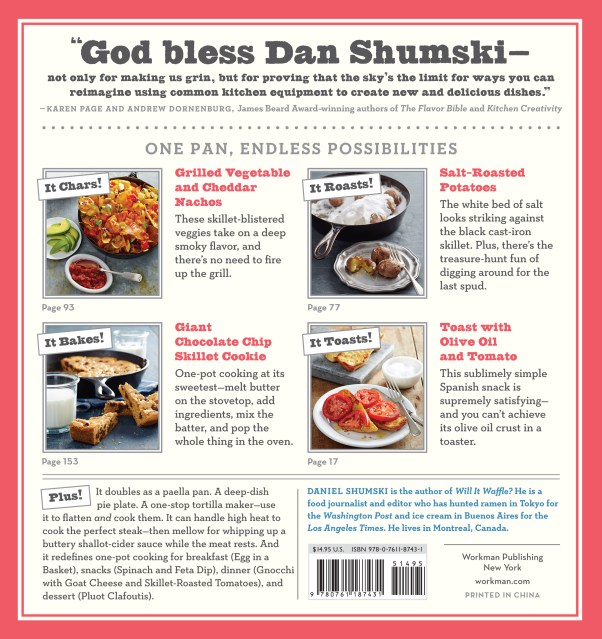
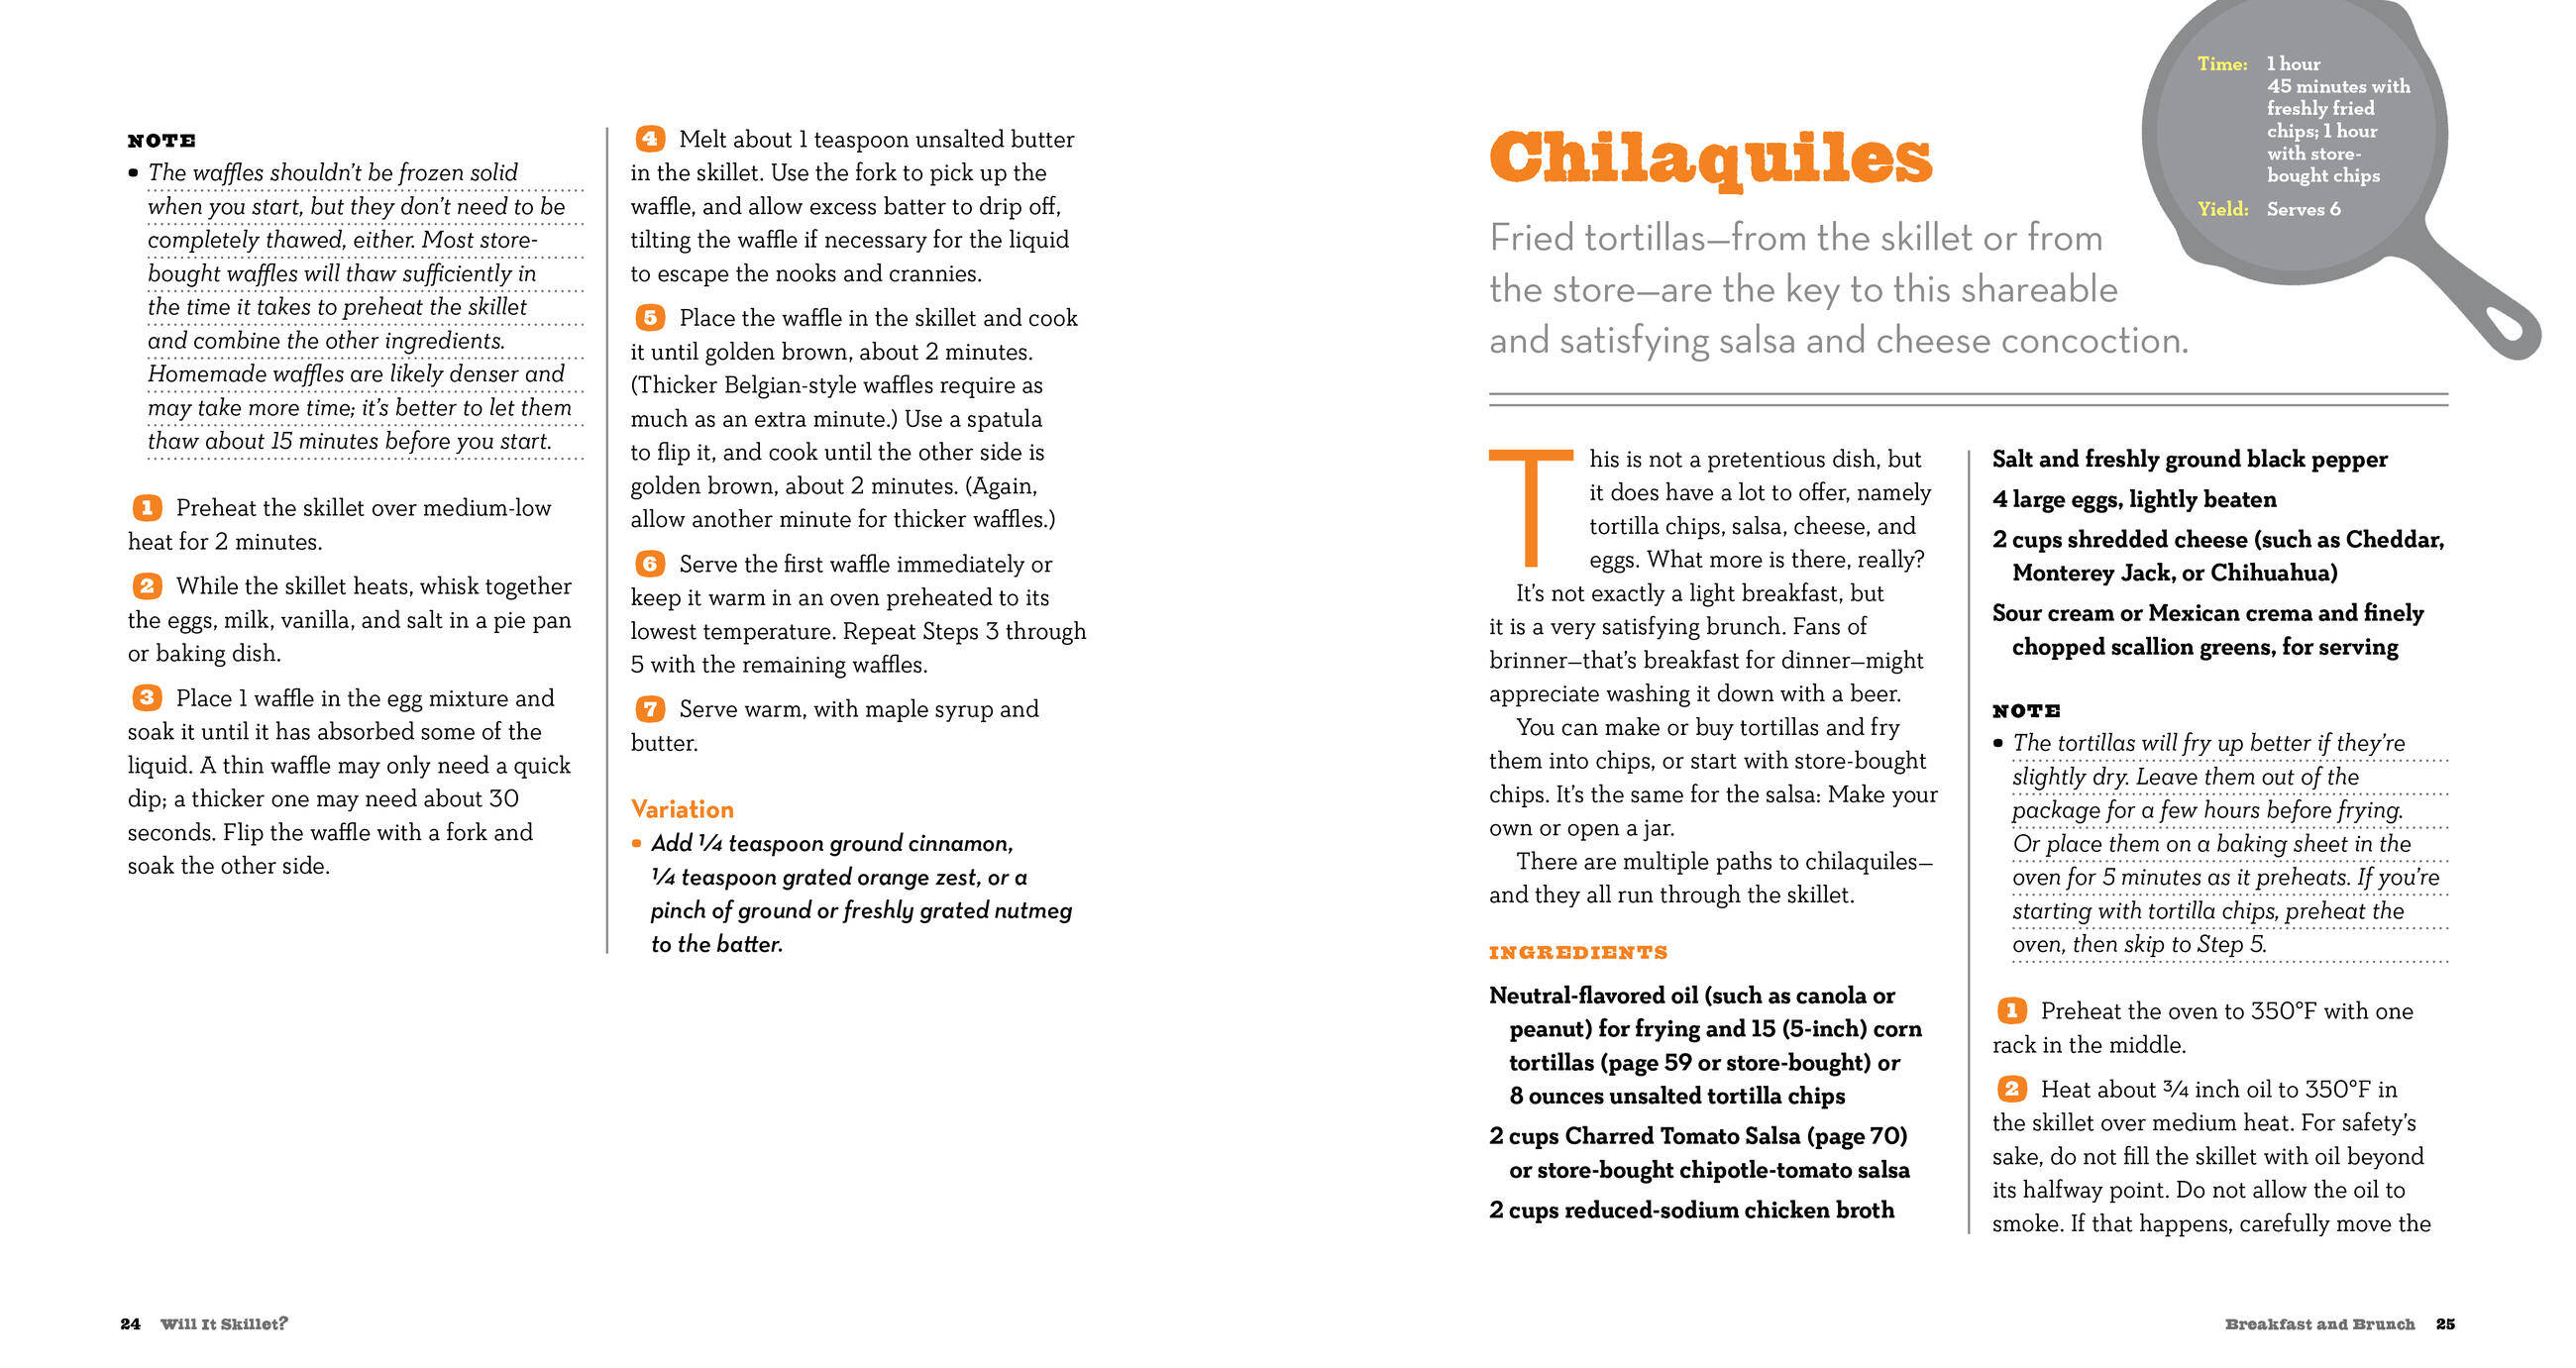
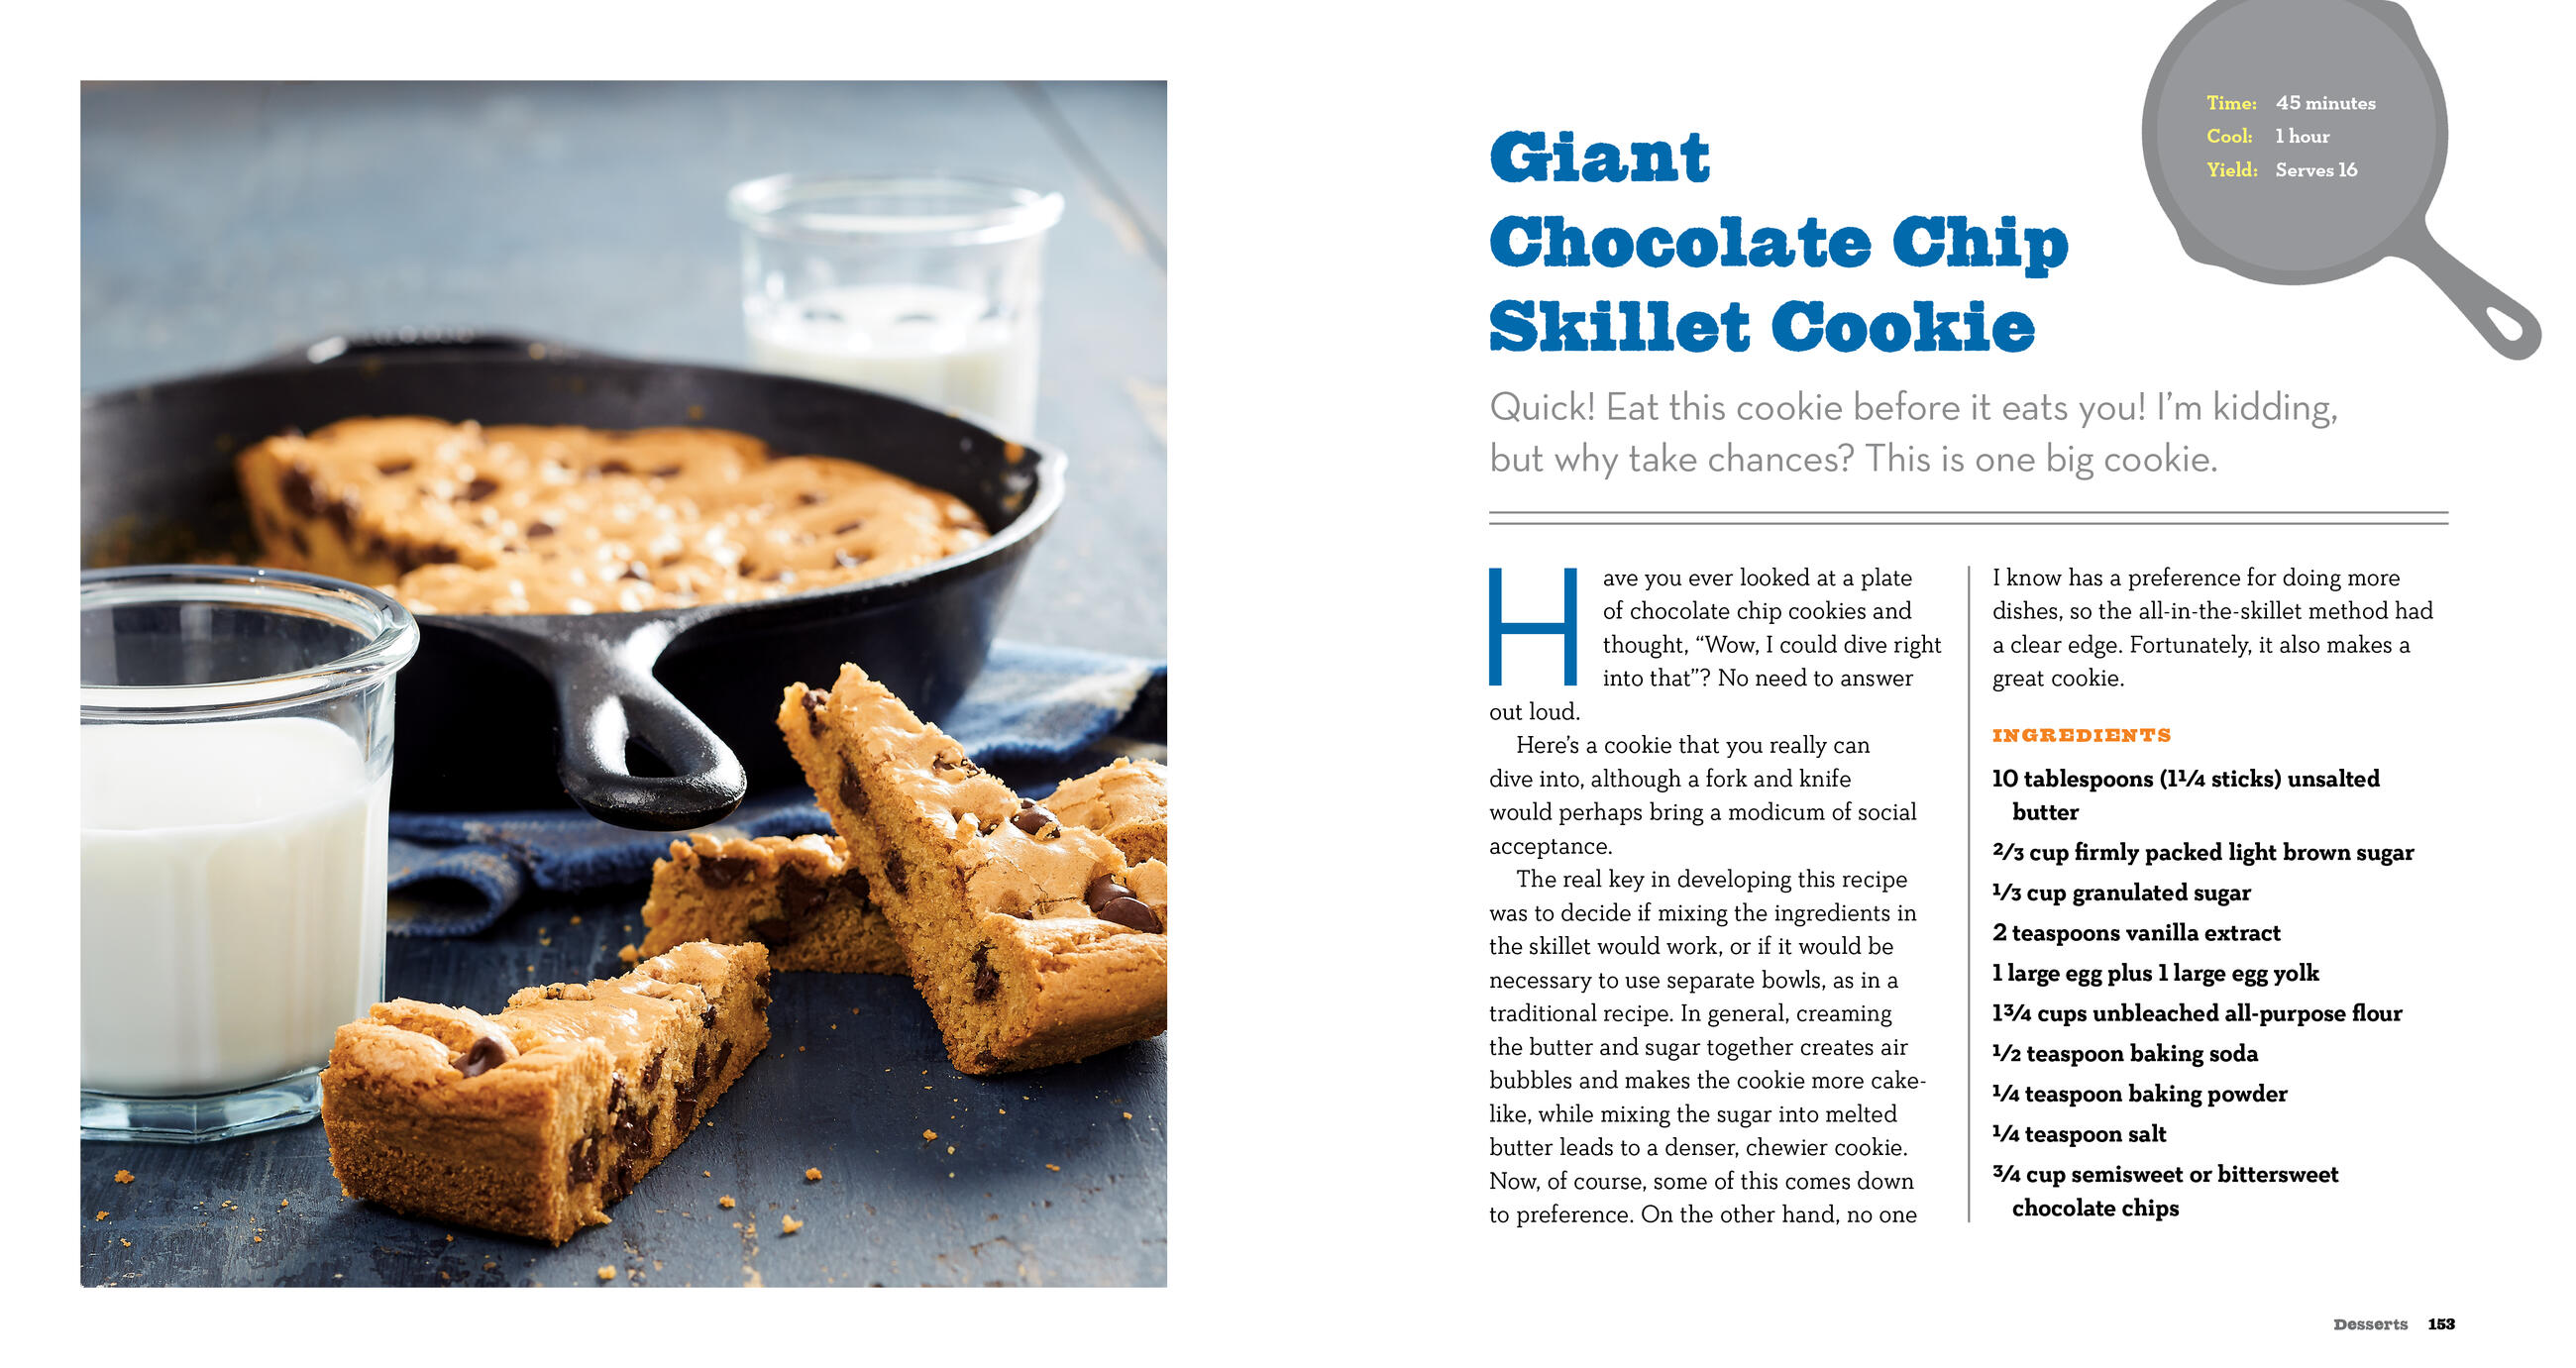
Savor the simplicity of Toast with Olive Oil and Tomato, because you just can’t achieve that perfect oil-toasted crust in a toaster. For Homemade Corn Tortillas, no special equipment required—use the pan to flatten and cook them. (Then serve your tortillas with Single-Skillet Carnitas or Charred Tomato Salsa—or make Chilaquiles.) Take popcorn to another level with clarified butter. Enjoy a Spinach and Feta Dip that stays warm from the residual heat of the pan. Plus pastas that come together in one skillet—no separate boiling required; perfectly charred roasted vegetables; beautiful breads and pizzas; and luscious desserts from a giant chocolate chip cookie to the sophisticated Layered Crepe Torte with Dark Chocolate and Raspberry Jam.
Includes detailed information on buying, seasoning, and caring for your cast-iron skillet—and turning it into a nonstick kitchen workhorse.