By clicking “Accept,” you agree to the use of cookies and similar technologies on your device as set forth in our Cookie Policy and our Privacy Policy. Please note that certain cookies are essential for this website to function properly and do not require user consent to be deployed.
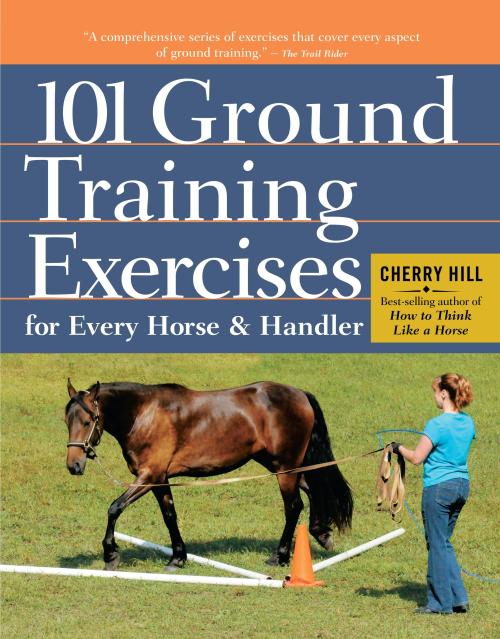
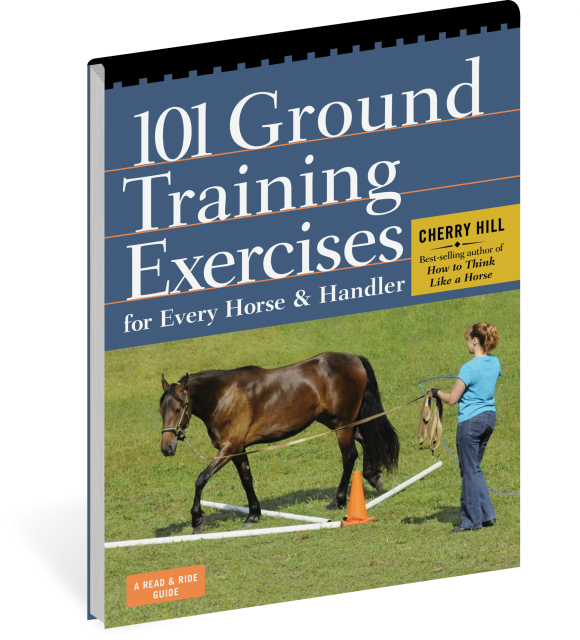
101 Ground Training Exercises for Every Horse & Handler


Contributors
By Cherry Hill
Formats and Prices
- On Sale
- May 8, 2012
- Page Count
- 256 pages
- Publisher
- Storey Publishing, LLC
- ISBN-13
- 9781612120522
Price
$29.99Price
$39.99 CADFormat
Format:
Trade Paperback $29.99 $39.99 CADThis item is a preorder. Your payment method will be charged immediately, and the product is expected to ship on or around May 8, 2012. This date is subject to change due to shipping delays beyond our control.
Buy from Other Retailers:
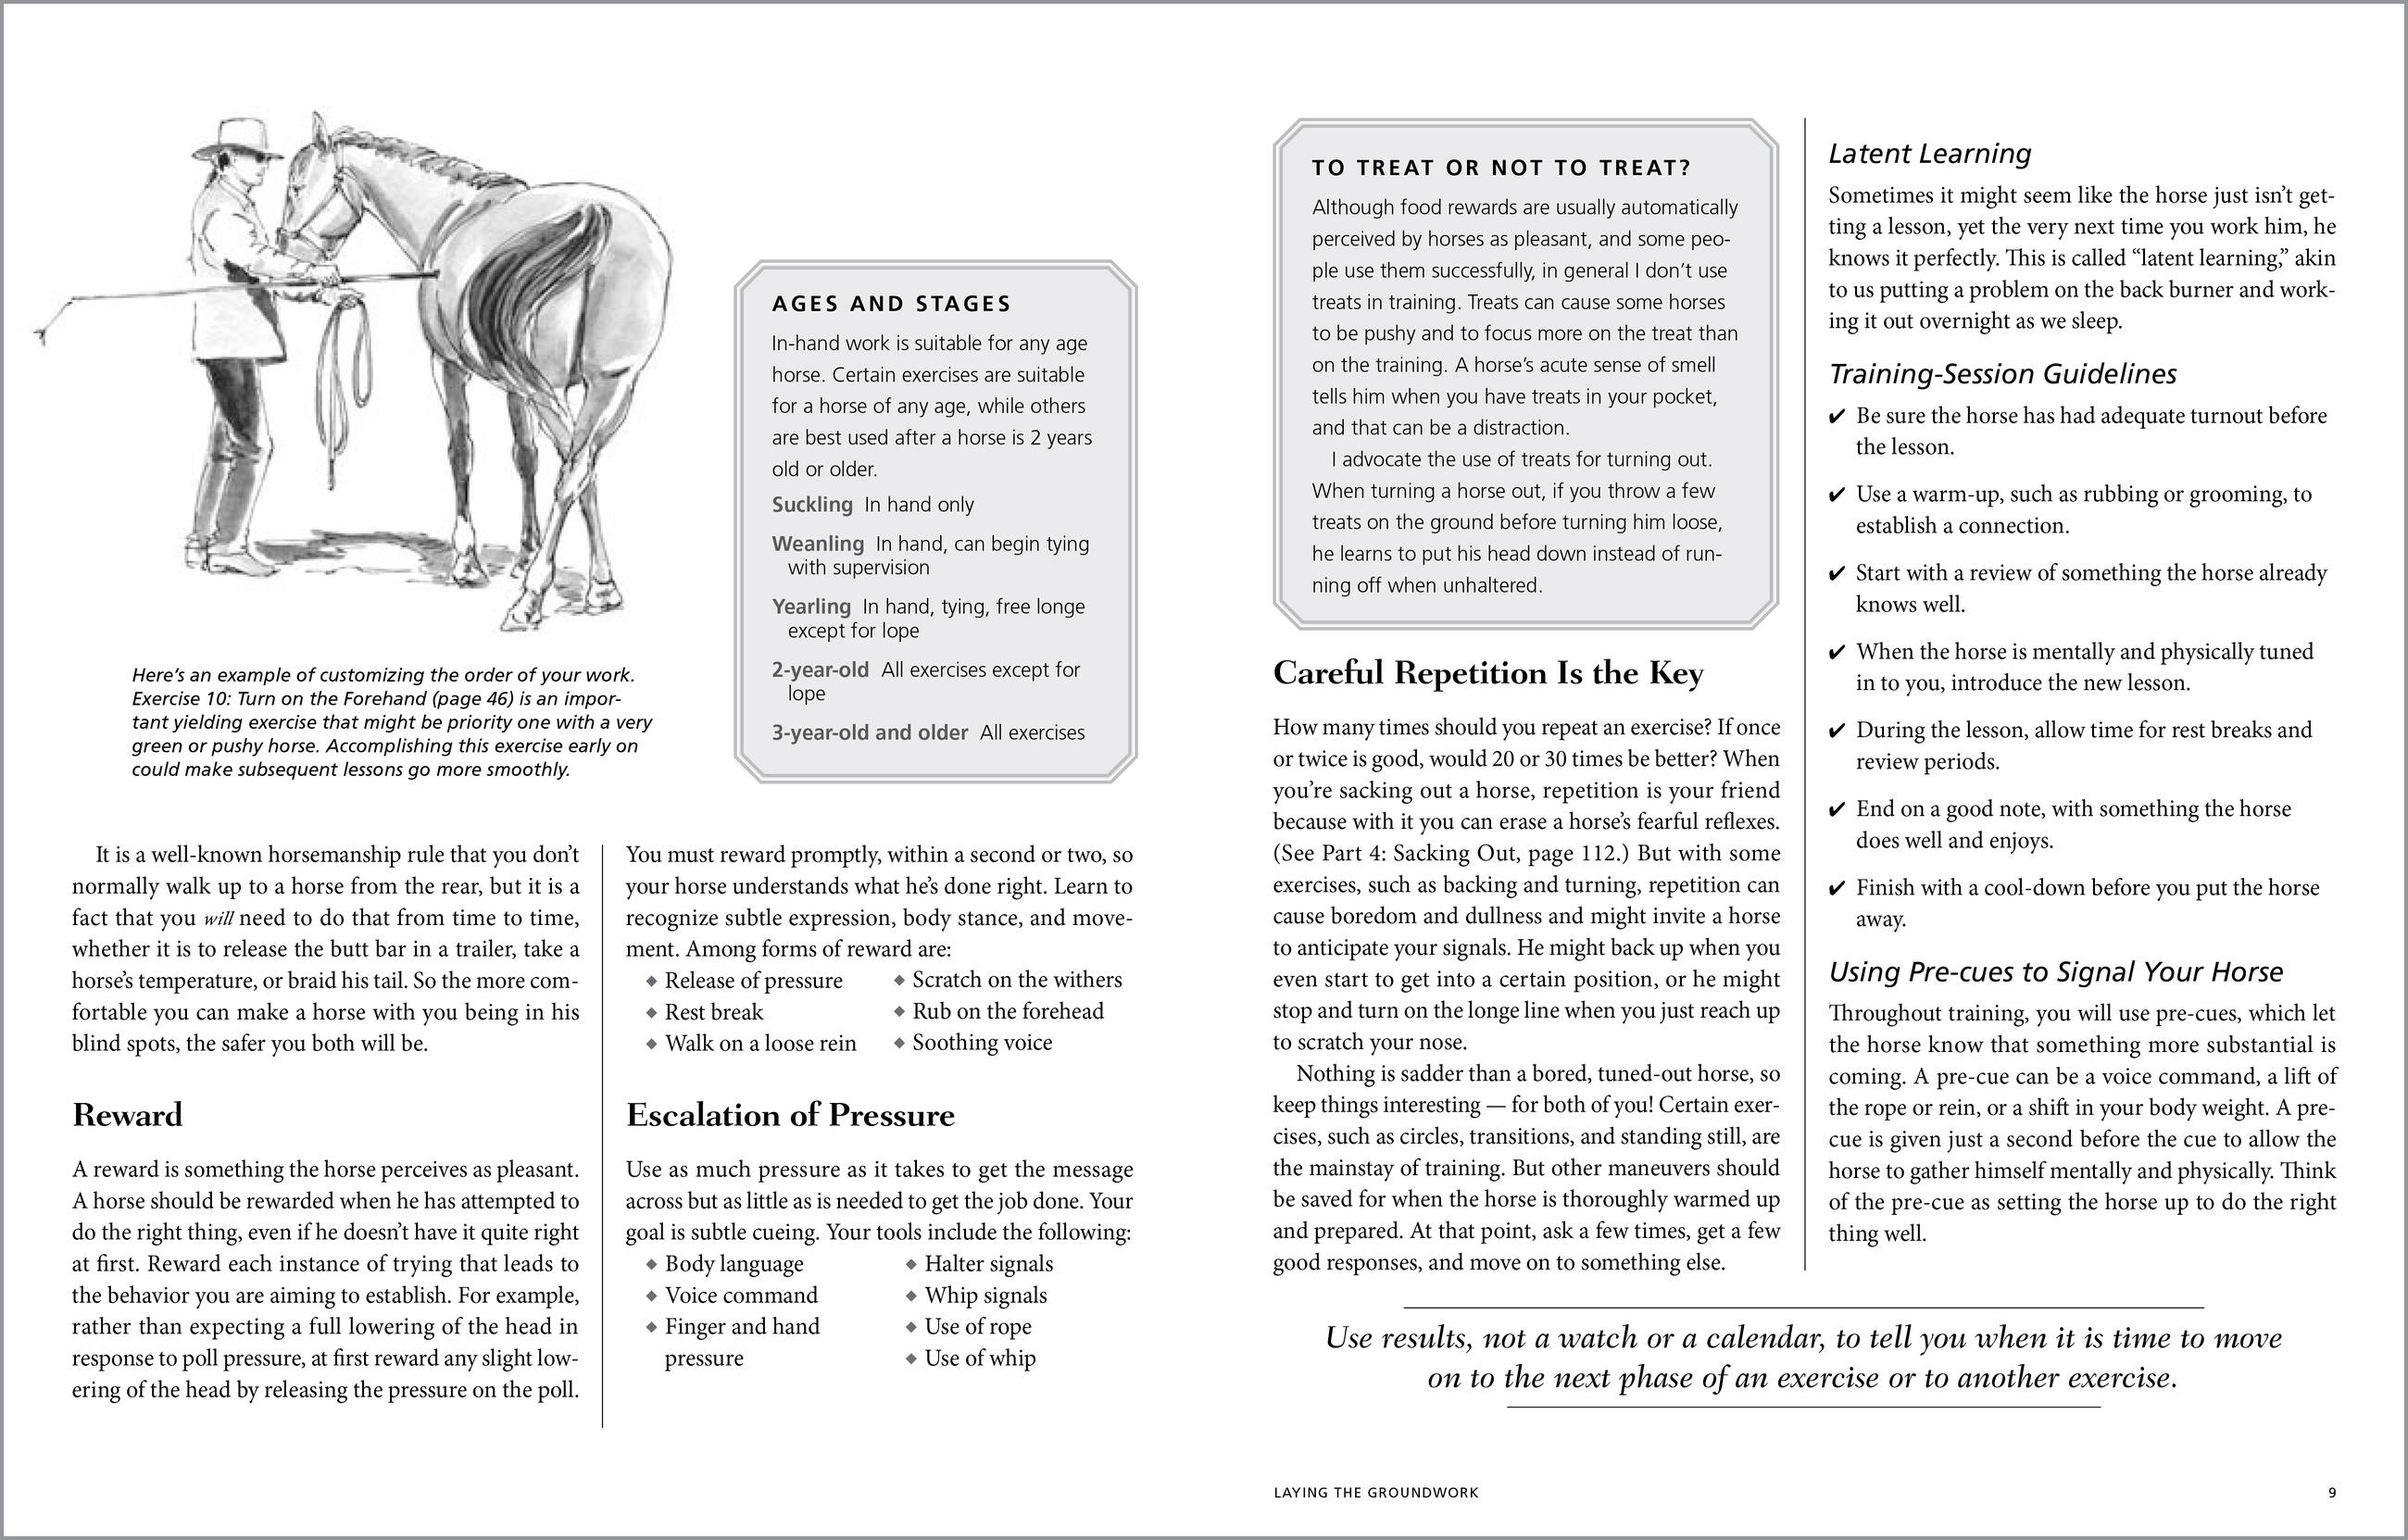
Cherry Hill’s comprehensive collection of 101 ground-training exercises gives you a strong foundation of both in-hand and guide-line skills to work on with your horses.
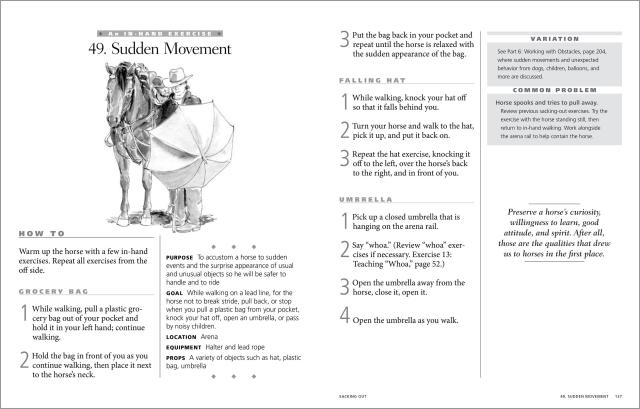
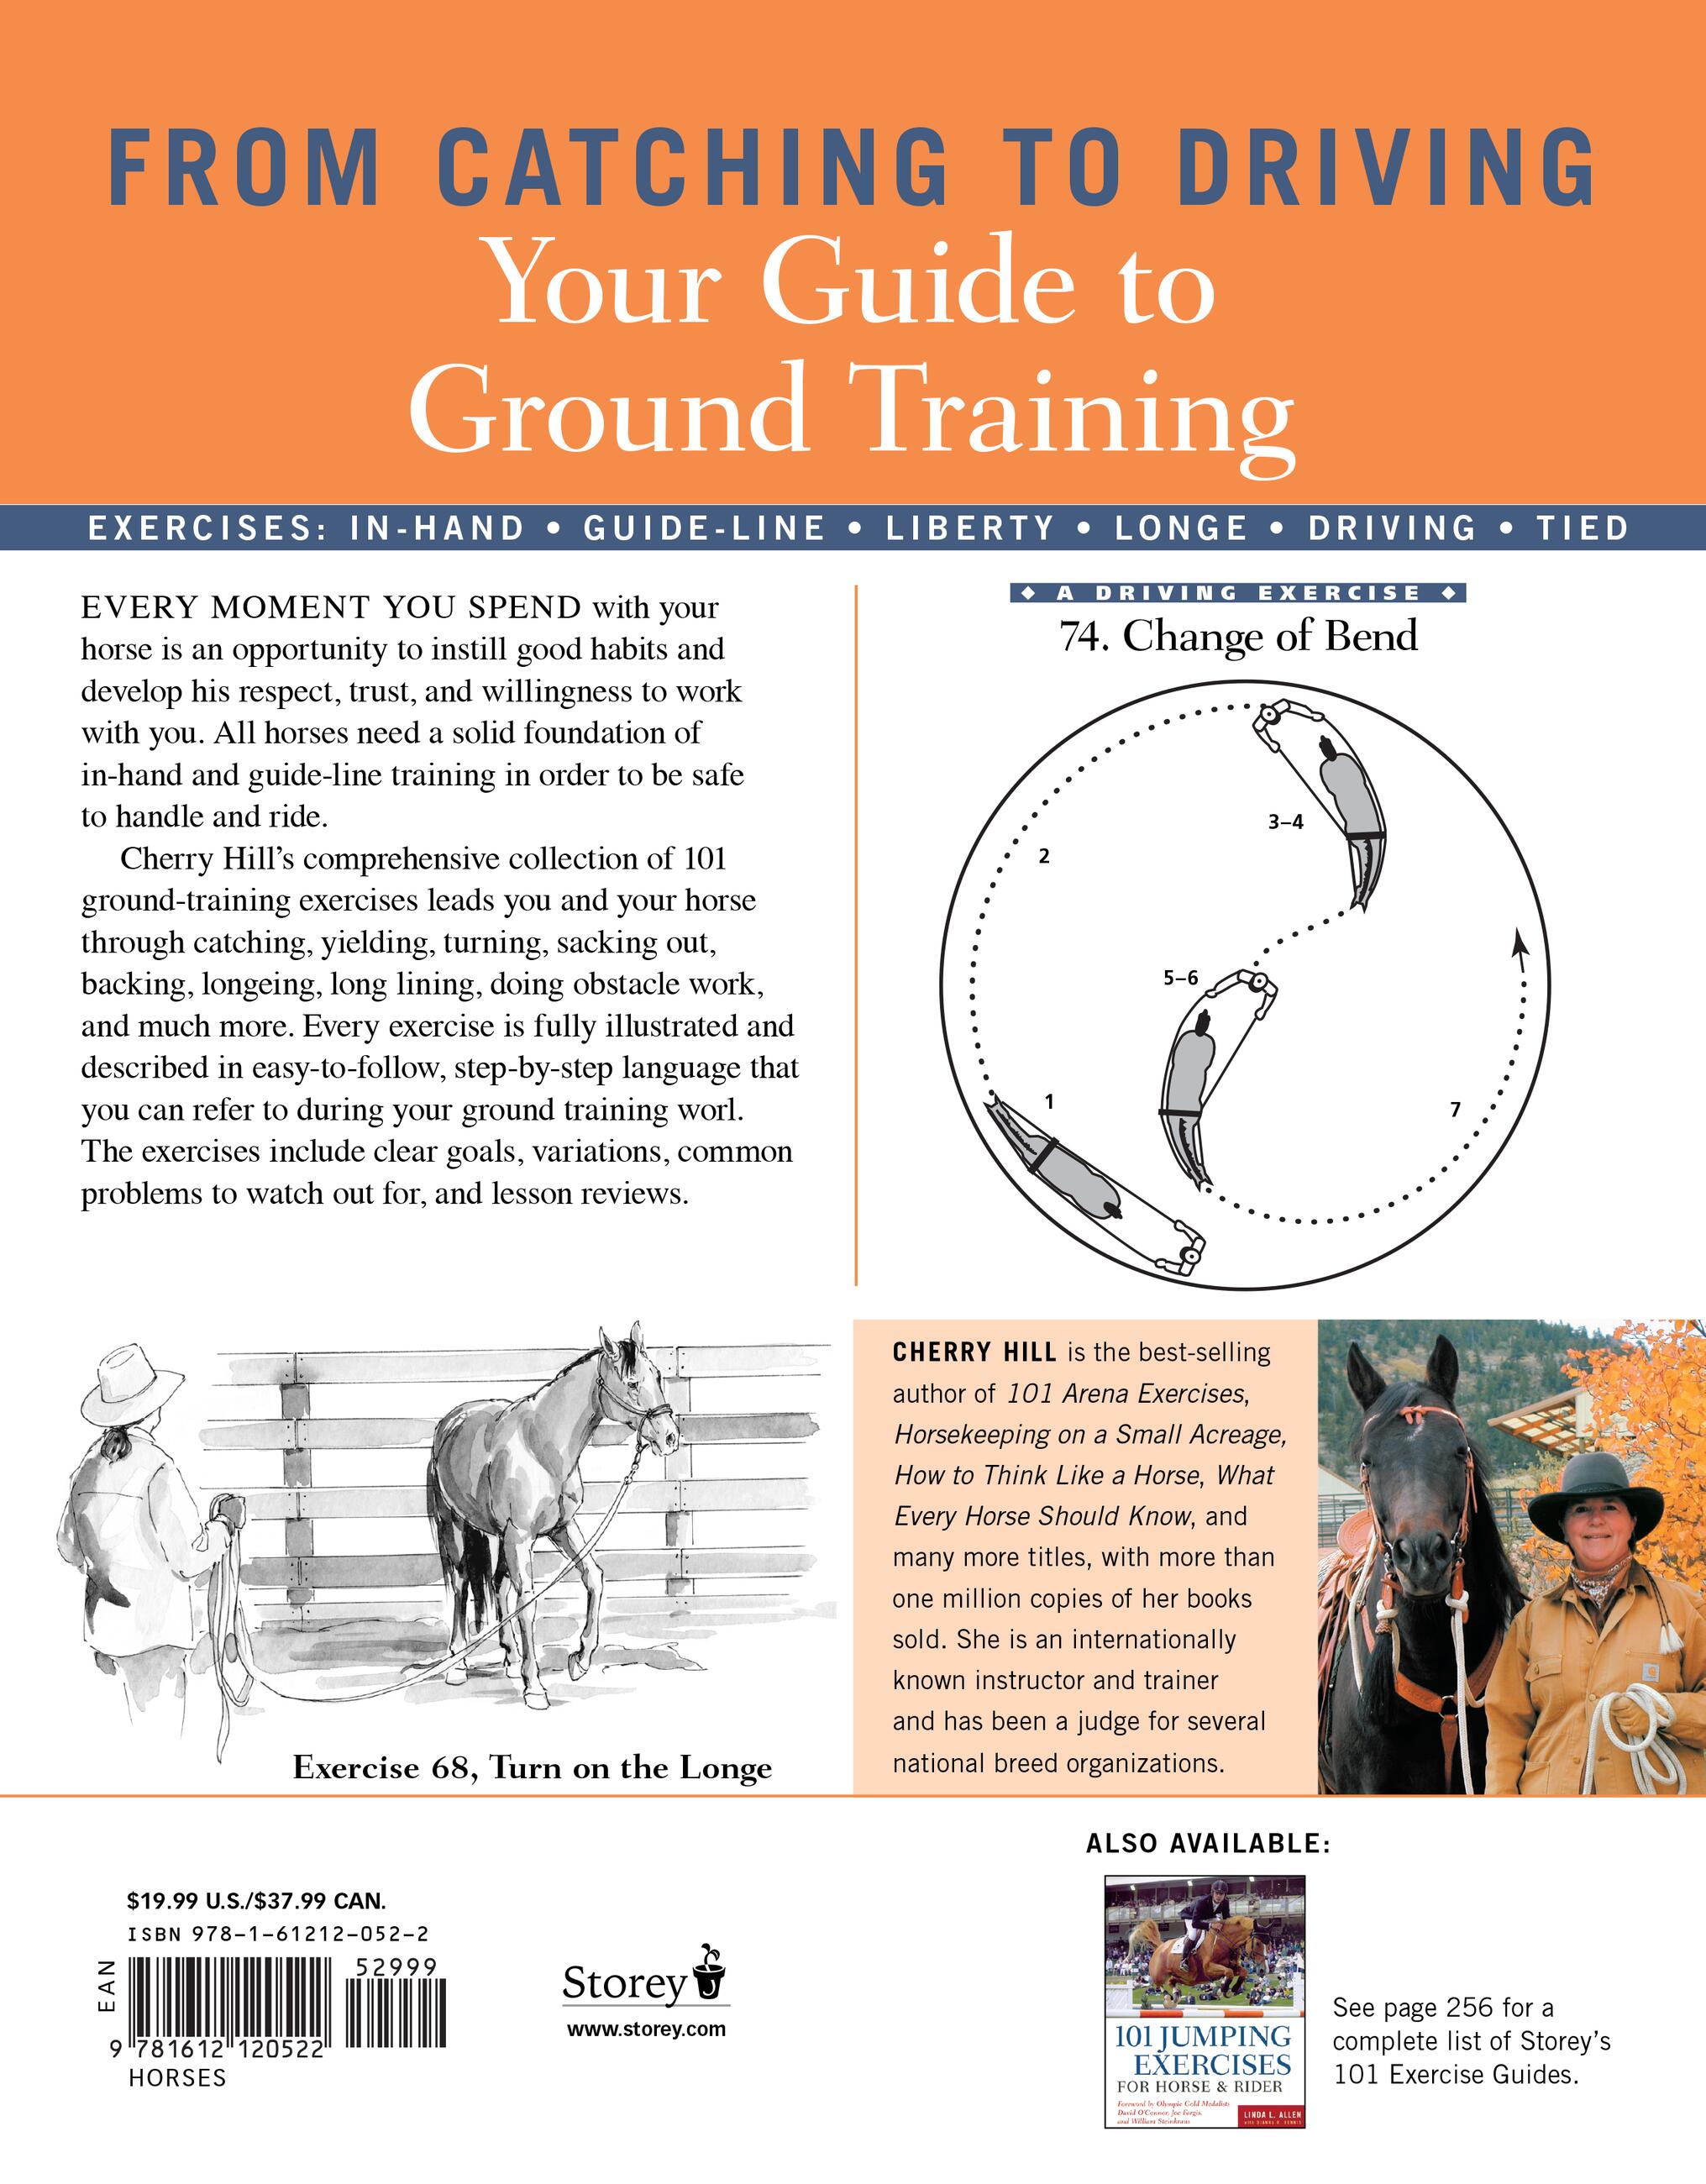
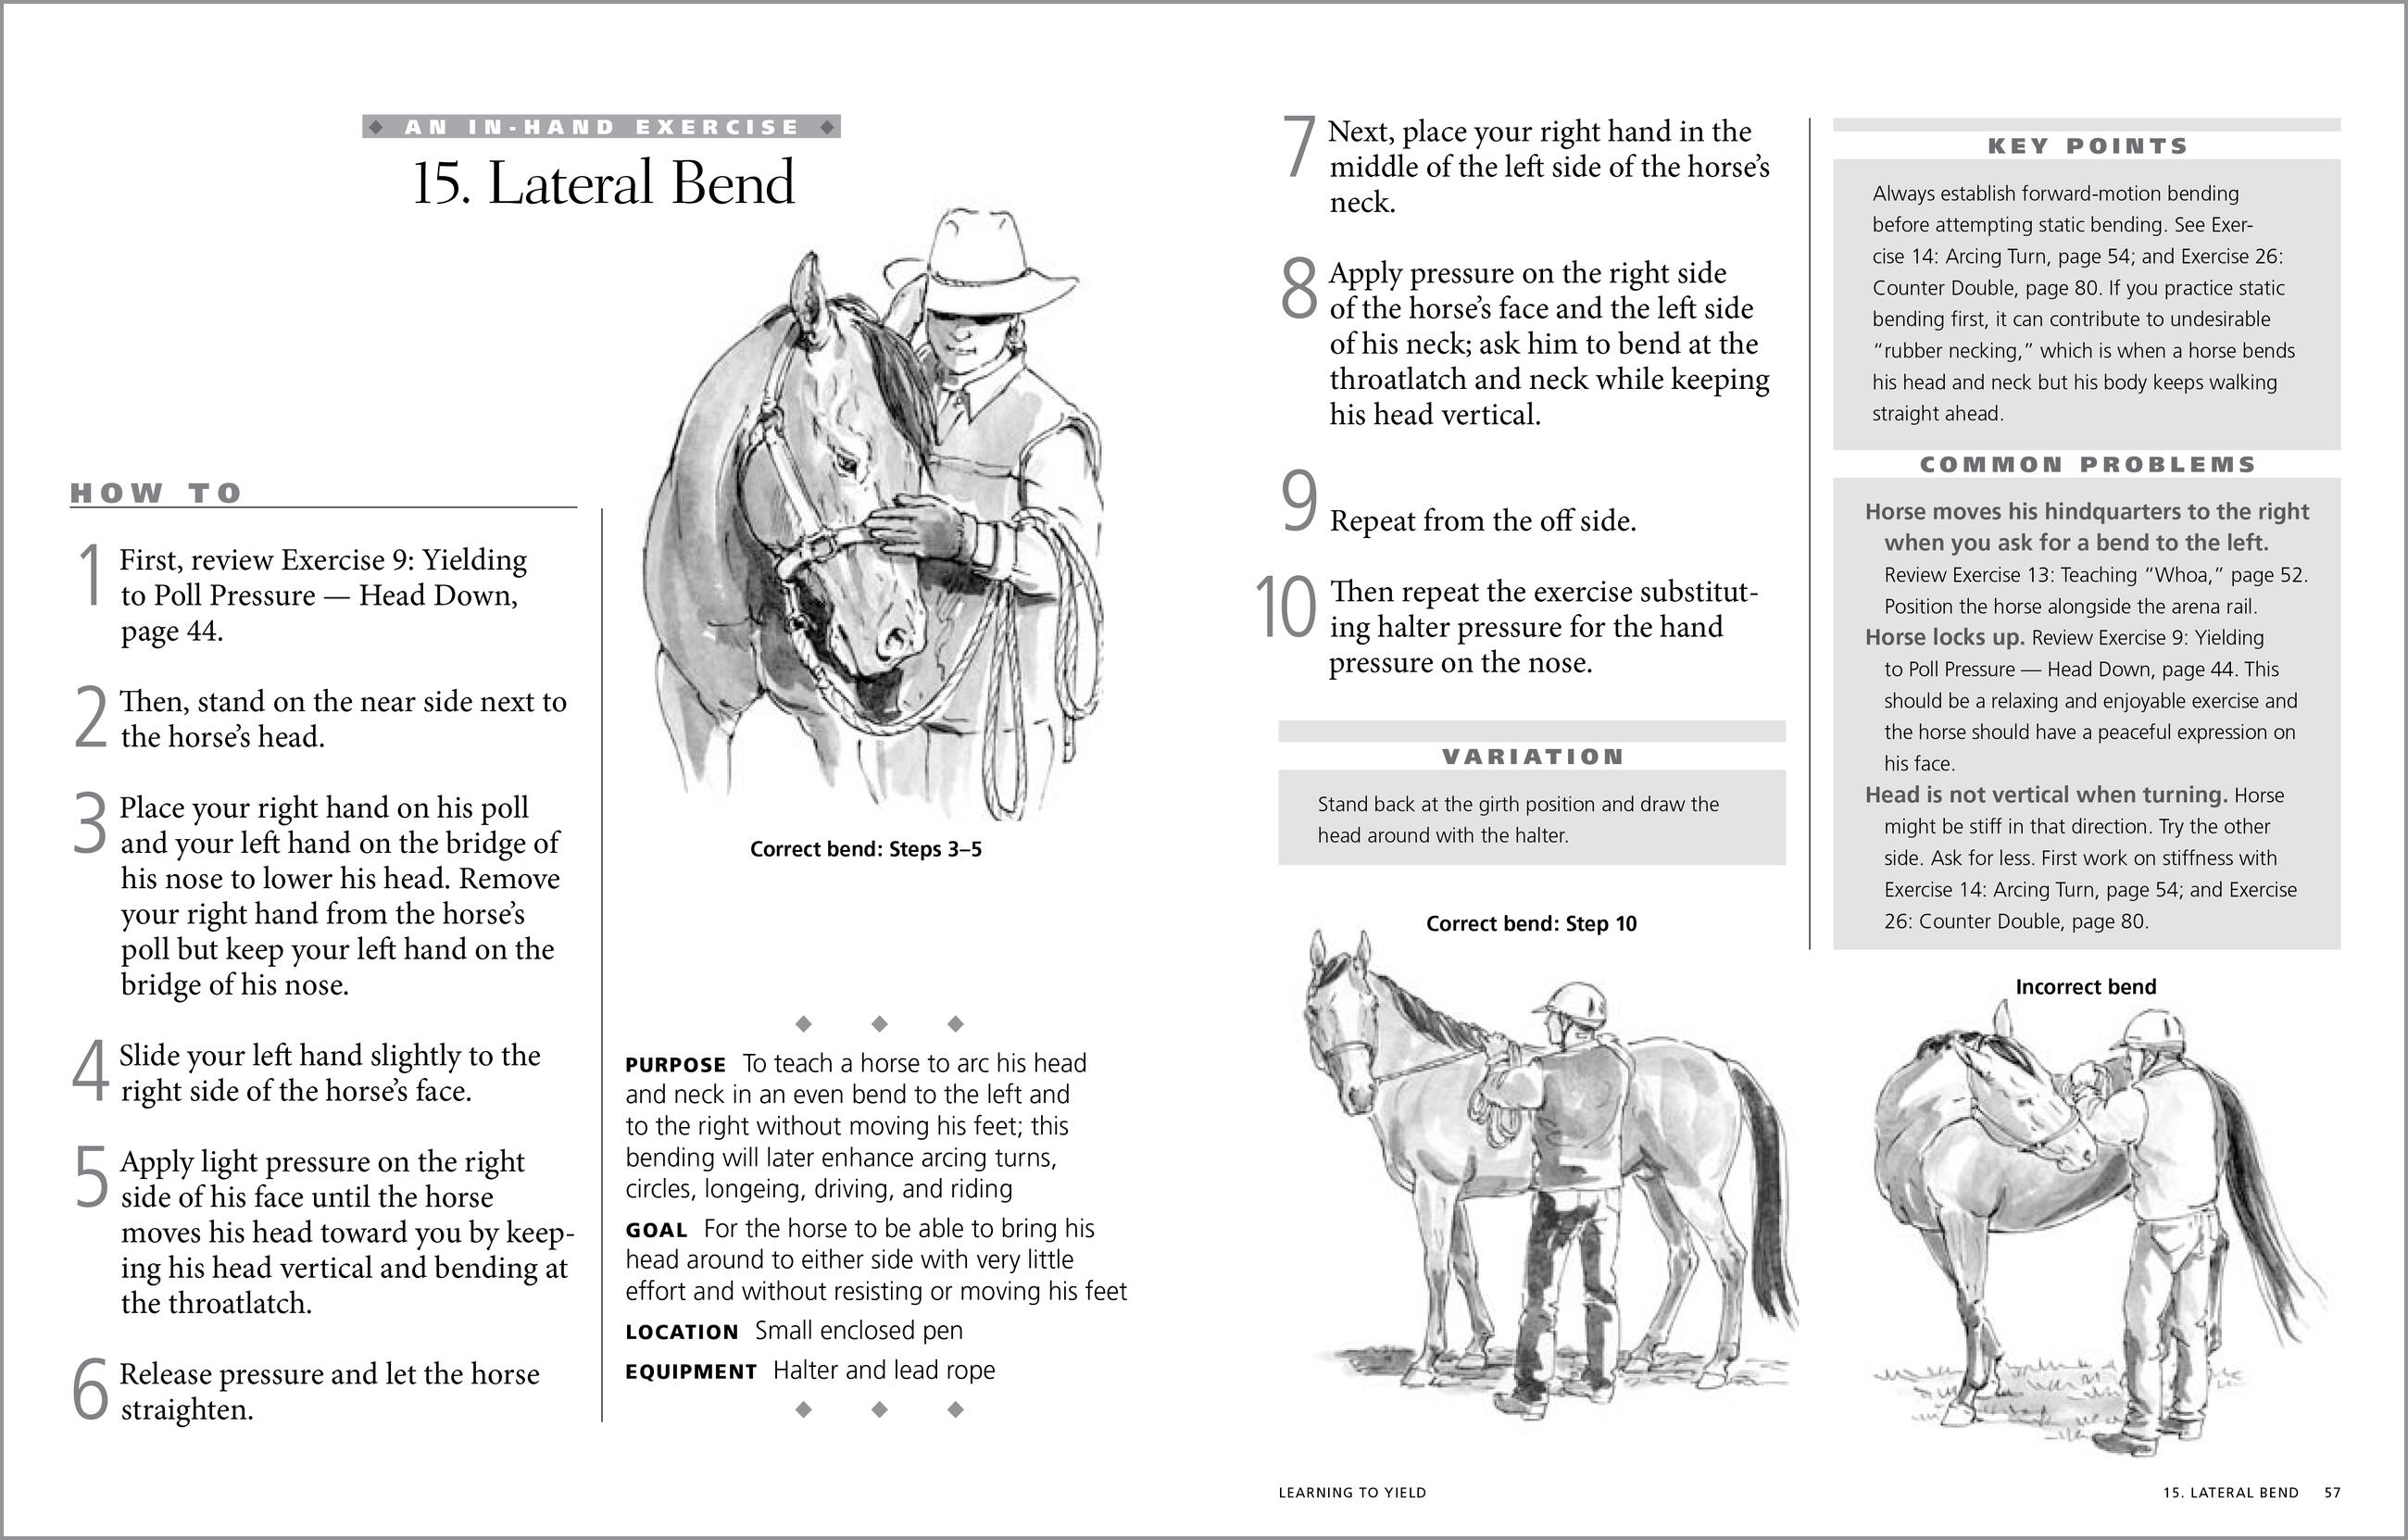
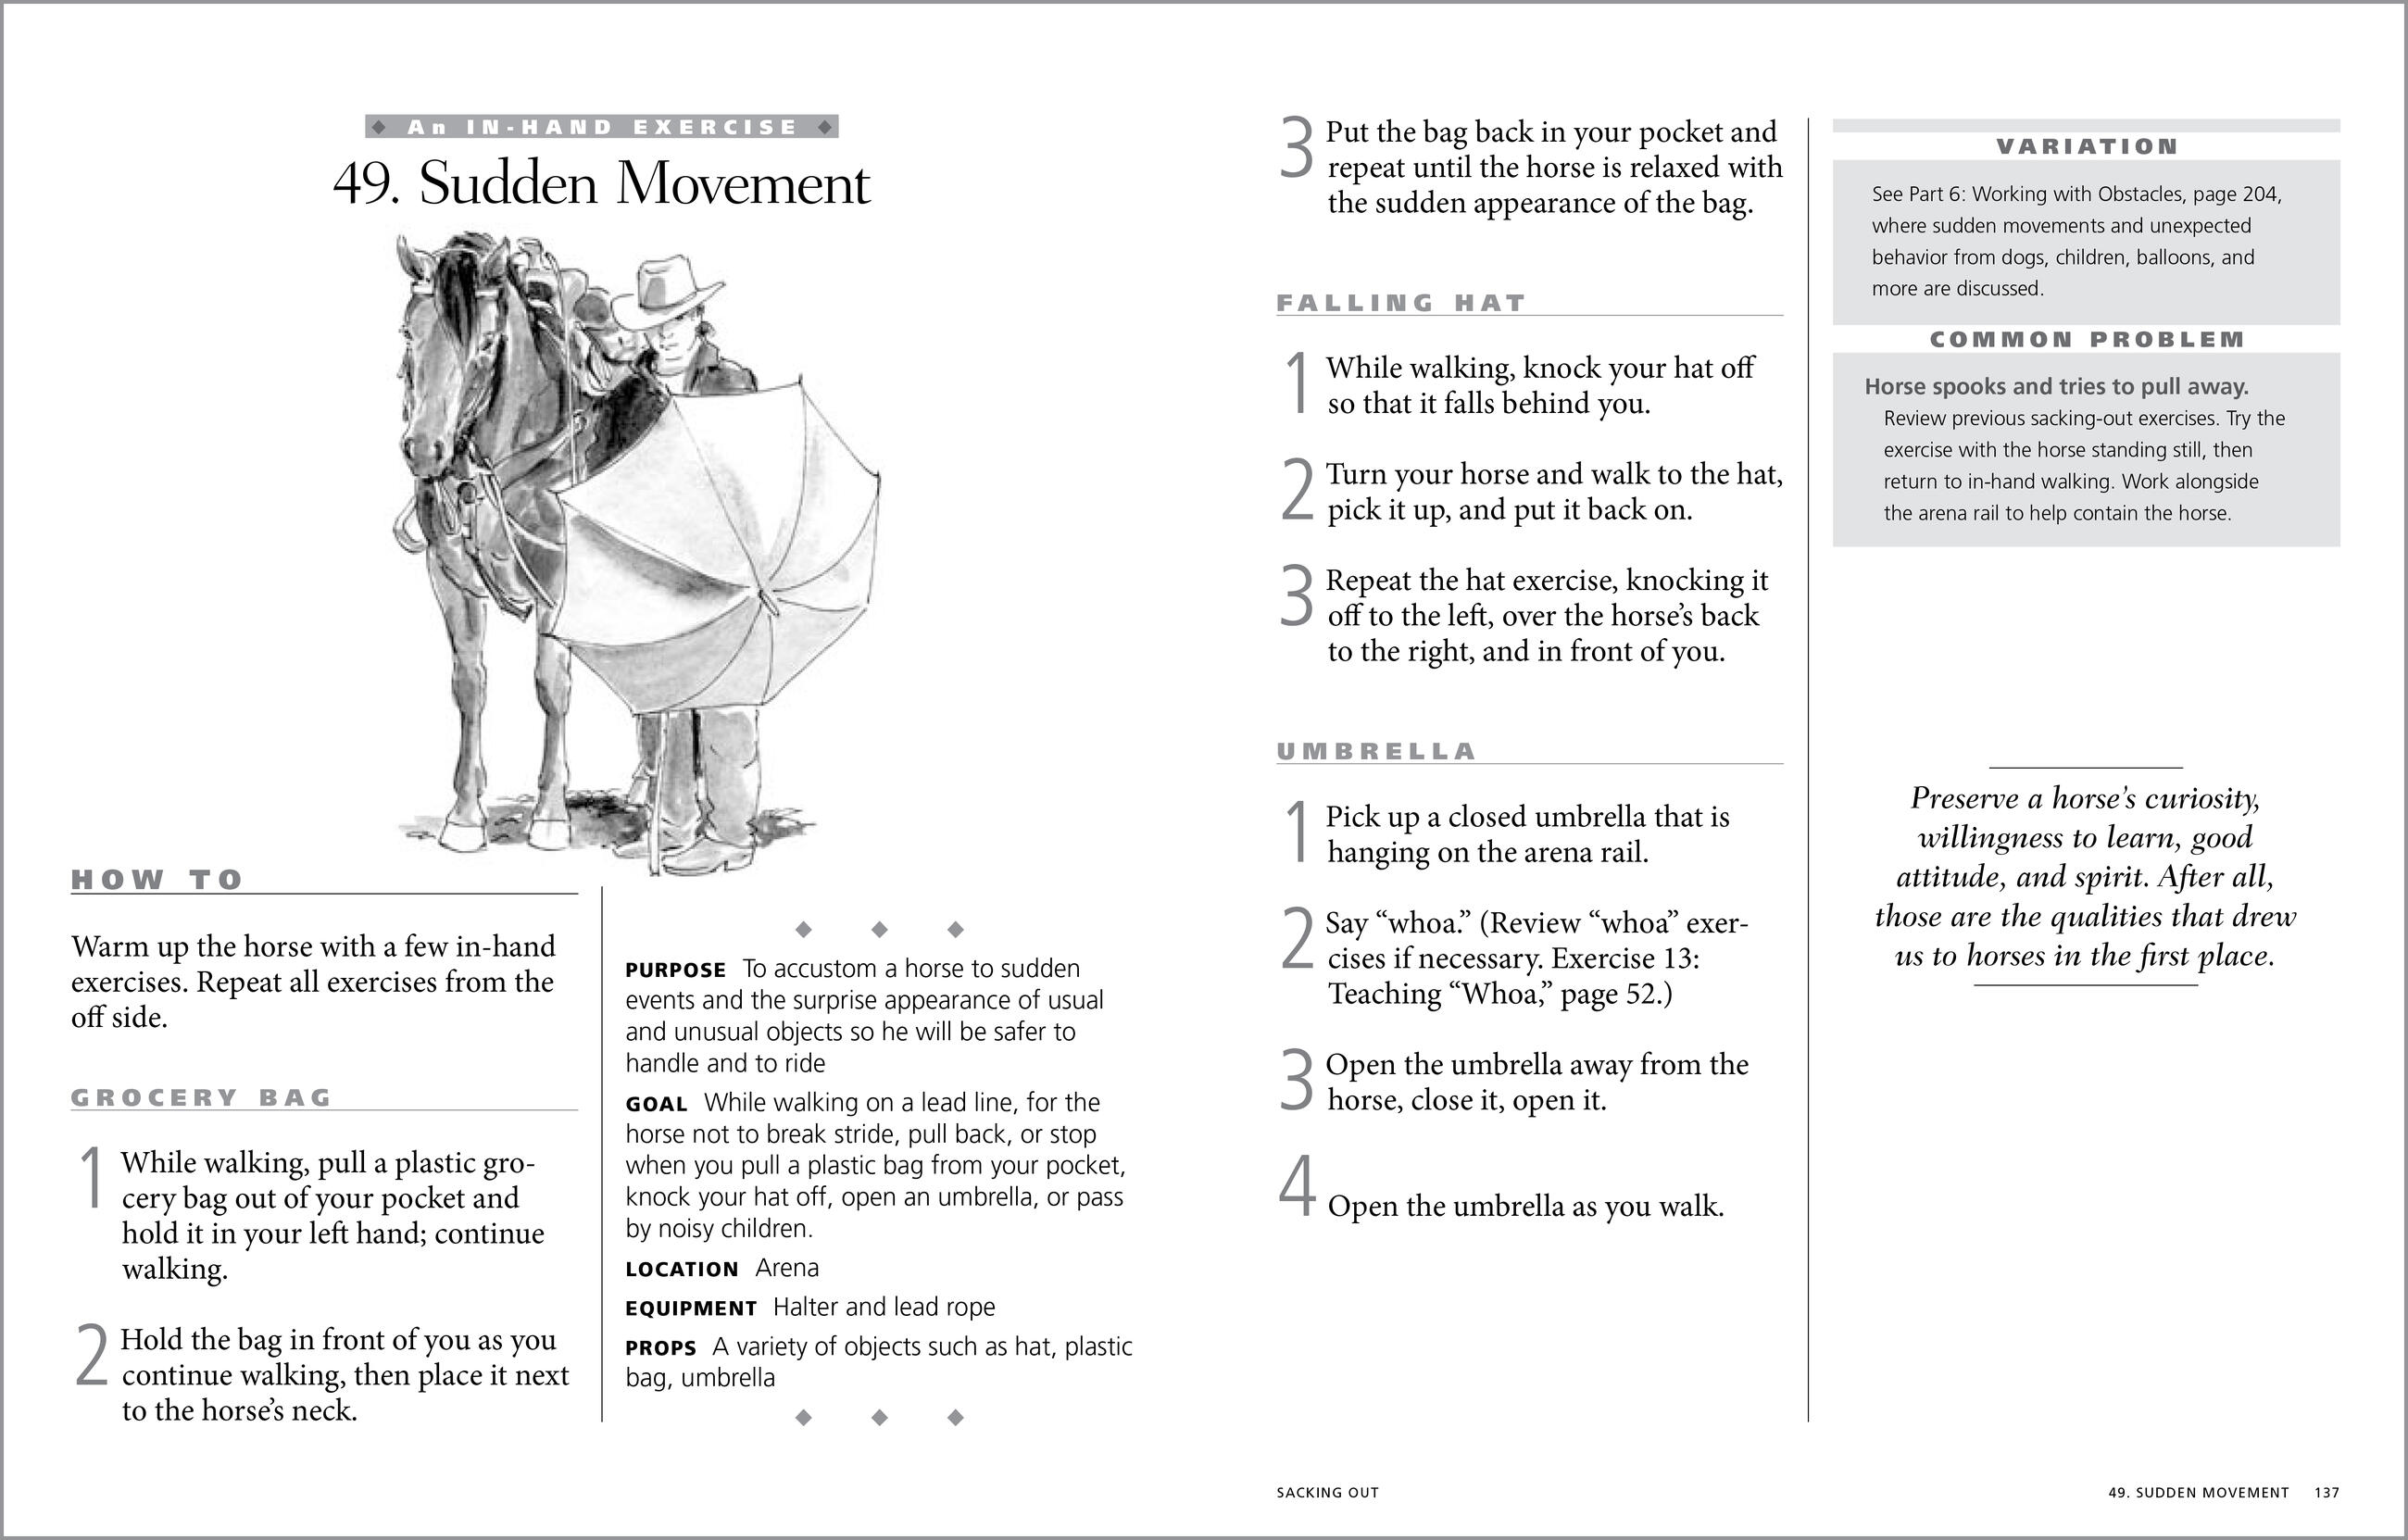
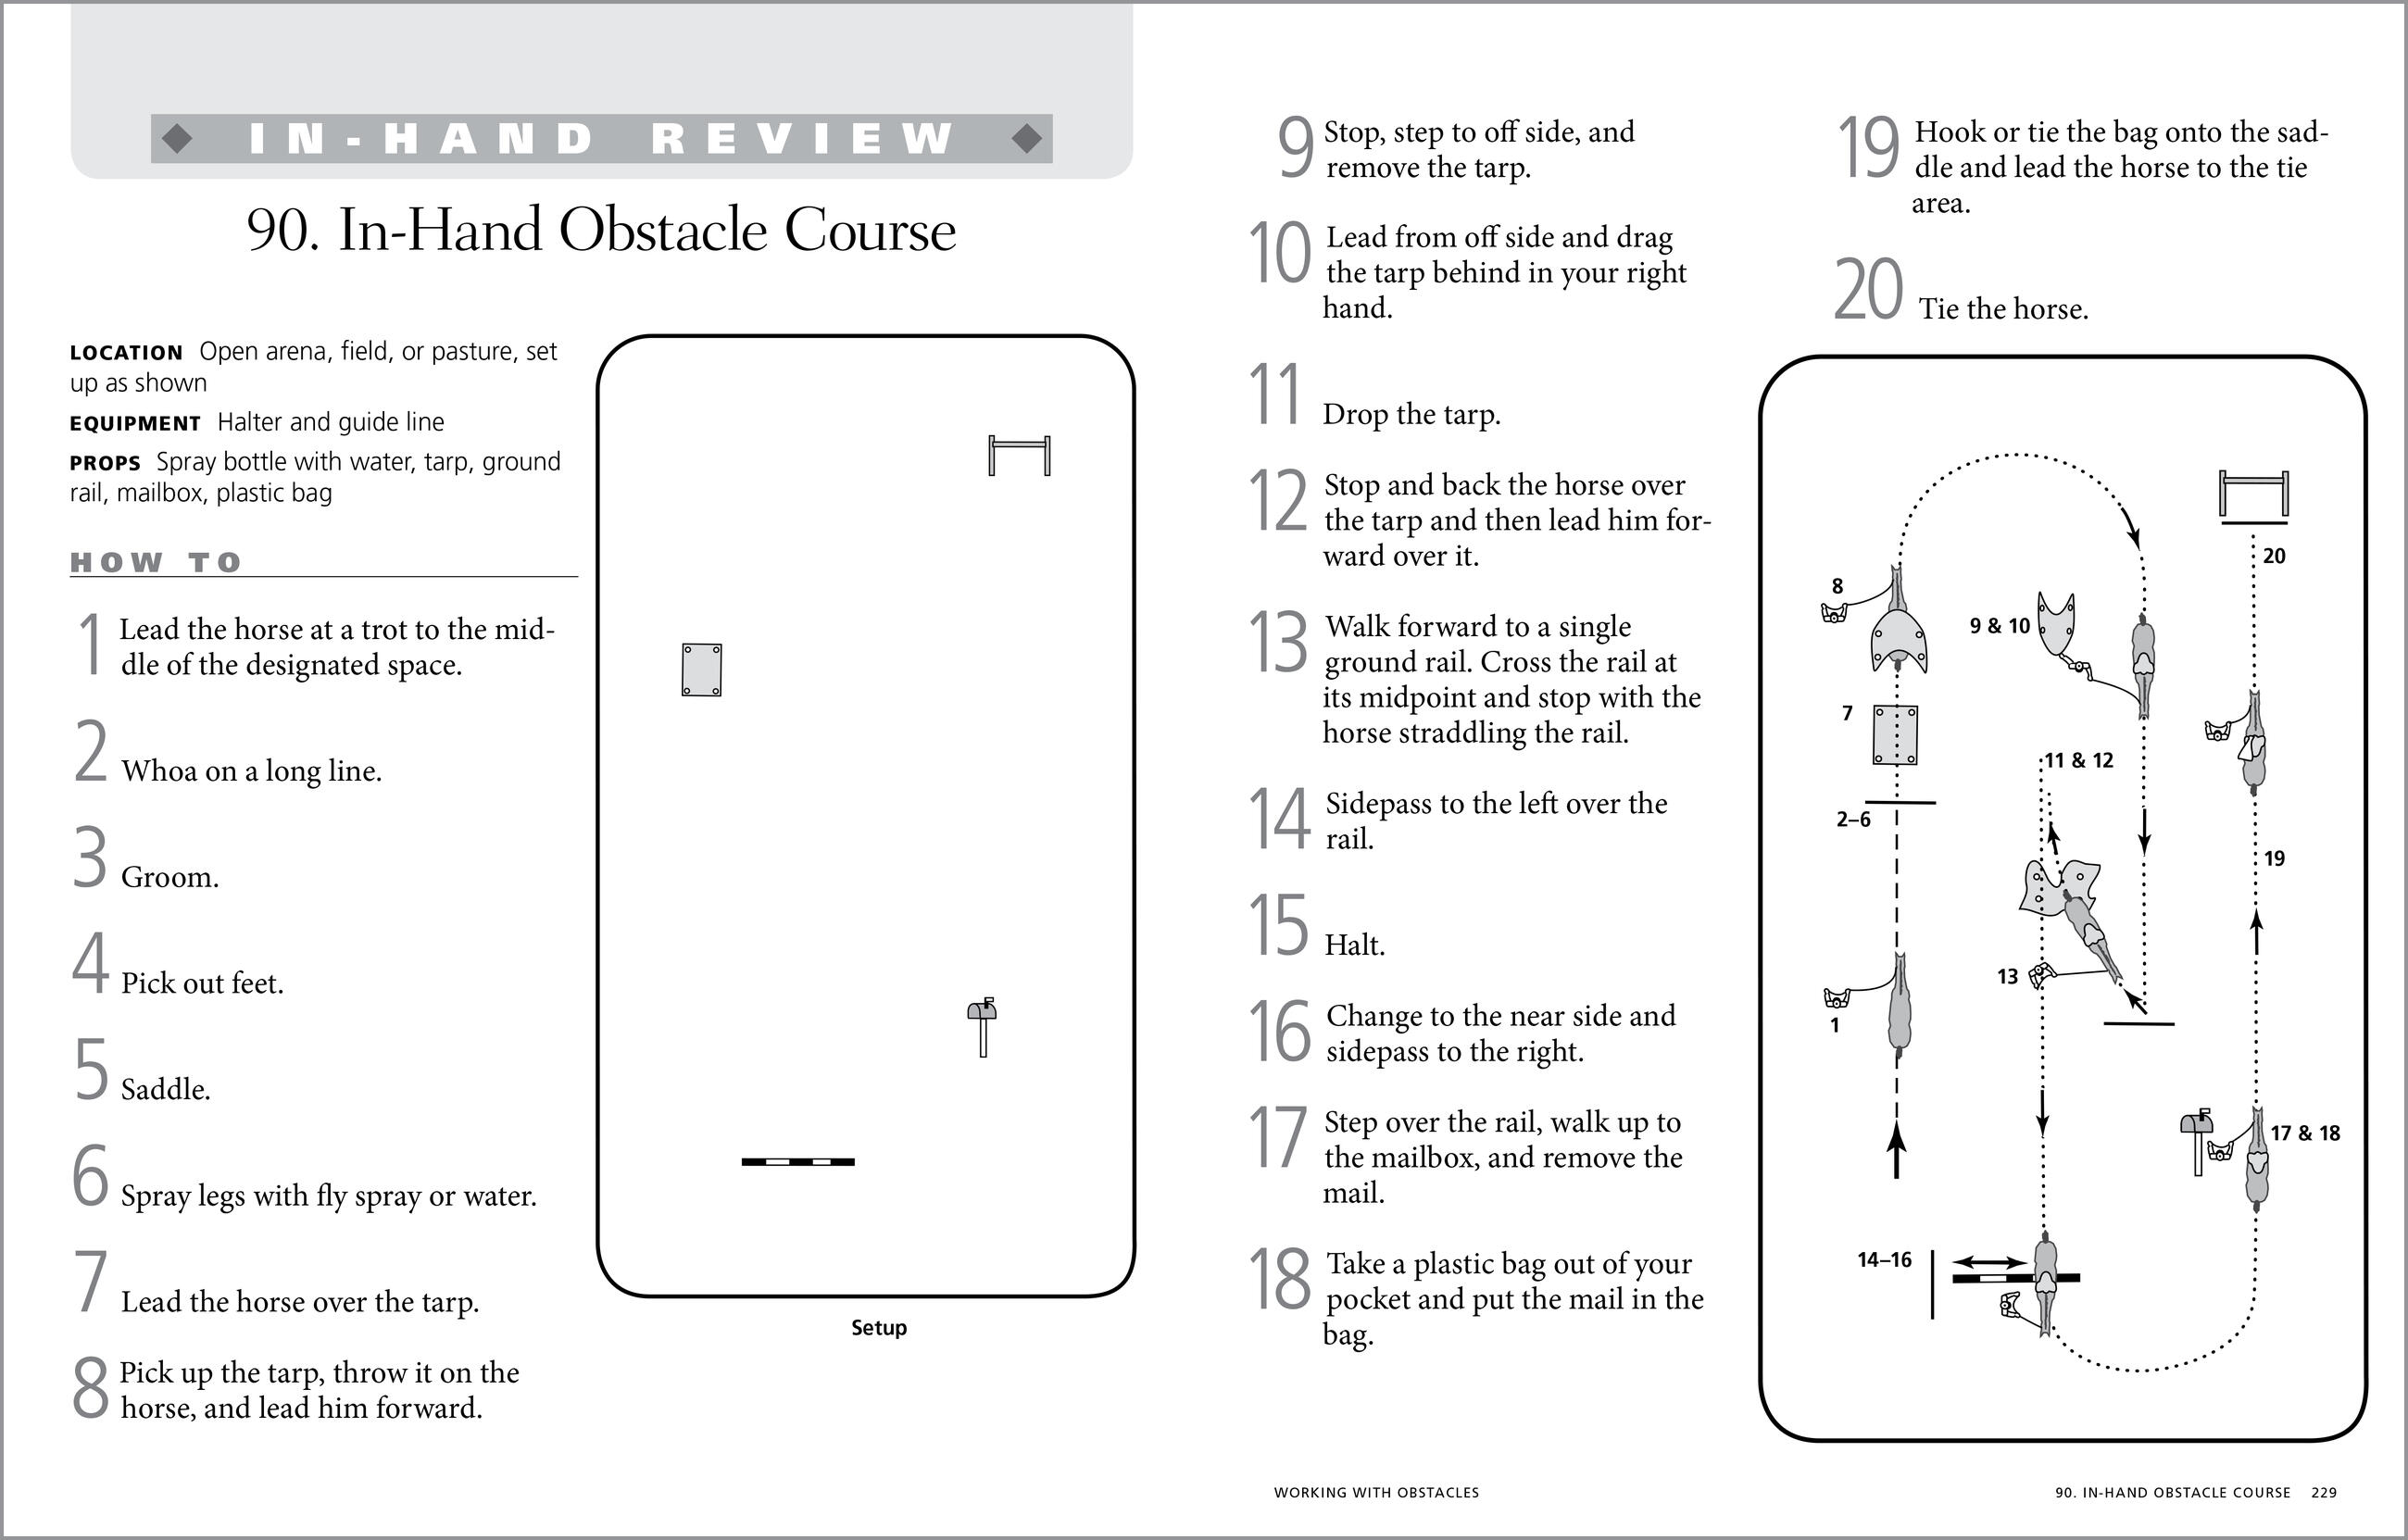
Internationally known instructor and trainer Cherry Hill leads you and your horse through catching, yielding, turning, sacking out, backing, longeing, long lining, doing obstacle work, and much more. Every exercise is fully illustrated and described in easy-to-follow, step-by-step language that you can refer to during your ground training work — simply hang the book in the barn or on a fence post, and you’re ready to go! The exercises include clear goals, variations, common problems to watch out for, and lesson reviews.