Promotion
Use code MOM24 for 20% off site wide + free shipping over $45
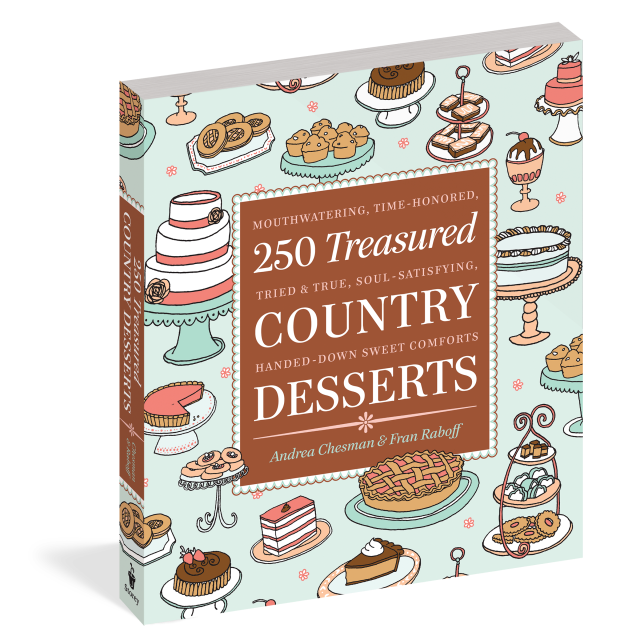
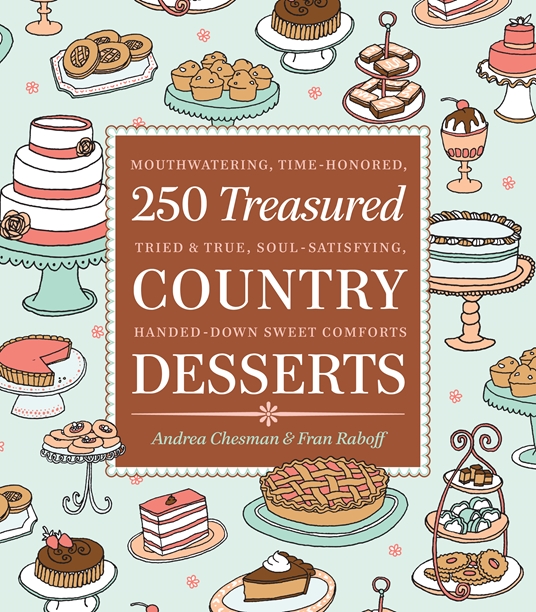
250 Treasured Country Desserts
Mouthwatering, Time-honored, Tried & True, Soul-satisfying, Handed-down Sweet Comforts


Contributors
By Fran Raboff
Formats and Prices
Price
$16.95Price
$22.95 CADFormat
Format:
- Trade Paperback $16.95 $22.95 CAD
- ebook $11.99 $15.99 CAD
This item is a preorder. Your payment method will be charged immediately, and the product is expected to ship on or around August 19, 2009. This date is subject to change due to shipping delays beyond our control.
Also available from:
Nothing beats chocolate chip cookies still warm from the oven, freshly baked shortcake, or a perfect apple pie cooling on the windowsill. 250 Treasured Country Desserts is packed with tried-and-true recipes for the homey treats you’ve loved all your life, with practical tips on how to make gingery ginger snaps, clean-cut brownies, dreamily frosted layer cakes, and much more. You’ll turn to this reliable guide again and again for sweet, satisfying dessert classics.
Genre:
- On Sale
- Aug 19, 2009
- Page Count
- 416 pages
- Publisher
- Storey
- ISBN-13
- 9781603421522
You May Also Like

Newsletter Signup
By clicking ‘Sign Up,’ I acknowledge that I have read and agree to Hachette Book Group’s Privacy Policy and Terms of Use