Promotion
Sign up for our newsletter to get 20% off sitewide!

By clicking “Accept,” you agree to the use of cookies and similar technologies on your device as set forth in our Cookie Policy and our Privacy Policy. Please note that certain cookies are essential for this website to function properly and do not require user consent to be deployed.
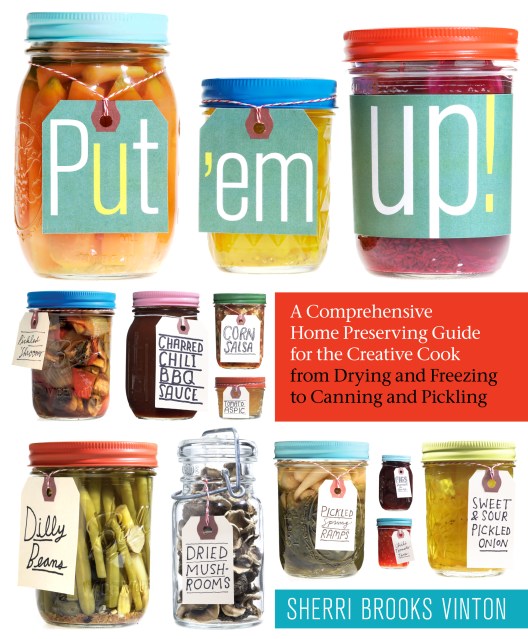
Put ’em Up!
A Comprehensive Home Preserving Guide for the Creative Cook, from Drying and Freezing to Canning and Pickling


Contributors
Formats and Prices
- On Sale
- Jun 2, 2010
- Page Count
- 304 pages
- Publisher
- Storey
- ISBN-13
- 9781603425469
Price
$22.95Price
$28.95 CADFormat
Format:
Trade Paperback $22.95 $28.95 CADThis item is a preorder. Your payment method will be charged immediately, and the product is expected to ship on or around June 2, 2010. This date is subject to change due to shipping delays beyond our control.
Buy from Other Retailers:
With simple step-by-step instructions and 175 delicious recipes, this book will have even the timidest beginners filling pantries and freezers in no time! Put ’em Up! includes complete how-to information for every kind of preserving: refrigerating, freezing, air- and oven-drying, cold- and hot-pack canning, and pickling. Sherri Brooks Vinton includes recipes that range from the contemporary and daring — Wasabi Beans and Salsa Verde — to the very best versions of tried-and-true favorites, including Classic Crock Pickles and Orange Marmalade.
Genre:
-
“Vinton appeals to the new food hipster by providing basic information and recipes for a variety of likely concoctions. She excels at boiling down information into easy prose, providing the reasons why certain steps are important, and anticipating the questions that a beginner might have. Her emphasis is on making food preservation possible and fun, with no fancy ingredients and few single-use gadgets.”San Francisco Book Review
-
“Revive your grandmother’s tradition of home-preserving the season’s bounty with Put ‘Em Up!. This delicious guidebook will inspire you to pickle, jelly, and freeze like an old pro. From classic canning techniques to tips on freezing and even making hot pepper ristras, you’ll enjoy summer’s ripeness year-round. The author’s can-do writing style will surely empower you. Happy canning! ”Waterbury Republican-American
-
“The author helps home canners take the fear out of the process by explaining each process with the aid of easy to follow illustrations and graphics, perfect for keeping first timers on track.”