Promotion
Sign up for our newsletter to get 20% off sitewide!

By clicking “Accept,” you agree to the use of cookies and similar technologies on your device as set forth in our Cookie Policy and our Privacy Policy. Please note that certain cookies are essential for this website to function properly and do not require user consent to be deployed.
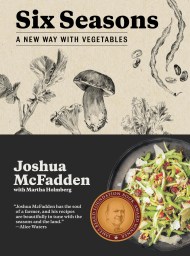
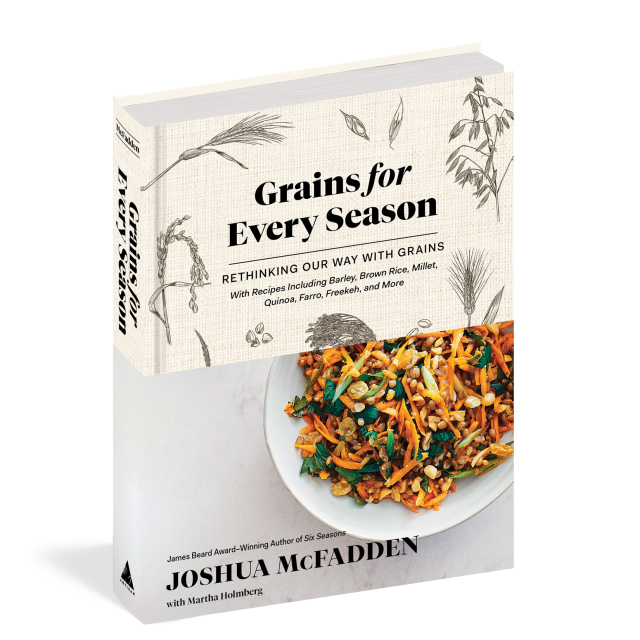
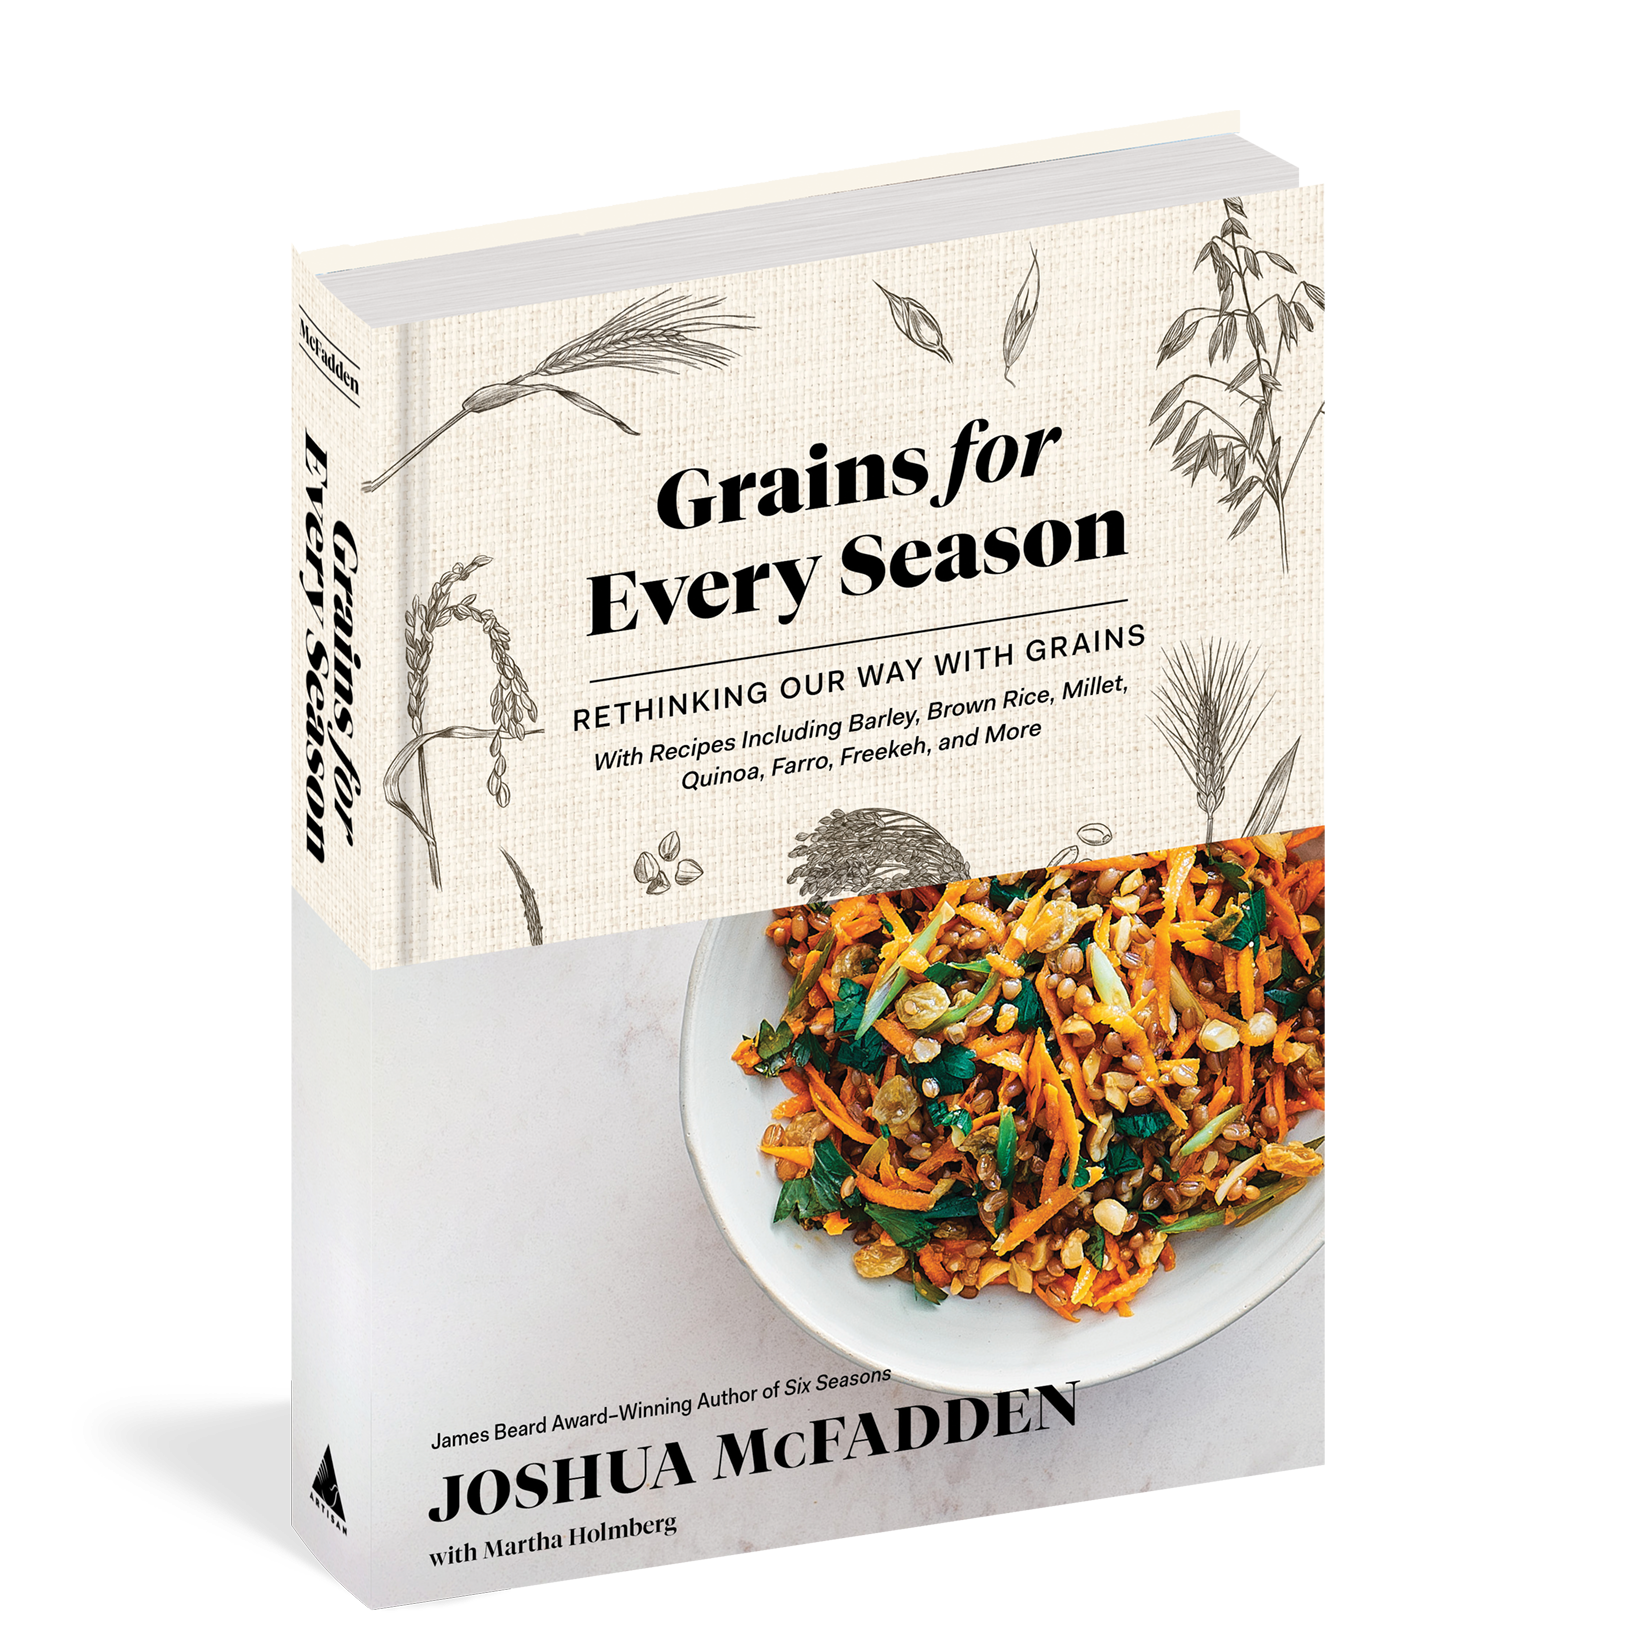
Grains for Every Season
Rethinking Our Way with Grains


Contributors
Formats and Prices
- On Sale
- Nov 23, 2021
- Page Count
- 368 pages
- Publisher
- Artisan
- ISBN-13
- 9781579659561
Price
$40.00Price
$50.00 CADFormat
Format:
- Hardcover $40.00 $50.00 CAD
- ebook $18.99 $24.99 CAD
This item is a preorder. Your payment method will be charged immediately, and the product is expected to ship on or around November 23, 2021. This date is subject to change due to shipping delays beyond our control.
Buy from Other Retailers:
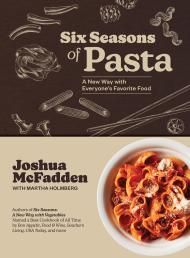
From the James Beard Award-winning and perennially bestselling Six Seasons series, comes a book that applies a maximalist approach to flavor and texture to cooking with grains.
These knock-your-socks-off recipes include salads, soups, pastas, pizzas, grain bowls, breads—and even desserts. McFadden works as intuitively, as surprisingly, as deliciously with whole grains as he does with vegetables. Grains for Every Season will change the way we cook with barley, brown rice, buckwheat, corn, millet, oats, quinoa, rye, wheat (bulgur, farro, freekeh, spelt, wheat berries, and whole wheat flour), and wild rice.
The book’s 200 recipes are organized into chapters by grain type, unlocking information on where each one comes from, how to prepare it, and why the author—the multi-award-winning chef/owner of Ava Gene’s in Portland—can’t live without it. McFadden uses grains both whole and milled into flour. The many gluten-free recipes are clearly designated.
McFadden reveals how each grain can be used in both savory and sweet recipes, from Meat Loaf with Barley and Mushrooms to Peanut Butter-Barley Cookies; from Buckwheat, Lime and Herb Salad to Buckwheat Cream Scones. He folds quinoa into tempura batter to give veggies extra pop and takes advantage of the nutty flavor of spelt flour for Cast-Iron Skillet Spelt Cinnamon Rolls. Four special foldout sections highlight seasonal variations on grain bowls, stir-fries, pizzas, pilafs, and more, to show how flexible and satisfying cooking with grains can be.
“A gift to readers … For McFadden, flavor comes first.”—Booklist, Top 10 Cookbooks of the Year
Named a Best Book of the Year and a Holiday Gift Pick by Amazon
Named a Best Cookbook the Year by Food52, Booklist, and Library Journal
James Beard Award Finalist
Genre:
Series:
-
“These are some of the most wholesome and wholly delicious things you can eat, period. . . . Each chapter [of Grains for Every Season] has cooking techniques and nutritional breakdowns that unlock the mysteries of the whole grain pantry, from barley to wheat berries. But the fact that they're great for you is secondary to how good they taste.”Closer Weekly “If you’re a vegetable lover, you probably bought the American chef Joshua McFadden’s bestselling Six Seasons (it’s one of the best vegetable books I own) so I’m glad to see this follow up on whole grains. The background information on each grain is excellent (though the book is not encyclopaedic, which is a plus). There’s plenty of advice, to—how to toast grains, sprout them and cook them by the absorption method. It’s the dishes, though, that will sway you.”—Diana Henry, Sunday Telegraph (U.K.), The 20 Best Cookbooks to Buy This Autumn “Novel takes on recipes for every meal (including dessert) . . . This is a gift to readers, inviting them to buy a single bag of grain and experiment with its uses at different meals and in both cooking and baking. McFadden also offers clear and concise advice on how to store and prep these grains and information on their health benefits. But this isn’t a cookbook about healthy eating. For McFadden, flavor comes first.” —Booklist, STARRED REVIEW “Joshua McFadden gives new life to ancient—and contemporary—grains. From maple millet bread and barley burgers, to super-fudgy oat cake and “Cracker Jack”-seasoned caramel corn . . . Grains for Every Season changes the grain game!”—David Lebovitz, author, Drinking French and My Paris Kitchen “Whole grain lovers, rejoice! How lucky are we to explore the delicious world of whole grains with Joshua McFadden’s new cookbook. I recommend starting with Joshua’s grain-centric veggie burgers. After giving them a try, you won't make burgers any other way.”—Roxana Jullapat, baker and author, Mother Grains: Recipes for the Grain Revolution
I>GQ
“Joshua McFadden and his co-author Martha Holmberg write with authority, clarity and passion; it’s impossible to read [Grains for Every Season] without wanting to rush into the kitchen. And you will be glad you did. . . . [McFadden’s] sense of flavour and the balance of textures is unerring; with him, you know dinner will always be a delight. His food is hearty and yet elegant, inventive but never tricksy.”
—Nigella Lawson “The bigger your family, the greater the likelihood you'll need to accommodate a wide variety of diets. Hence one can't overestimate the value of a good plant-based cookbook. One of the year's most versatile is Grains for Every Season by Joshua McFadden and Martha Holmberg. Whether you've never quite figured out your way around farro or you just want more quinoa in your life, these whole grains can radically alter your definition of breakfast (Millet Morning Porridge), entrées (Meat Loaf with Barley and Mushrooms), breads (Spelt Buttermilk Biscuits), and sweets (Chocolate Rye Brownies with Cashew Swirl).”
—NPR
“McFadden’s modern and accessible approach to cooking brings a kinetic excitement to your kitchen. From quick weekday meals and breakfasts to more complex projects, the recipes ring clear with encouragement and allow for variety and spontaneity.”
I>Edible Los Angeles, The Season’s Most Delicious Reads
“Easy and delicious.”