Teeny Tiny Apple Pies for Kid Bakers
Baked in a muffin tin, these mini pies are a great way for young bakers to practice making perfect crust — with plenty of delicious results to go around!
Piecrust has a reputation for being tricky, even for experienced cooks and bakers. The secret to keeping it flaky is keeping the fat in the dough cold and not to overwork it. Using something other than your warm hands to blend the butter with the dry ingredients helps. The easiest way to mix up a piecrust is in a food processor. The trick is to start with cold butter and ice water and to mix the dough by pressing the pulse button in short bursts until the texture of the dough looks like sand. Don’t mix it too much or your crust may turn out chewy instead of flaky and tender.
Don’t have a food processor? You can mix the ingredients together in a large bowl with a pastry cutter or even two forks. It’s a little harder to get the mixture to look sandy, so use your muscles!
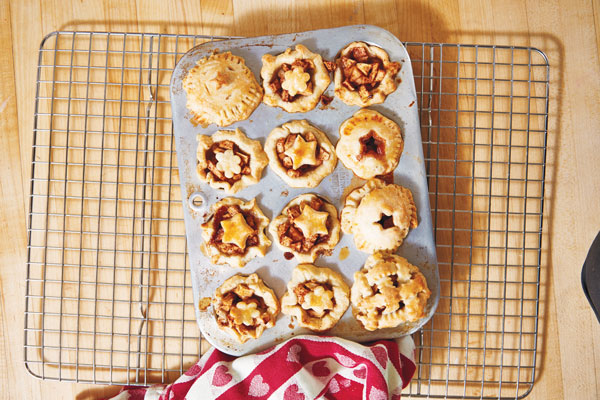
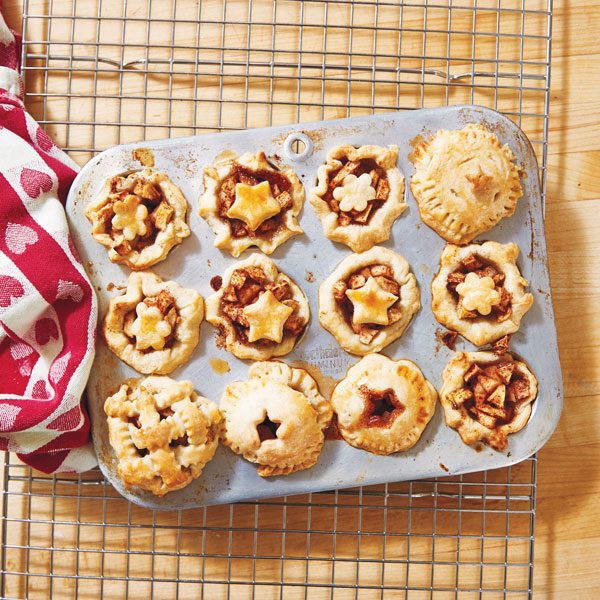
What we love most about this recipe is that you get a lot of delicious reward for your work. Baked in muffin tins, rather than a regular-sized pie plate, these little treats allow you to be as creative as you want with how you finish your mini pies. Try a tiny lattice top by cutting strips of dough and weaving them over the top of the pie. Or cut slits in the top, or cover the filling with decorative shapes cut out with a cookie cutter. Decorate the edges of your pies by pressing them with the tines of a fork, or pressing and pinching with your fingers.Make multiples of the same design, or let them all be different! No matter how you decide to bake these up, you’ll end up with a fun and delicious accomplishment you cam share with a crowd.
Note: These recipes involve using a food processor and baking in the oven, so brush up on your kitchen safety skills before you begin. These are good recipes to work on with a parent or older sibling.
Perfect Piecrust
Makes 2 crusts
Ingredients
- 3 cups flour
- 2 tablespoons sugar
- ¼ teaspoon salt
- 1 cup (2 sticks) cold butter, cut into small pieces
- 8–10 tablespoons ice water
Directions
Place the flour, sugar, and salt in the bowl of a food processor. Pulse once or twice to mix it up. Add the butter, and mix in short pulses until it looks sandy.
Sprinkle with the ice water, and process in pulses until the dough starts to come together. It should still be slightly crumbly.
Divide the dough in half, and place on sheets of plastic wrap. Pat each half into a ball, gathering up all the crumbs.
Flatten each ball into a thick disk. Wrap the disks in plastic. Refrigerate for at least 20 minutes (or up to 2 days).
Before using the dough, let it soften slightly at room temperature. Roll it out between two pieces of plastic wrap, following the directions for the recipe for Teeny Tiny Apple Pies.
Teeny Tiny Apple Pies
Makes 12
Ingredients
- 1 apple, peeled, cored, and chopped (or 1 cup berries)
- 2 tablespoons sugar
- 1 teaspoon cinnamon
- 2 teaspoons orange juice
- 2 unbaked pie crusts (see recipe above)
- 1 tablespoon butter
- 1 egg
- 1 tablespoon milk
Directions
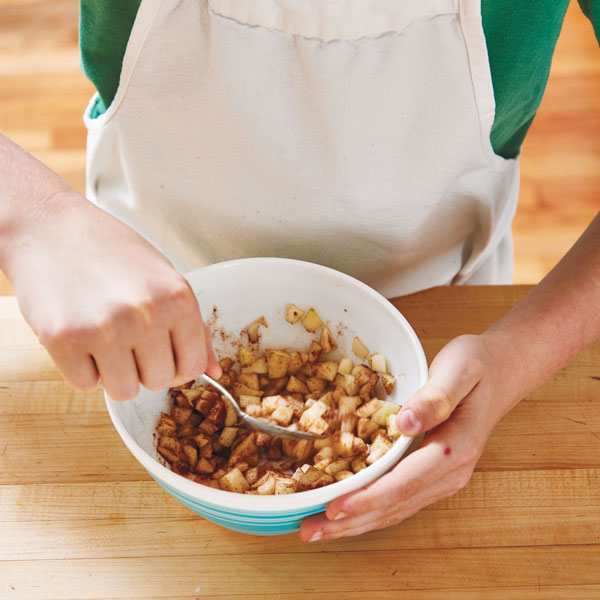
- Preheat the oven to 375°F (190°C). Mix the chopped apple, sugar, cinnamon, and juice in a bowl. Set it aside for about 10 minutes to get nice and juicy.
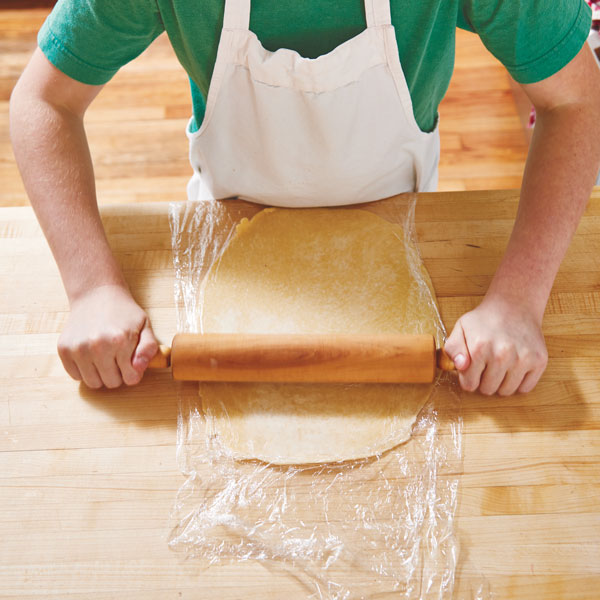
- Roll out the piecrust between two pieces of plastic wrap.
- Cut out twelve 2½-inch circles with a round cookie cutter or rim of a glass. Press each one into a cup of a mini muffin pan. You don’t need to grease the cups.
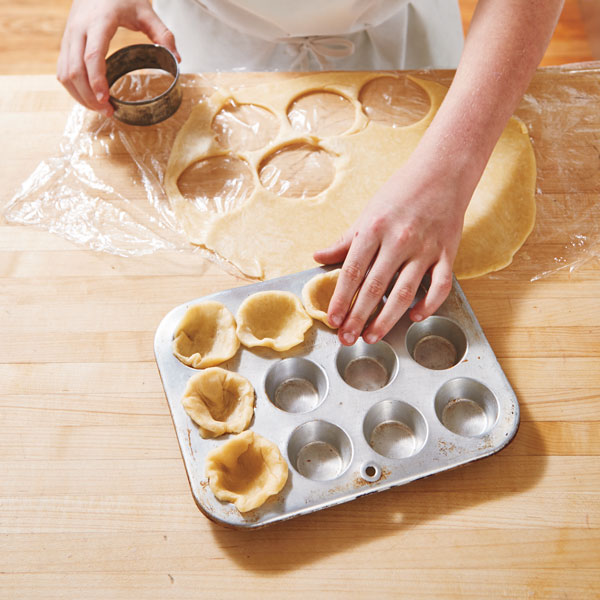
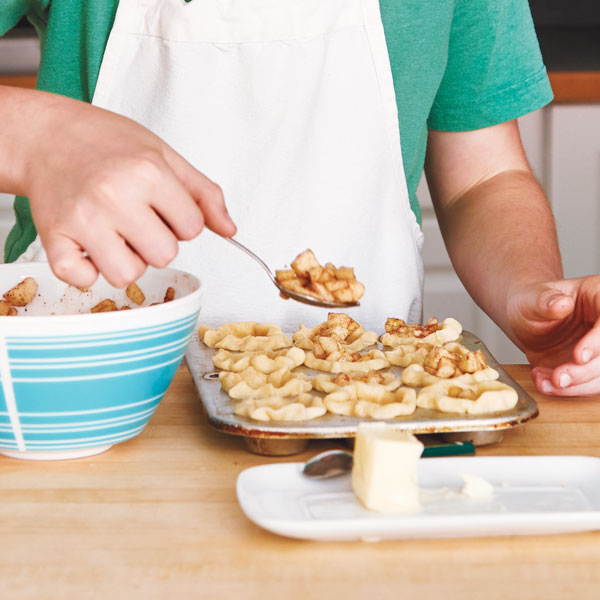
- Add 1 rounded tablespoon of filling to each cup. Dot with a tiny piece of the butter.
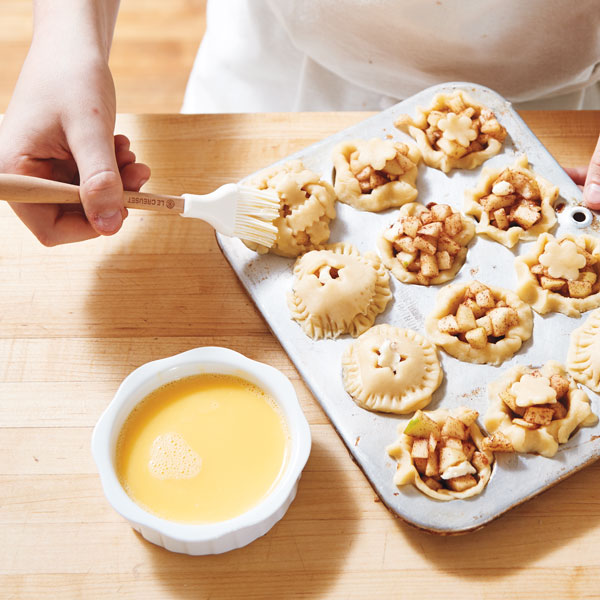
- Gather the dough scraps and roll them out. Use tiny cookie cutters to make decorative shapes or cut thin strips for lattice toppings.
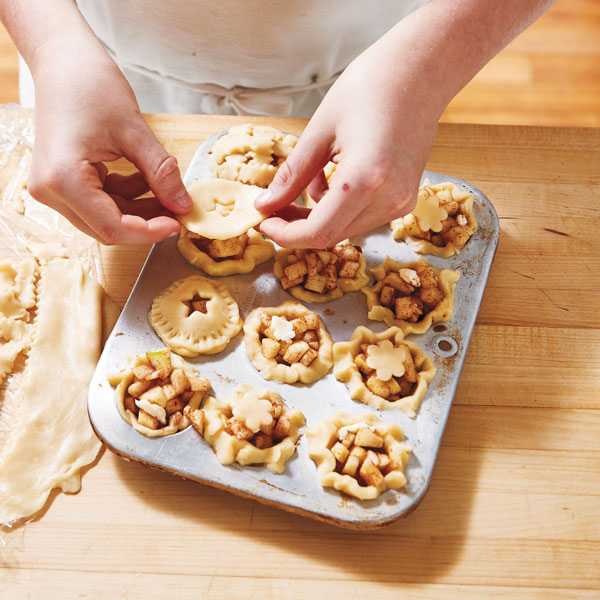
- Add a top crust with slits, a cut-out shape, or a lattice top. Crimp the edges together with a fork or your fingers.
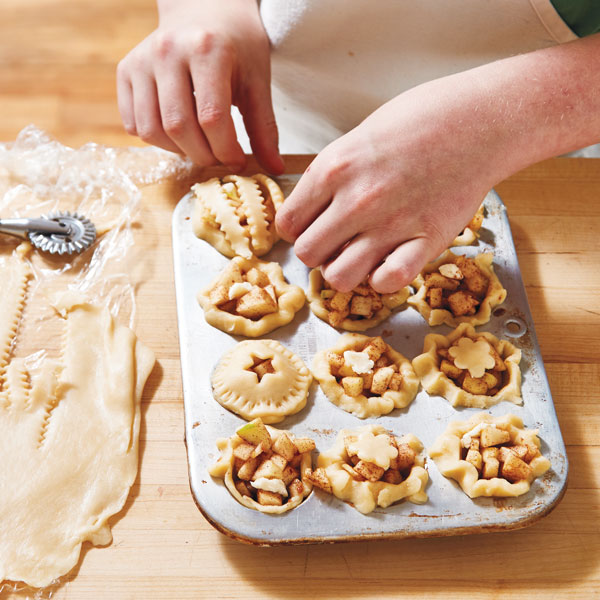
- Beat the egg with the milk in a small bowl. Brush the mini pies with the egg mixture. Bake for 15 to 17 minutes, or until the crusts are golden-brown.
- Let the pies cool for just a few minutes in the pan, and then carefully remove each one by running a sharp knife around the edges and popping it out of the pan.
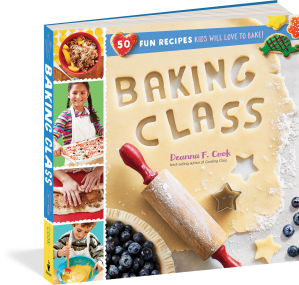
TEXT AND RECIPES EXCERPTED AND ADAPTED FROM BAKING CLASS © DEANNA F. COOK. PHOTOS © CARL TREMBLAY.
2017 NPR's Best Books of the Year
2017 IACP Cookbook Award Winner
2017 National Parenting Product Awards Winner
2018 Mom's Choice Award Gold Winner
2019 New York Times "Best Cookbooks for Kids"
Also available in this series: Cooking Class and Cooking Class Global Feast!
