Seven Steps to Shawl Design Success
Knitwear designer Melissa Leapman’s formula for creating the perfect wrap for any occasion uses a plug-and-play approach that frees knitters from the constraints of following a single pattern.
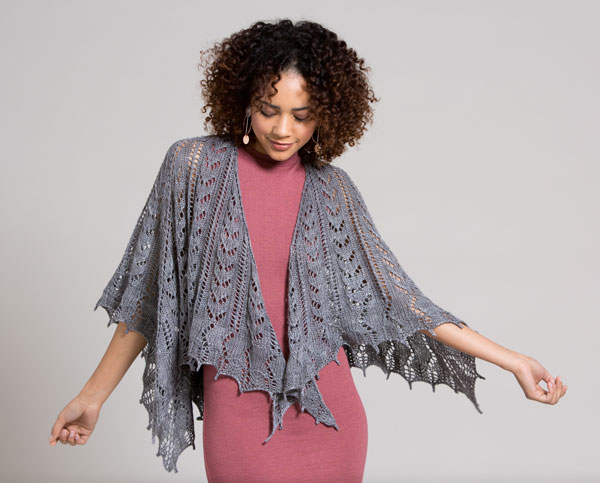
Shawls and stoles are the most versatile and eye-catching accessories you can knit. From a light and lacy splash of color to accent an outfit to a full worsted-weight cover-up to provide warmth and insulation from the elements, shawls are your go-to companions.
So imagine hundreds — perhaps even thousands — of lovely shawl designs at your fingertips. Want a plain shawl with a knockout border? You can knit it. Prefer an allover lace pattern with a beaded border? No problem! Beginning with a simple wedge shape and using my seven-step modular formula, you can build the shawl you want. Once you understand the basic concept, you’ll find it easy (and fun) to use. Just plug and play. The possibilities are nearly endless! You can choose a single pattern for the entire shawl or build a masterpiece by combining several patterns. Here are my 7 Steps to Shawl Success.
Step 1. Choose a silhouette
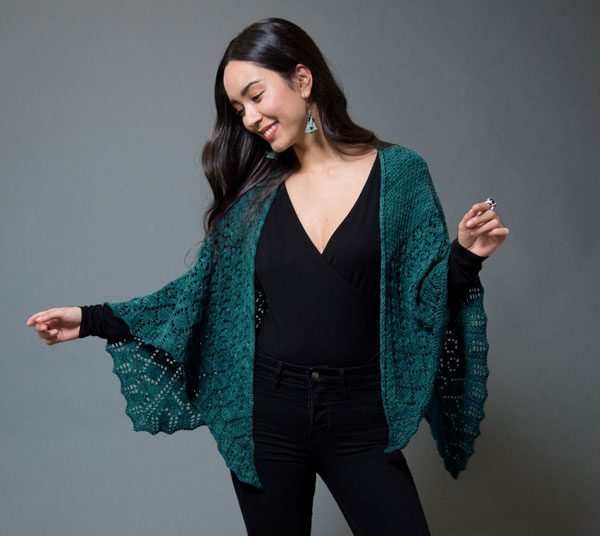
Knit a wedge. Then knit one more! The simplest construction design is to combine two mirror-image wedges to create a single triangle. But you don’t have to stop there. Three wedges combined in one piece will form a three-quarter square shawl, which will sit nicely on the shoulders. The same three wedges sewn together will create a fluid, flowing, trapezoidal shawl.
Four wedges connected by a spine stitch create a full-coverage shawl that will drape over the shoulders. Or, create a perfect square silhouette by working four wedges in the round. Another option for four wedges: Sew them together to make a graceful parallelogram.

Six wedges, when aggressively blocked, form a gorgeous cape-like silhouette that overlaps in the front.
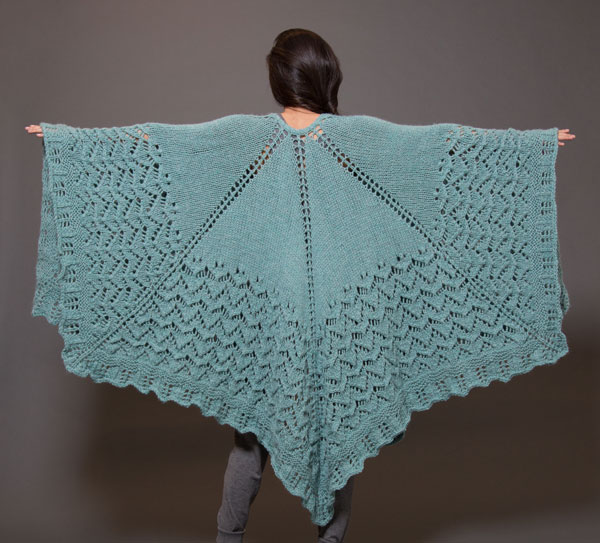
For even more fun and complexity, add one, two, three, or four vertical sections.
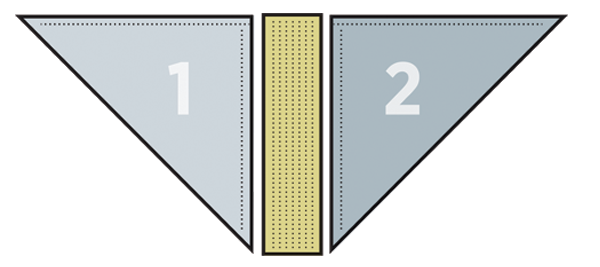
Step 2. Choose a stitch pattern
Here’s the really fun part. Select a pattern (or two or three) that you want to use to fill your wedges (there are 185 of them in my book). Be creative. Use your imagination. You are the designer!
One option is to fill your wedge with more than one stitch pattern — perhaps a pattern for the main wedge and a different one for a border. (Patterns with the same stitch multiple can be combined easily. It is possible to work out ways to combine “incompatible” stitch multiples, but it requires you to do some math.)
Add even more interest to your shawl by adding a horizontal insertion (or two) to separate the two primary stitch patterns.
Step 3. Choose a background texture
Each stitch pattern will look completely different based on whether you knit the wrong-side rows (garter stitch) or purl them (stockinette). This doubles the number of options you have for filling your wedges. Experiment with the different textures to see how the look of the stitch pattern changes.
Step 4. Choose an Edging
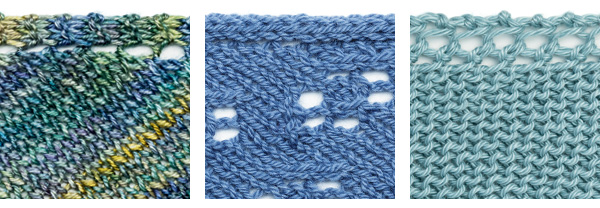
Opt for a textured garter stitch, unobtrusive stockinette, or delicate fagoting for a lacy look. All are interchangeable — knitter’s choice! (If your shawl is knitted in the round, you will skip this step.)
Step 5. Choose a Cast-On Tab
All of the shawl silhouettes except those knit in the round begin with a tab of just a few stitches. It’s an easy way to get a number of stitches on the needle, ready to work the first row, and it provides a smooth, seamless start. There are three different tabs (garter, stockinette, and fagoted), and the one you use depends on the side edging you chose in Step 4.
Step 6. Choose a Border
From wavy scallops to intricate lace, there are lots of border treatment possibilities to play with. Some borders are worked in the same direction and parallel to your work; others are knit perpendicular to the edge of the shawl, in a sideways manner.
Step 7. Choose a Bind Off
Select from a simple stretchy finish, to a pretty picot edge, to an easy (and quick) crocheted bind off. It’s all about options. You are the designer. Let your imagination run wild!
Excerpted and adapted from Knitting Modular Shawls, Wraps, and Stoles © Melissa Leapman.
Beginning with a simple triangular wedge, Leapman shows how multiple knit triangles can be joined together to create square, rectangular, trapezoidal, and semicircular shapes. Her easy and customizable technique offers knitters of all levels endless flexibility in design and yarn choices. Charted patterns for 185 different stitches allow readers to select their favorite embellishment for the main fabric of their shawl. Colorful photographs of 20 of Leapman’s original designs illustrate the creative potential of this technique.


