
Pitching Cider with Commercial Yeast
If you’re new to cidermaking, this recipe, pitched with champagne yeast, makes it easy to control for the flavor and alcohol content you want.
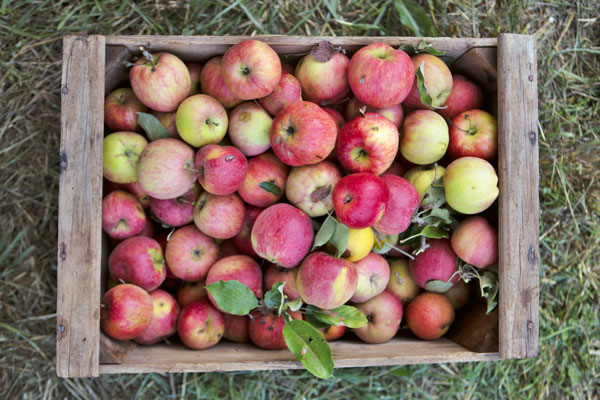
If you love the flavor adventures found when collaborating with microbes and plants, then you’ll love the juicy, colorful, and scenic trail of fermenting apples. Yeast, bacteria, enzymes, apple varieties, added fruit and/or botanicals, time, and place all influence what you will pour out of the bottle. The possible aromas, tang, mouthfeel, sweetness, acidity, bouquet, fruitiness, spice, tannin, wood, and fizz that come out of that bottle are endless.
Yeasts are going to do the heavy lifting in the initial fermentation step, so this is the time to pick your team. If you are going to go natural and depend upon the wild yeasts on your apples or blossoms, then you are already set. If you are going with yeasts other than the locals, then you need to do two things. First, you need to decide if the yeasts you are introducing (called pitching) can outcompete the locals. In our experience, commercial yeasts have no problem taking over the fermentation from the wild yeasts, so we almost never need to add sulfites. If you are concerned about the microbes on your apples, the first step is to take out all the locals by introducing sulfites, in the form of sulfur dioxide (SO2).
Selecting a Commercial Yeast
What yeast is the best one for the cider you are about to make? The answer is: either your go-to favorite, or “it depends.”
GO-TO FAVORITE
We know a lot of good cidermakers, both amateur and professional, who consistently use only one or two strains of yeast in every cider they make. Why? Because, they will tell you, it works. Given all the variables in cidermaking — source of juice, sugar, acidity and nutrient levels in the juice, fermentation temperature, to name a few — they have found a strain that consistently works for them.
FINE-TUNING YOUR YEAST
You can fine-tune your yeast selection based upon a number of variables. Our suggestion is to pick a couple of elements that are most important to you, then try out a yeast that is designed to excel at those elements.
Alcohol
Every yeast variety produces alcohol and has a unique tolerance for it. Past their tolerance level, they die. The good news is that this should not be a serious criterion, as nearly all of the commercial yeasts range in a narrow band between 14 and 18 percent ABV, which is some very stiff cider and would only be reached by exceeding the natural sugars in fresh apple juice by either concentrating them or adding additional sugar.
Feeding
Basically, yeasts consume sugar and produce both alcohol and carbon dioxide, but they also need other nutrients, the most important of which is nitrogen. Different strains of yeasts require different amounts of nitrogen. Fresh apple juice has nitrogen, so the question becomes: Does it have enough available nitrogen for the yeasts you have chosen? How can you find out? If you have access to a high-performance liquid chromatography machine, you could learn this and identify every other molecule in your juice, but you probably don’t, and neither do we. Our advice is: don’t worry about it until you have something go wrong and low nitrogen seems the most viable explanation.
Flavor
In cider, big flavor equates, among other things, to big esters, which are a by-product of fermentation and give us the fruity and floral notes. One characteristic that has been identified in cultured yeast is its ability to enhance the natural esters in apples in the final cider.
Temperature
Most yeasts can tolerate a pretty wide range of temperatures — plus or minus 25°F/4°C — and a few have much larger or smaller ranges. Consider where you will be fermenting and the temperature range of that place. You want to find a cultured yeast that is happy in that range; otherwise it will be stressed, which can lead to it starting slowly (lag phase) and taking a while to build up enough mass to outcompete all the other microbes and dominate the ferment.
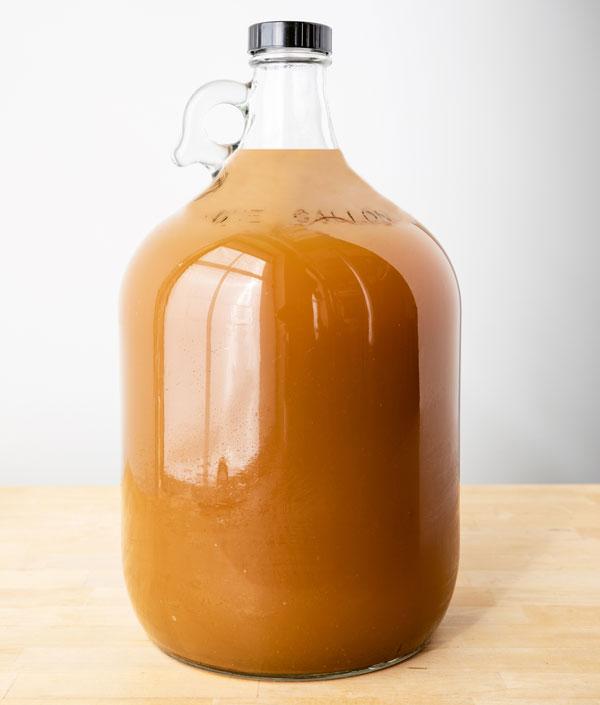
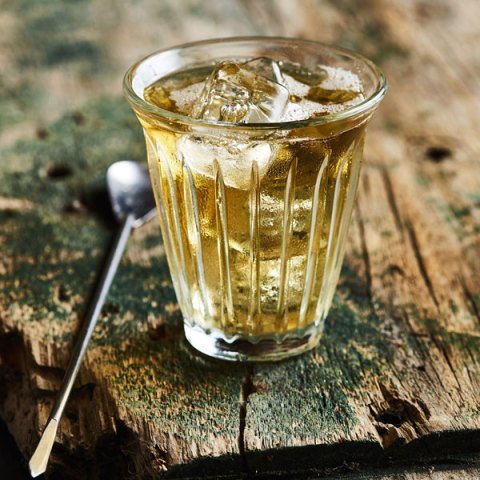
Simple Pitched Cider
YIELD: 3 GALLONS
Simple and pretty bulletproof, this is a great first cider to make. Champagne yeasts are strong fermenters, forgiving of temperature fluctuations, and capa¬ble of fermenting all the sugar to a dry finish. When we are teaching beginning pitched cidermaking, we use this recipe.
Ingredients
- ½ cup (118 mL) unchlorinated water
- 1 teaspoon champagne-style yeast (Lalvin EC-1118, Red Star Premier Curvée, or Premier Blanc)
- 3 gallons (11.4 L) preservative-free apple juice
- 1 (12-ounce/350 mL) bottle dry cider
Directions
Sanitize a 3-gallon carboy and an airlock with a no-rinse sanitizer.
TEXT AND RECIPE EXCERPTED AND SLIGHTLY ADAPTED FROM THE BIG BOOK OF CIDERMAKING © 2020 BY CHRISTOPHER SHOCKEY AND KIRSTEN K. SHOCKEY. ALL RIGHTS RESERVED.
Learn More
With expert advice and clear, step-by-step instructions, The Big Book of Cidermaking equips readers with the skills they need to make the cider they want: sweet, dry, fruity, farmhouse-style, hopped, barrel-aged, or fortified. The Shockey’s’ years of experience cultivating an orchard and their experiments in producing their own ciders have led them to a master formula for cidermaking success, whether starting with apples fresh from the tree or working with store-bought juice. They explore in-depth the different phases of fermentation and the entire spectrum of complex flavor and style possibilities, with cider recipes ranging from cornelian cherry to ginger, and styles including New England, Spanish, and late-season ciders.
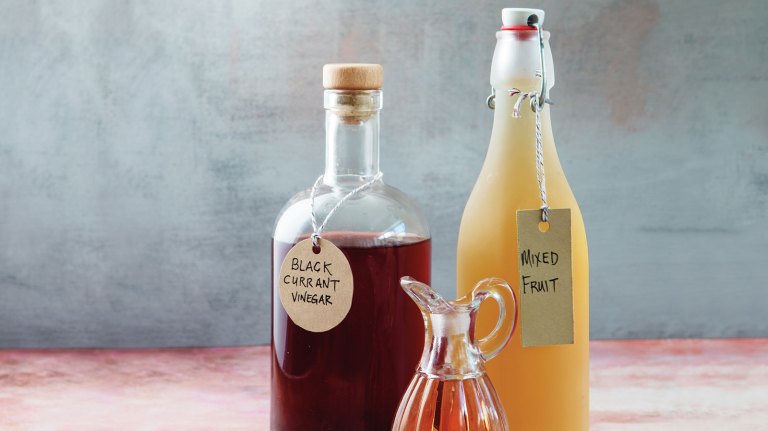
For those invested in making use of every part of the apple, there’s even a recipe for vinegar made from the skins and cores leftover after pressing. This thorough, thoughtful handbook is an empowering guide for every cidermaker, from the beginner seeking foundational techniques and tips to the intermediate cider crafter who wants to expand their skills.


Related Books
Featured Titles
-
Tasting Cider
-
Cider
-

Ciderhouse Cookbook
-

The Big Book of Kombucha
-
Wild Winemaking