Brew Your Own Wild Whole-Fruit Vinegar
Ferment a bounty of summer fruits and berries to create a beautiful vinegar that you can savor year-round with recipes and advice from Kirsten K. Shockey.
This is a wonderful way to make vinegar when you have an abundance of soft fruit, like berries and stone fruits. Pome fruits do better with juicing. You can also use fruit that is too ripe to eat—a little fermentation is fine, but be sure to remove any dark bruises or mold. Like with the Japanese Persimmon Vinegar or Brown Banana Vinegar (find the recipes in Homebrewed Vinegar), you are simply letting nature take its course.
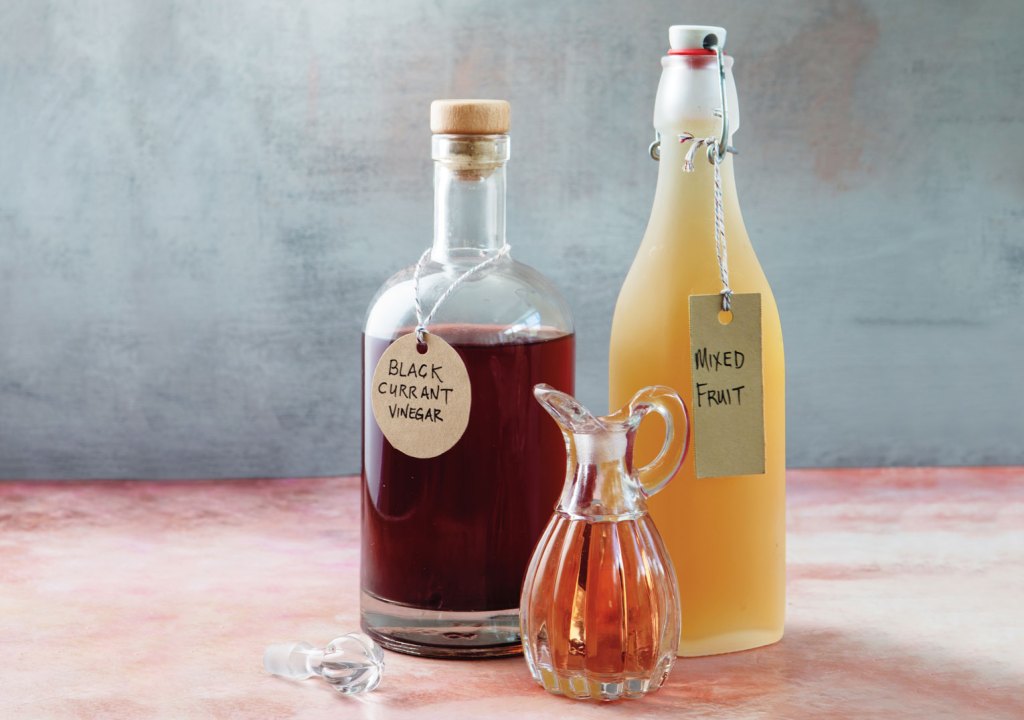
These vinegars are a pure expression of the life of fruit, and the flavors are fantastic. Be aware that some fruit does not contain enough inherent sugar to produce a high enough ABV. In the recipe below, you’ll find sugar amounts that correspond with different types of fruit. Use any type of sugar; I generally use raw cane sugar, but regular white sugar also works well and is less expensive.
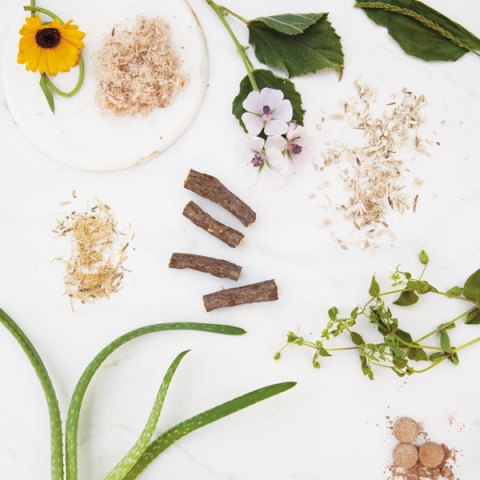
You can add aromatic botanicals or herbs to this mash. Taste it as the mixture ferments, and remove these extras whenever the flavor is to your liking. Yield varies by fruit used.
Ingredients
- 2 quarts (around 1.9 kg) mashed blackberries, blueberries, fresh currants, elderberries, melons, raspberries, chokecherries, or gooseberries and 1 cup (200 g) sugar, any kind, or
- 2 quarts (around 1.9 kg) mashed kiwifruit, papaya, or mangoes and ½ cup (100 g) sugar, or
- 2 quarts (around 1.9 kg) mashed apricots, cherries, or peaches and ⅓ cup (67 g) sugar, or
- 2 quarts (around 1.9 kg) grapes or plums, with no added sugar
Directions
- Layer the fruit in a sanitized half-gallon (or larger) jar, sprinkling in the appropriate amount of sugar as you go. Mash the fruit and sugar mixture well, pressing out air pockets.
- Cover the jar with a piece of unbleached cotton (butter muslin or tightly woven cheesecloth), or a basket-style paper coffee filter. Secure with a string, a rubber band, or a threaded metal canning band. This is to keep out fruit flies.
- Set your vessel in a warm (ideally 75° to 86°F/25° to 30°C), visible spot so that you won’t forget it. You will need to stir it often for the first few weeks to build flavor and work out air pockets that if left too long can develop mold. I suggest stirring every day, because then you can build it into your routine. (Drink your coffee, stir your mushy vinegar baby . . .)
- The mixture will soften, then turn effervescent. After the initial fermentation calms down, let the batch rest for about 3 months, until it’s ready to strain.
- Line a strainer with a piece of butter muslin or fine-mesh cheesecloth and strain the mixture into a new sanitized jar. Press on the fruit and squeeze the cloth to get every last tasty drop out.
- Bottle the finished vinegar. Use immediately, or age to allow it to mellow and develop flavors. The next time, you can use some of this as a starter and it will help the new batch move a little bit faster.
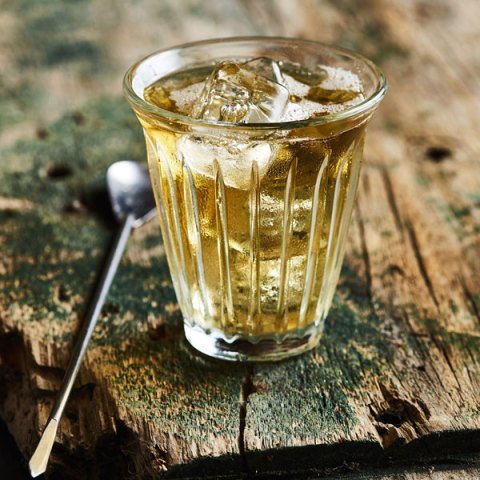
Base Recipe for a Modern Drinking Vinegar
Now that you have your own homebrewed vinegar, turn it into a delicious, healthy drink that you can enjoy year-round.

This recipe is for making a drinking vinegar that is not based on fruit, as the shrub is. Instead it’s based on the flavor of the vinegar itself, adorned with herbs and other botanicals. This is truly your adventure; what flavors do you like? Maybe try making seasonal vinegars, using spicy flavors in the winter and light, bright flavors in the summer. I like wildcrafting with the seasons; it’s a way I can feel more in tune with the cycles of the year. Yield: about 1 quart.
Ingredients
- Handful of botanicals (herbs, flowers, spices, fir tips)
- 1 quart (0.9 L) vinegar
- Unrefined demerara sugar, honey, or maple syrup (optional)
Directions
- Put the botanicals into a sanitized jar. Pour the vinegar over the top.
- Place the lid on the jar, tighten, and let the jar sit on the counter for 2 to 4 weeks.
- When the vinegar is ready, strain the solids through a piece of cheesecloth placed in a sieve or colander. Squeeze out all the vinegar.
- Add the sugar or other sweetener, and stir until dissolved.
- Transfer the finished vinegar to a jar or pretty bottle that has an airtight seal. Sealed tightly, it will last several months to a year or more in a cool, dark cabinet.
Excerpted and adapted from Homebrewed Vinegar © Kirsten K. Shockey.

With her in-depth guide, bestselling author Kirsten K. Shockey takes readers on a deep dive into the science of vinegar as well as the basics of equipment, brewing, bottling, and aging to give readers the foundational skills and knowledge for fermenting their own vinegar.
With its long history as a folk remedy for a variety of health conditions, Apple Cider Vinegar has achieved cult status among natural health enthusiasts. But many don’t realize that there is a whole world of options beyond store-bought ACV or distilled white vinegar. In fact, vinegar can be made from anything with fermentable sugar, whether leftover juicing pulp or brown bananas, wildflowers, or beer. The wide-ranging possibilities are alive in this ancient condiment, health tonic, and global kitchen staple.
As the book delves into the many methods and ingredients for making vinegars, from apple cider to red wine to rice to aged balsamic, Shockey shares insights into vinegar-making traditions around the world and her own recipes for making vinegar tonics, infused vinegars, and oxymels.

Related Books
-

The Big Book of Cidermaking
-
Fermented Vegetables
-

Fiery Ferments
-

Miso, Tempeh, Natto & Other Tasty Ferments
-

Wild Winemaking