
Make Your Own Hypertufa Containers
For garden pots that rock, try hypertufa! Kids can make their own containers for growing their favorite plants using this material that looks like stone, but weighs a lot less.
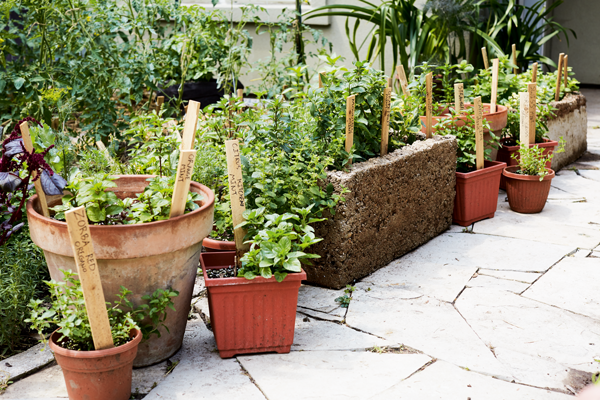
You can grow a garden in pots and planters even if you don’t have a yard. If you make your own planters, you can be creative! Pretty much anything that holds soil but allows water to drain from the bottom could work.
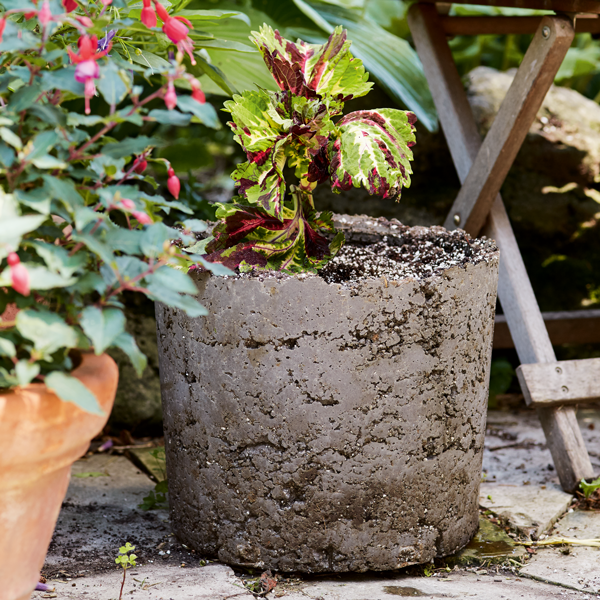
Hypertufa looks like concrete, but it is much lighter and can take a knock. I think hypertufa looks nicer than plastic.
Making your own pots out of hypertufa is a fun project you can do even when the weather is too cold for planting. Concrete is made with cement, sand, and gravel. When you make hypertufa, you change the recipe and use light ingredients such as peat moss instead of sand and gravel, which gives you something that looks a bit like concrete or stone, but is lighter.
Other common ingredients are things that you find in potting soils, like perlite and vermiculite. If you search online, you will find tons of recipes. I like this recipe because it is really easy — we just mix cement with the potting soil we have on hand!
Like with concrete, you can build a wooden frame that you fill with the wet hypertufa mix. Once it has dried, you remove the frame. We did this once, but it is a lot of work to make a frame. You need to make both an outer and an inner frame. An easier way to make hypertufa containers is to use two pots. Use the larger pot for the outside form and the smaller pot for the inside.
Materials for Making Hypertufa
- 2 clean plant pots, one small enough to fit inside the other (We used a 13-inch pot and a 12-inch one.)
- Cooking spray (or some cooking oil and an old paintbrush)
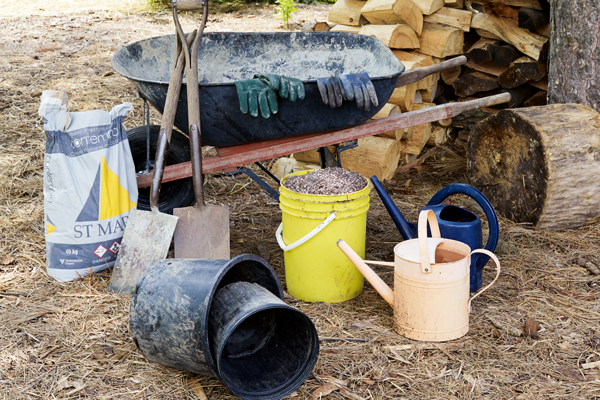
- A large container and tools for mixing (We used our old wheelbarrow and a couple of shovels.)
- A bucket or other container for measuring
- Trowel
- 1 part peat-based potting soil (The potting soil we used also had perlite, which looks like little white balls. It’s actually bits of volcanic rock.)
- 1 part Portland cement
- Rubber gloves (NOTE: Wet cement irritates the skin, so wear these!)
- Water
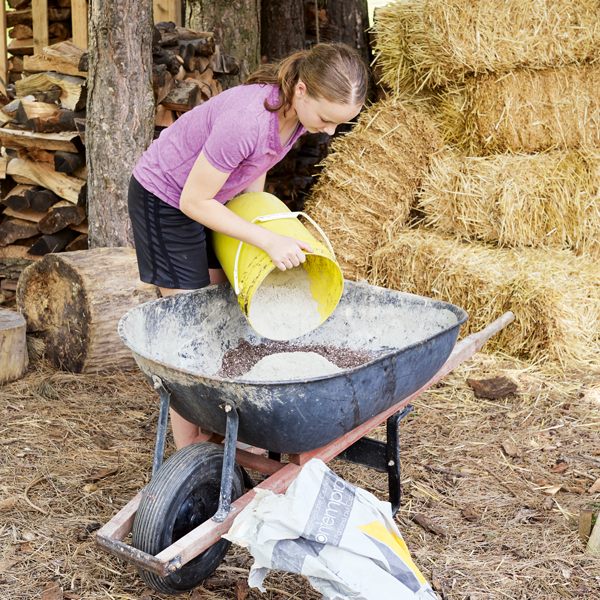
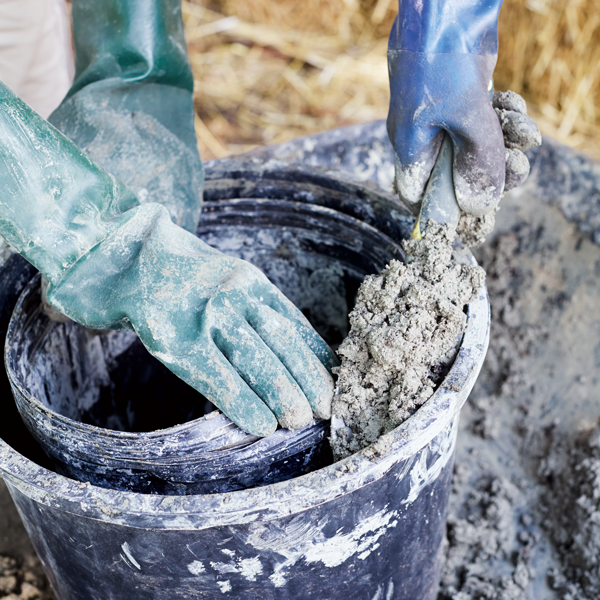
Step 1: Spray that parts of the pots that the hypertufa will touch with cooking spray (or brush with cooking oil). This prevents sticking and makes it easier to slide the molded hypertufa out of the pots once it is dry. Mix together the potting soil and Portland cement.
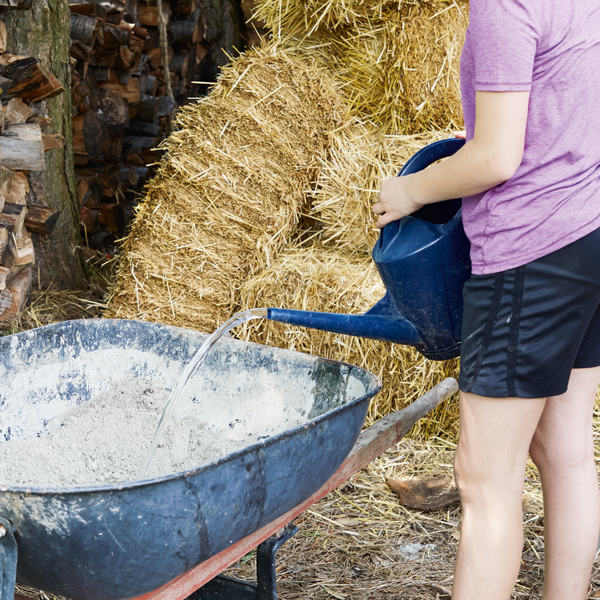
Step 2: Add enough water so that the mixture is completely wet, but not soupy. Put about 1 inch of hypertufa at the bottom of the larger pot. This makes the bottom of your hypertufa pot.
Step 3: Put the smaller pot on top of the layer of hypertufa, and center it so that there is an equal space all around the sides. Now start to fill up that space with your hypertufa mix with a trowel, adding a bit at a time. The idea is to make sure there are no big air pockets. But you don’t want to pack it down too much, or the mix will be too dense.
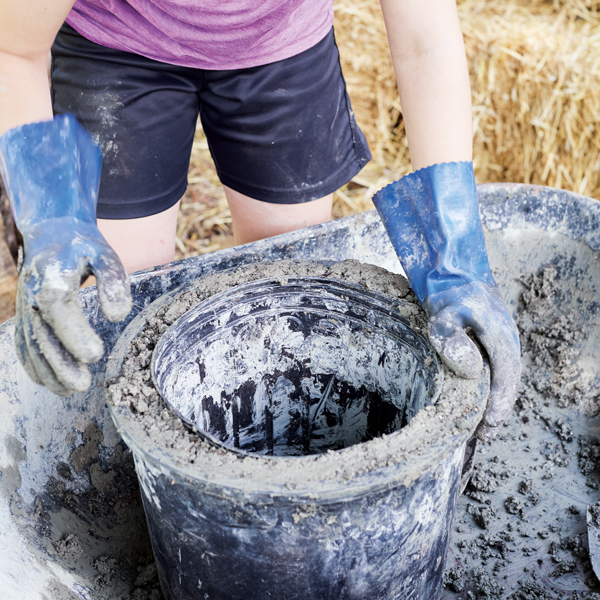
Step 4: Fill to the top of the pots and smooth out the edge. Cover the whole setup with a sheet of plastic and put it in a dry, shady spot. Wash out the container and tools you used to mix your hypertufa quickly, before it dries onto them.

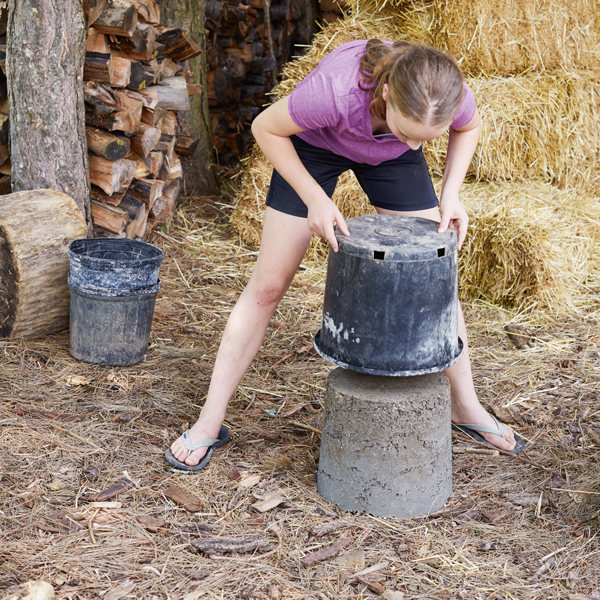
Step 5: Let the hypertufa sit in the pots for at least a week. It will feel hard after a day or two, but it gets stronger the longer it sits, and the color gets a bit lighter. When it’s ready, peel the inner pot away from the sides and pull it out.
Learn More
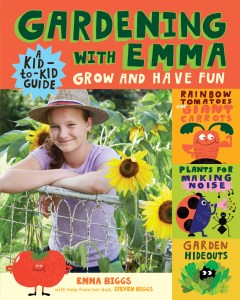
Thirteen-year-old Emma Biggs is passionate about gardening and eager to share her passion with other kids!
Gardening with Emma is a kid-to-kid guide to growing healthy food and raising the coolest, most awesome plants while making sure there’s plenty of fun. With plants that tickle and make noise, tips for how to grow a flower stand garden, and suggestions for veggies from tiny to colossal, Emma offers a range of original, practical, and entertaining advice and inspiration. She provides lots of useful know-how about soil, sowing, and caring for a garden throughout the seasons, along with ways to make play spaces among the plants. Lively photography and Emma’s own writing (with some help from her gardening dad, Steve) capture the authentic creativity of a kid who loves to be outdoors, digging in the dirt.

Related Reads
Featured Titles
-

The Secret Lives of Backyard Bugs
-
The Family Butterfly Book
-
Backyard Adventure
-

Mason Jar Science
-

Cooking Class

