Promotion
Sign up for our newsletter to get 20% off sitewide!

By clicking “Accept,” you agree to the use of cookies and similar technologies on your device as set forth in our Cookie Policy and our Privacy Policy. Please note that certain cookies are essential for this website to function properly and do not require user consent to be deployed.
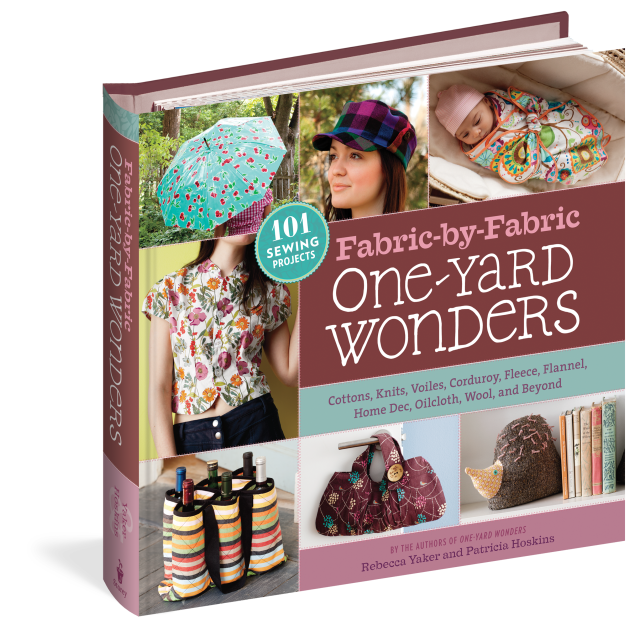
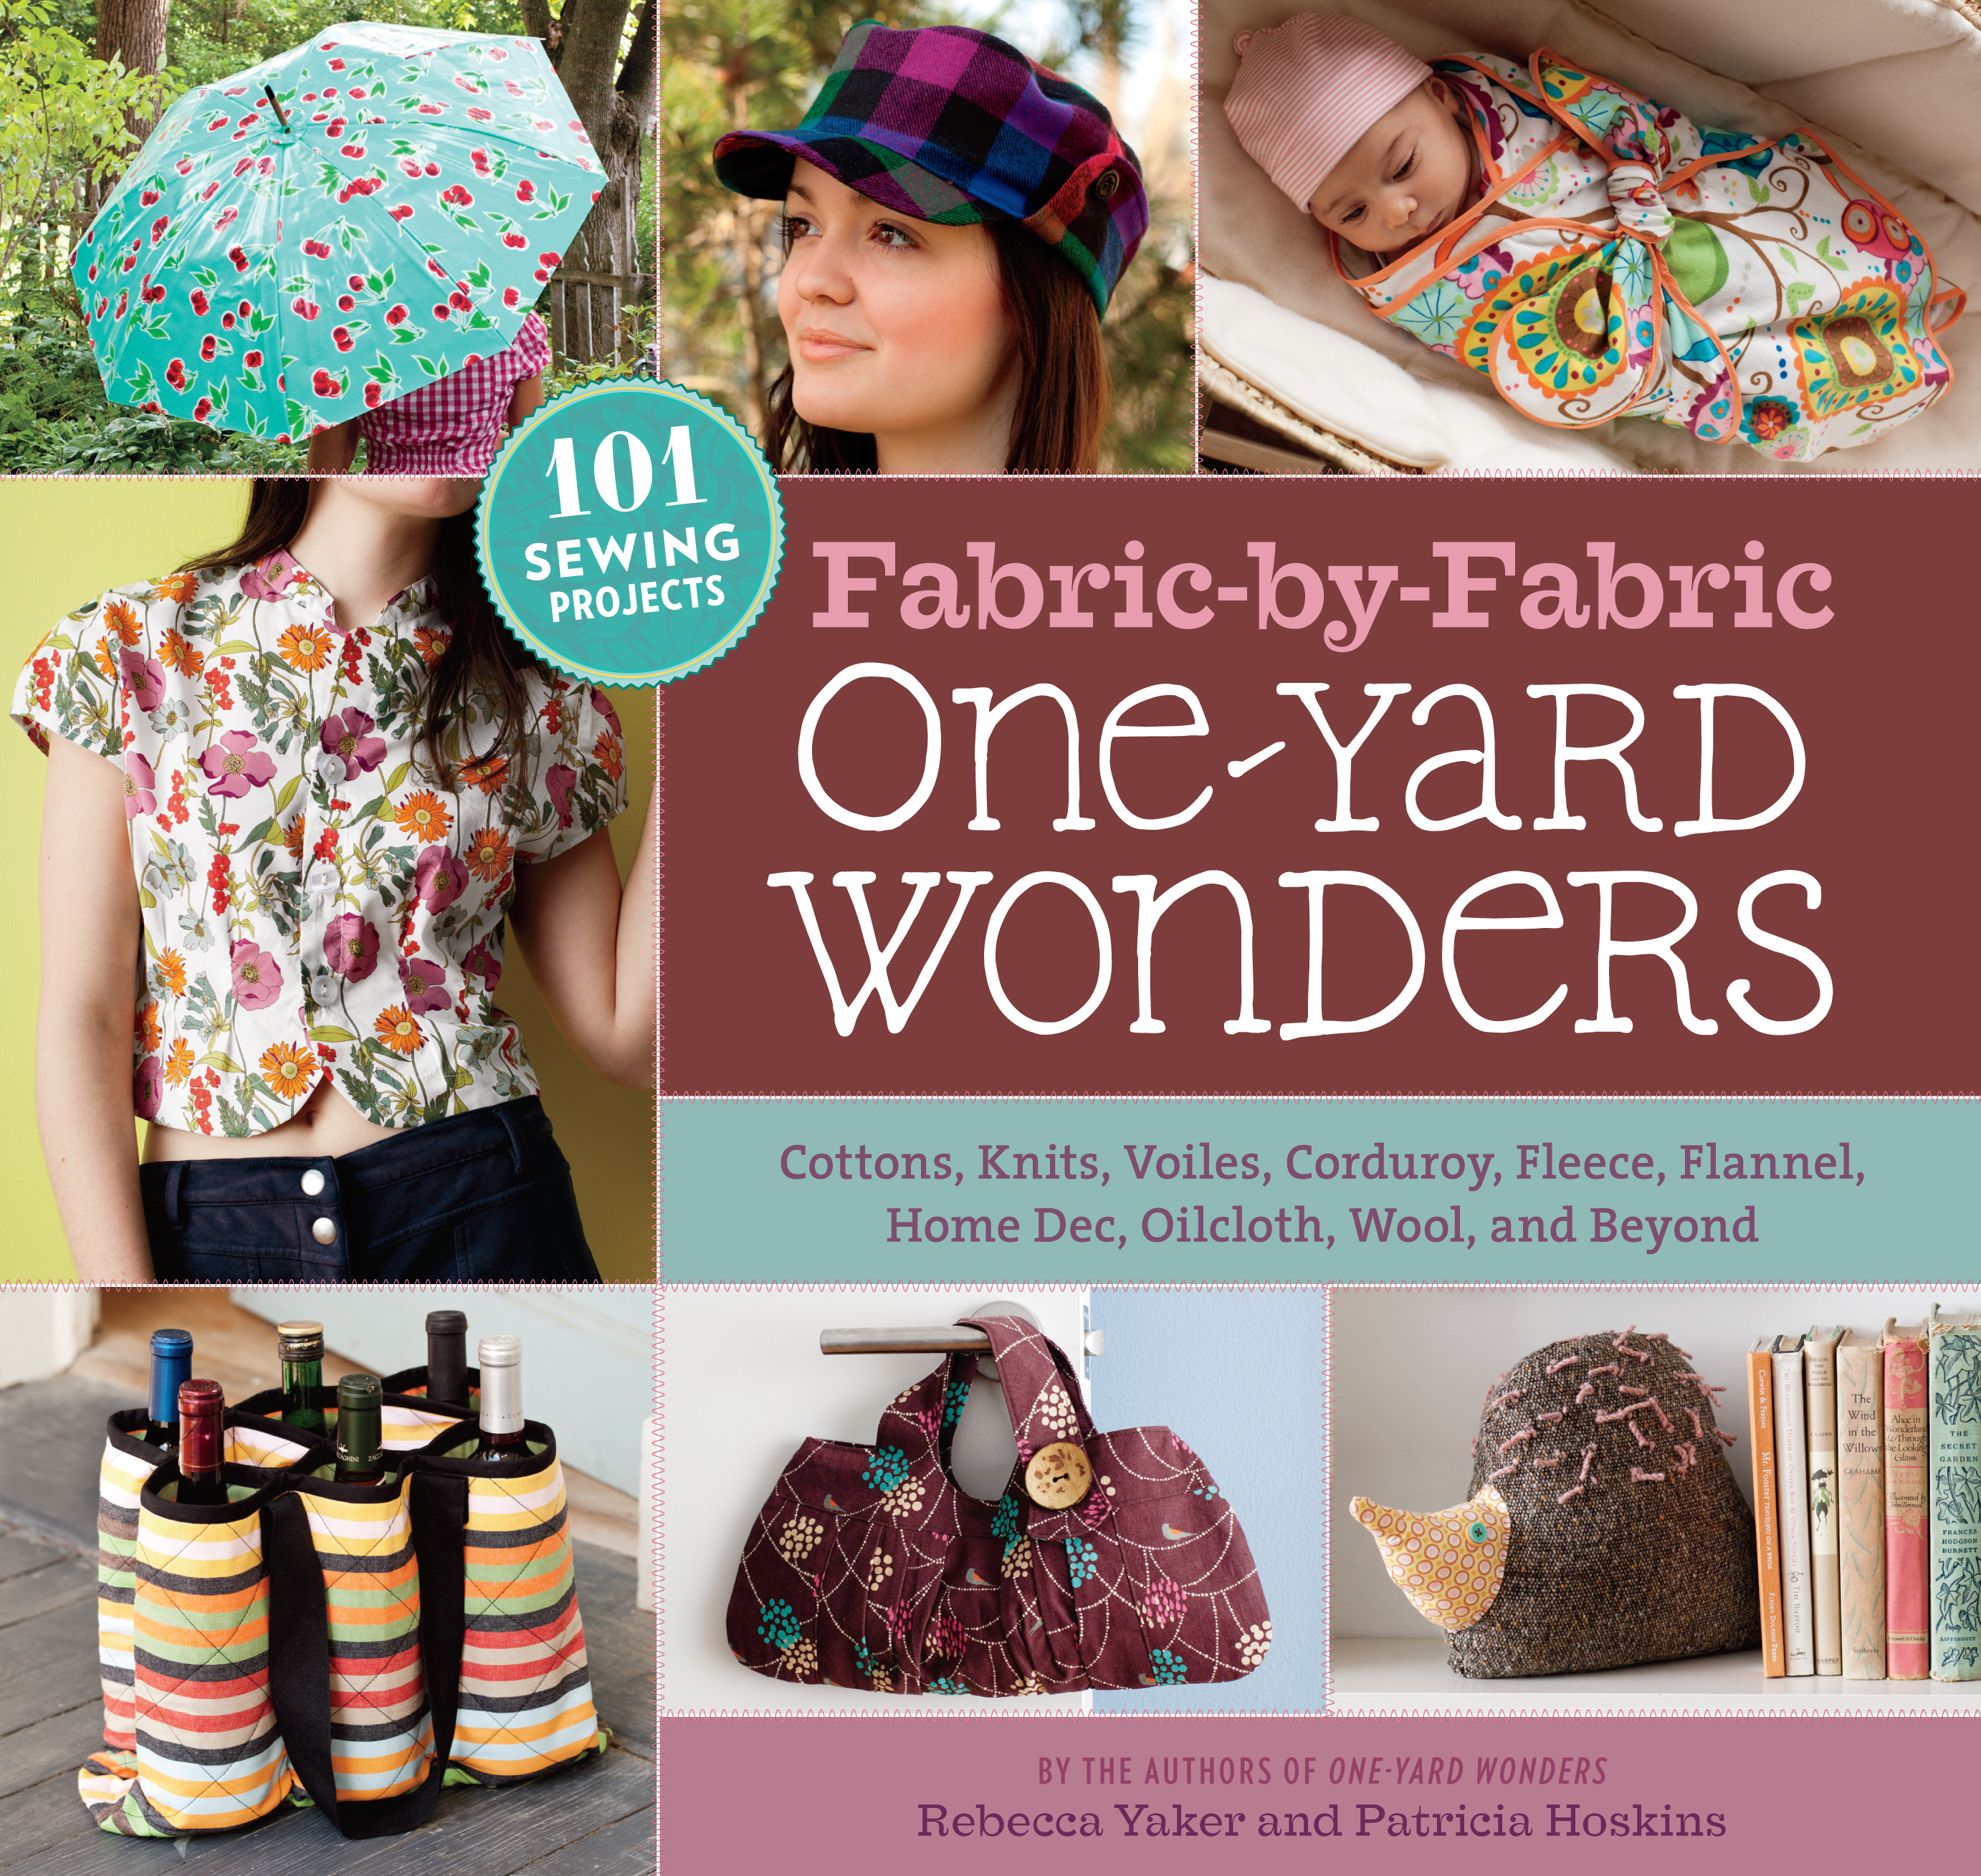
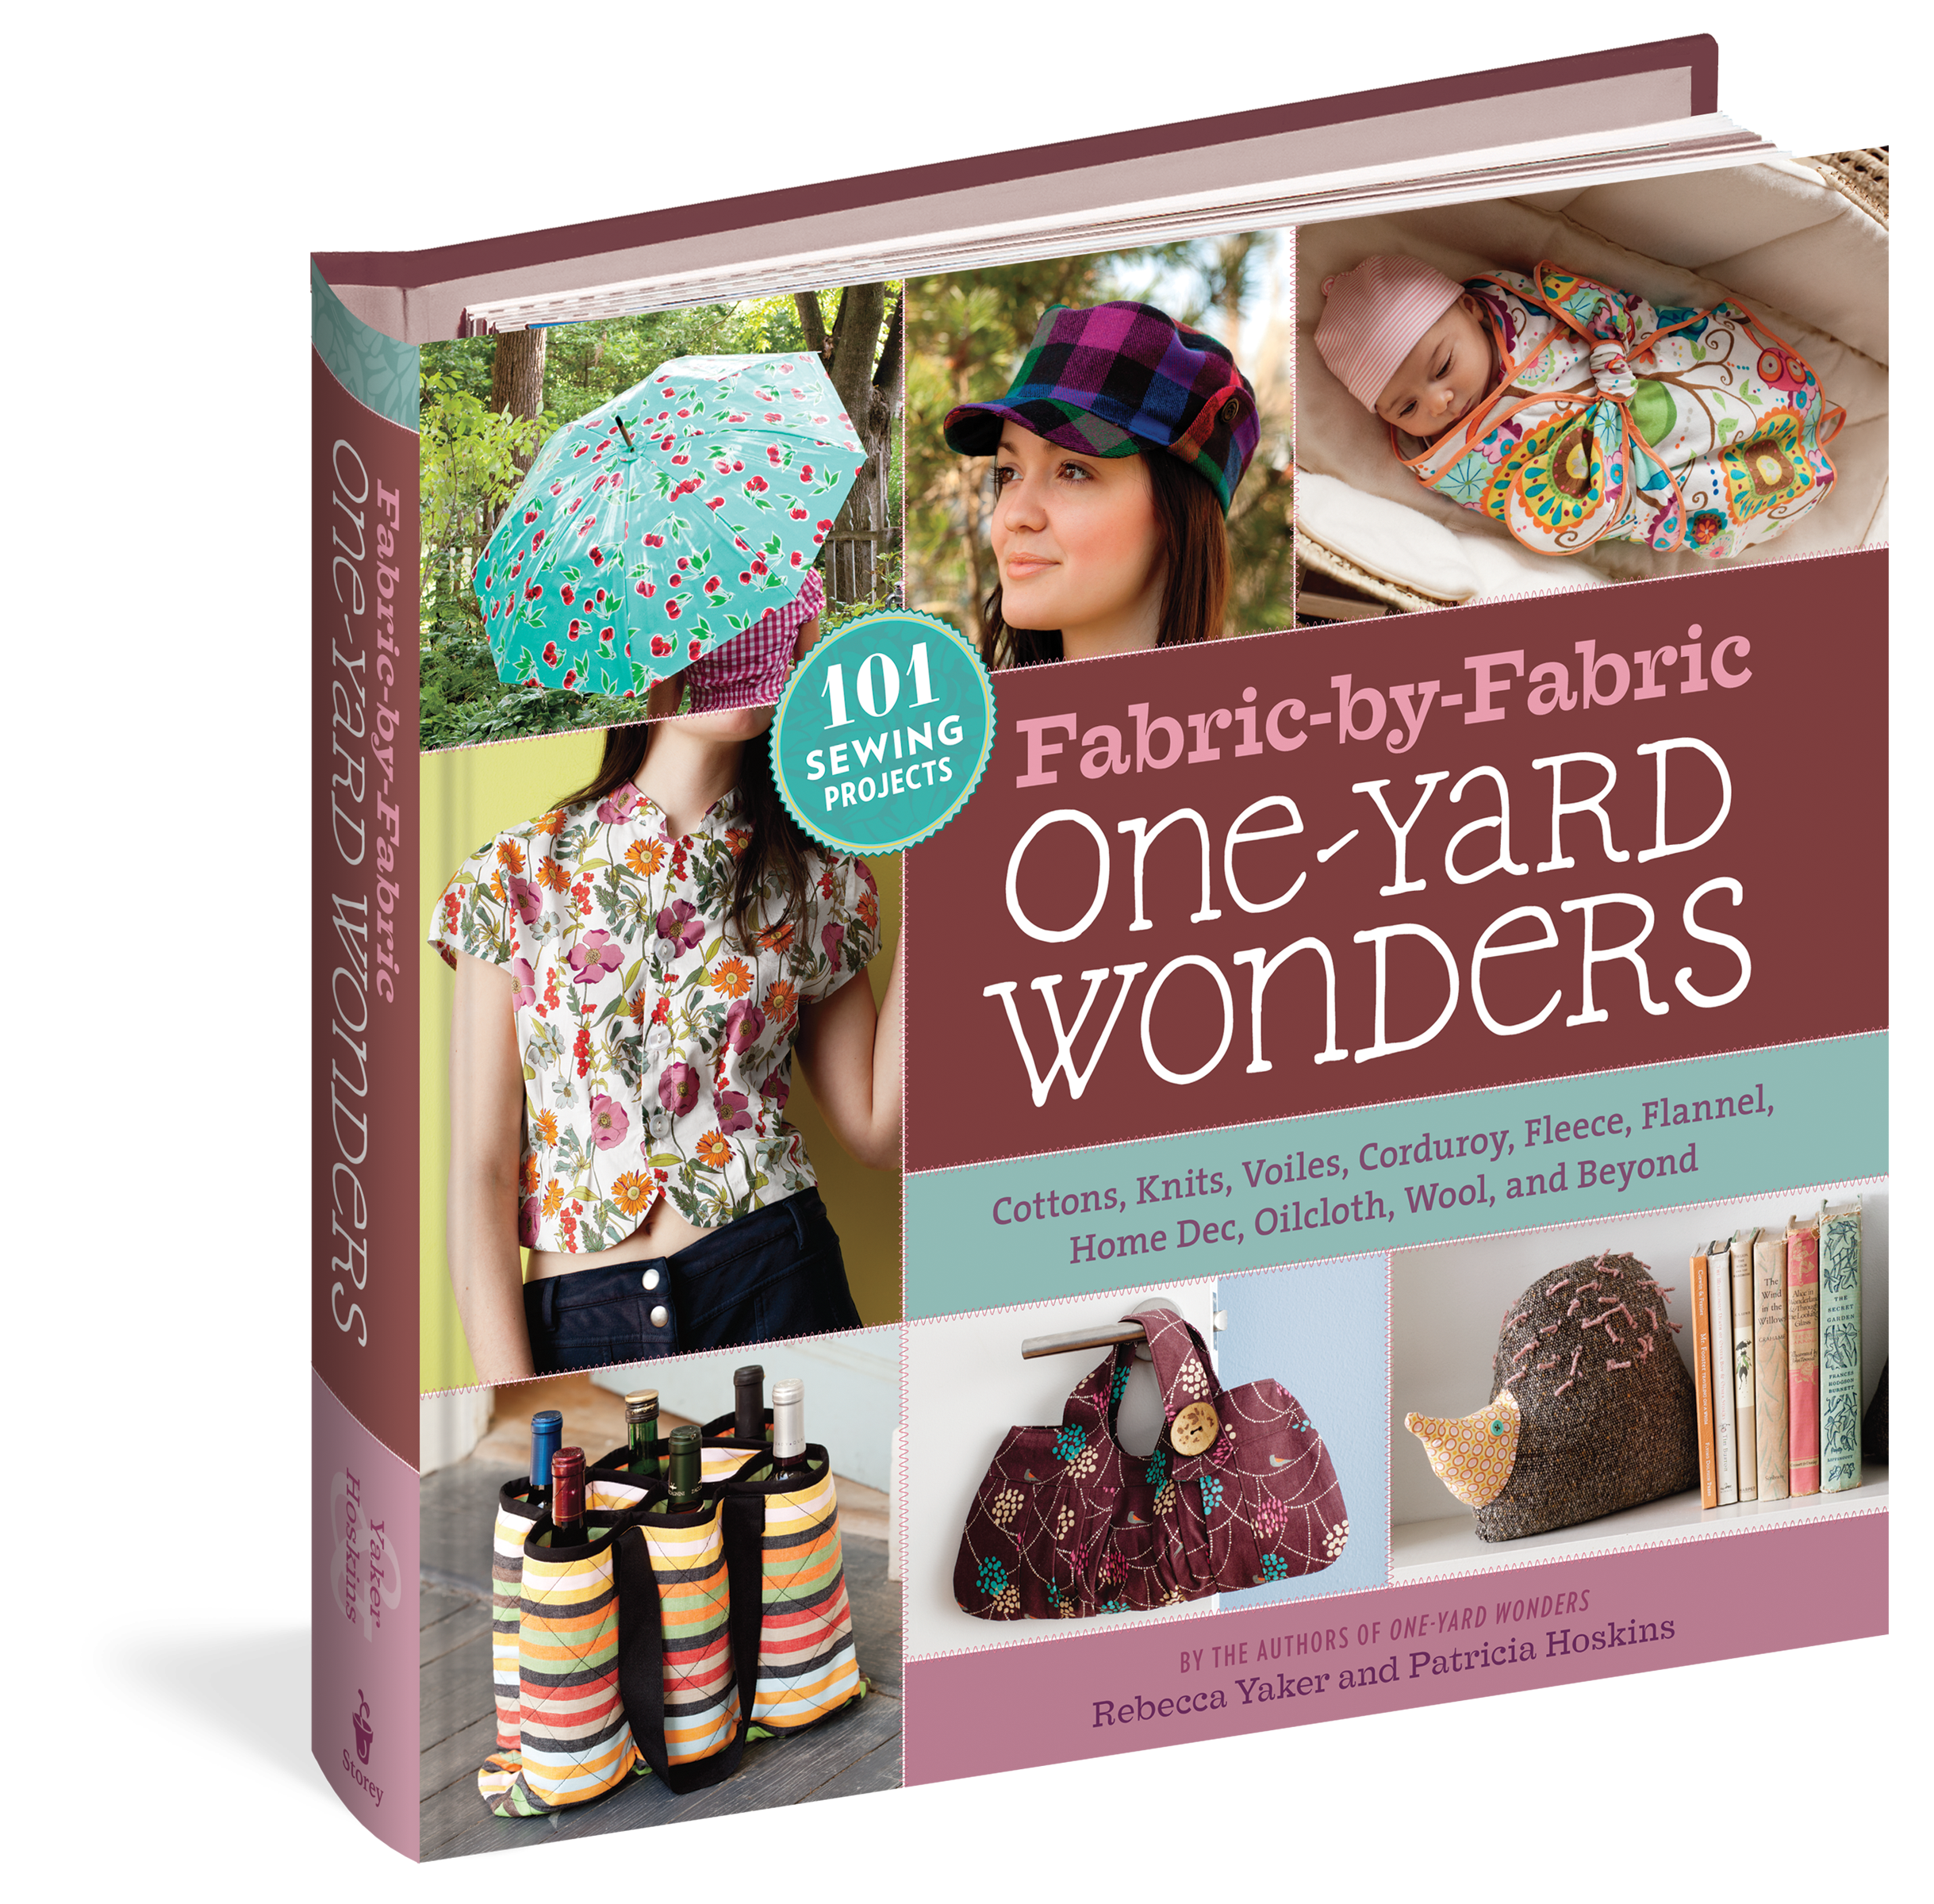
Fabric-by-Fabric One-Yard Wonders
101 Sewing Projects Using Cottons, Knits, Voiles, Corduroy, Fleece, Flannel, Home Dec, Oilcloth, Wool, and Beyond


Contributors
Formats and Prices
- On Sale
- Nov 16, 2011
- Page Count
- 416 pages
- Publisher
- Storey Publishing, LLC
- ISBN-13
- 9781603425865
Price
$29.95Price
$39.95 CADFormat
Format:
Spiral bound $29.95 $39.95 CADThis item is a preorder. Your payment method will be charged immediately, and the product is expected to ship on or around November 16, 2011. This date is subject to change due to shipping delays beyond our control.
Buy from Other Retailers:
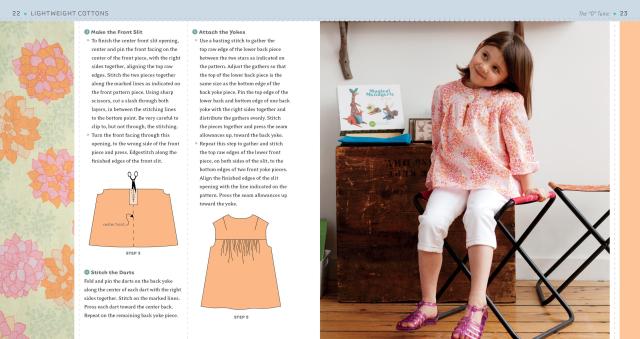
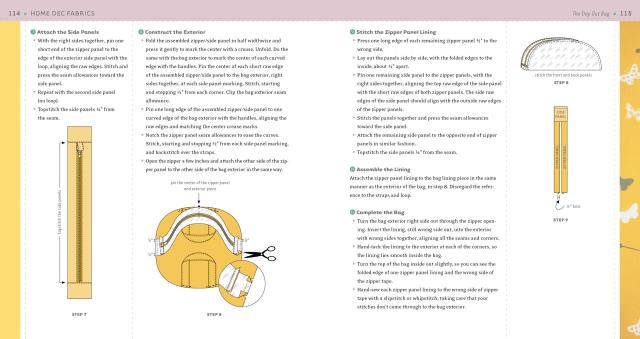
This One-Yard Wonders collection organizes projects by fabric type so that you can make the most of each cloth’s unique characteristics. Find the best uses for all your different fabrics as you learn to use stretchy jersey knits for a ruffle scarf, lightweight cotton voile for a girl’s sundress, and sturdy corduroy for a tote. Easy-to-follow illustrated instructions are provided for 101 projects, each requiring just a single yard of fabric. Get inspired and show off your individual style, one yard at a time!