Promotion
Use code SIZZLE26 for 25% off sitewide!

By clicking “Accept,” you agree to the use of cookies and similar technologies on your device as set forth in our Cookie Policy and our Privacy Policy. Please note that certain cookies are essential for this website to function properly and do not require user consent to be deployed.
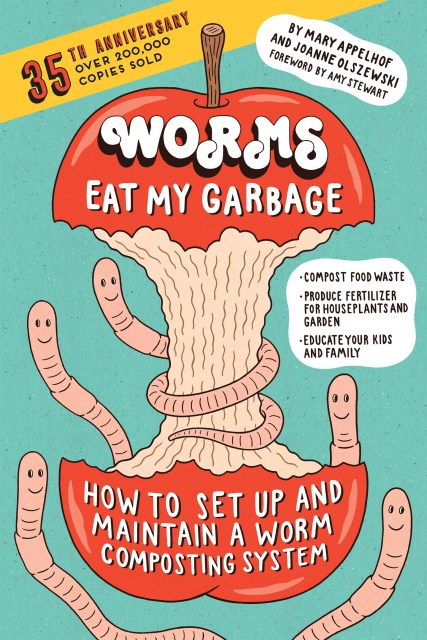
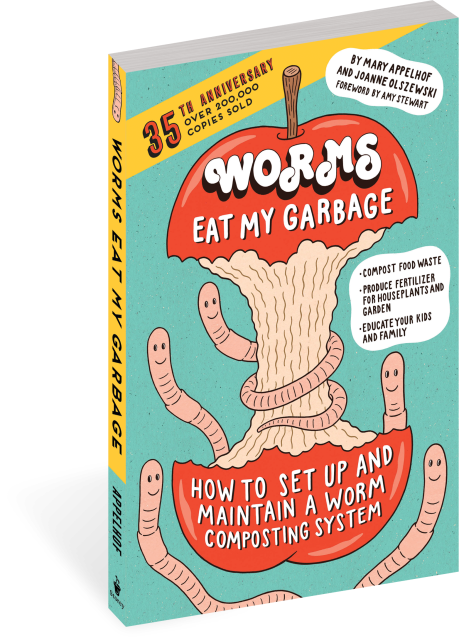
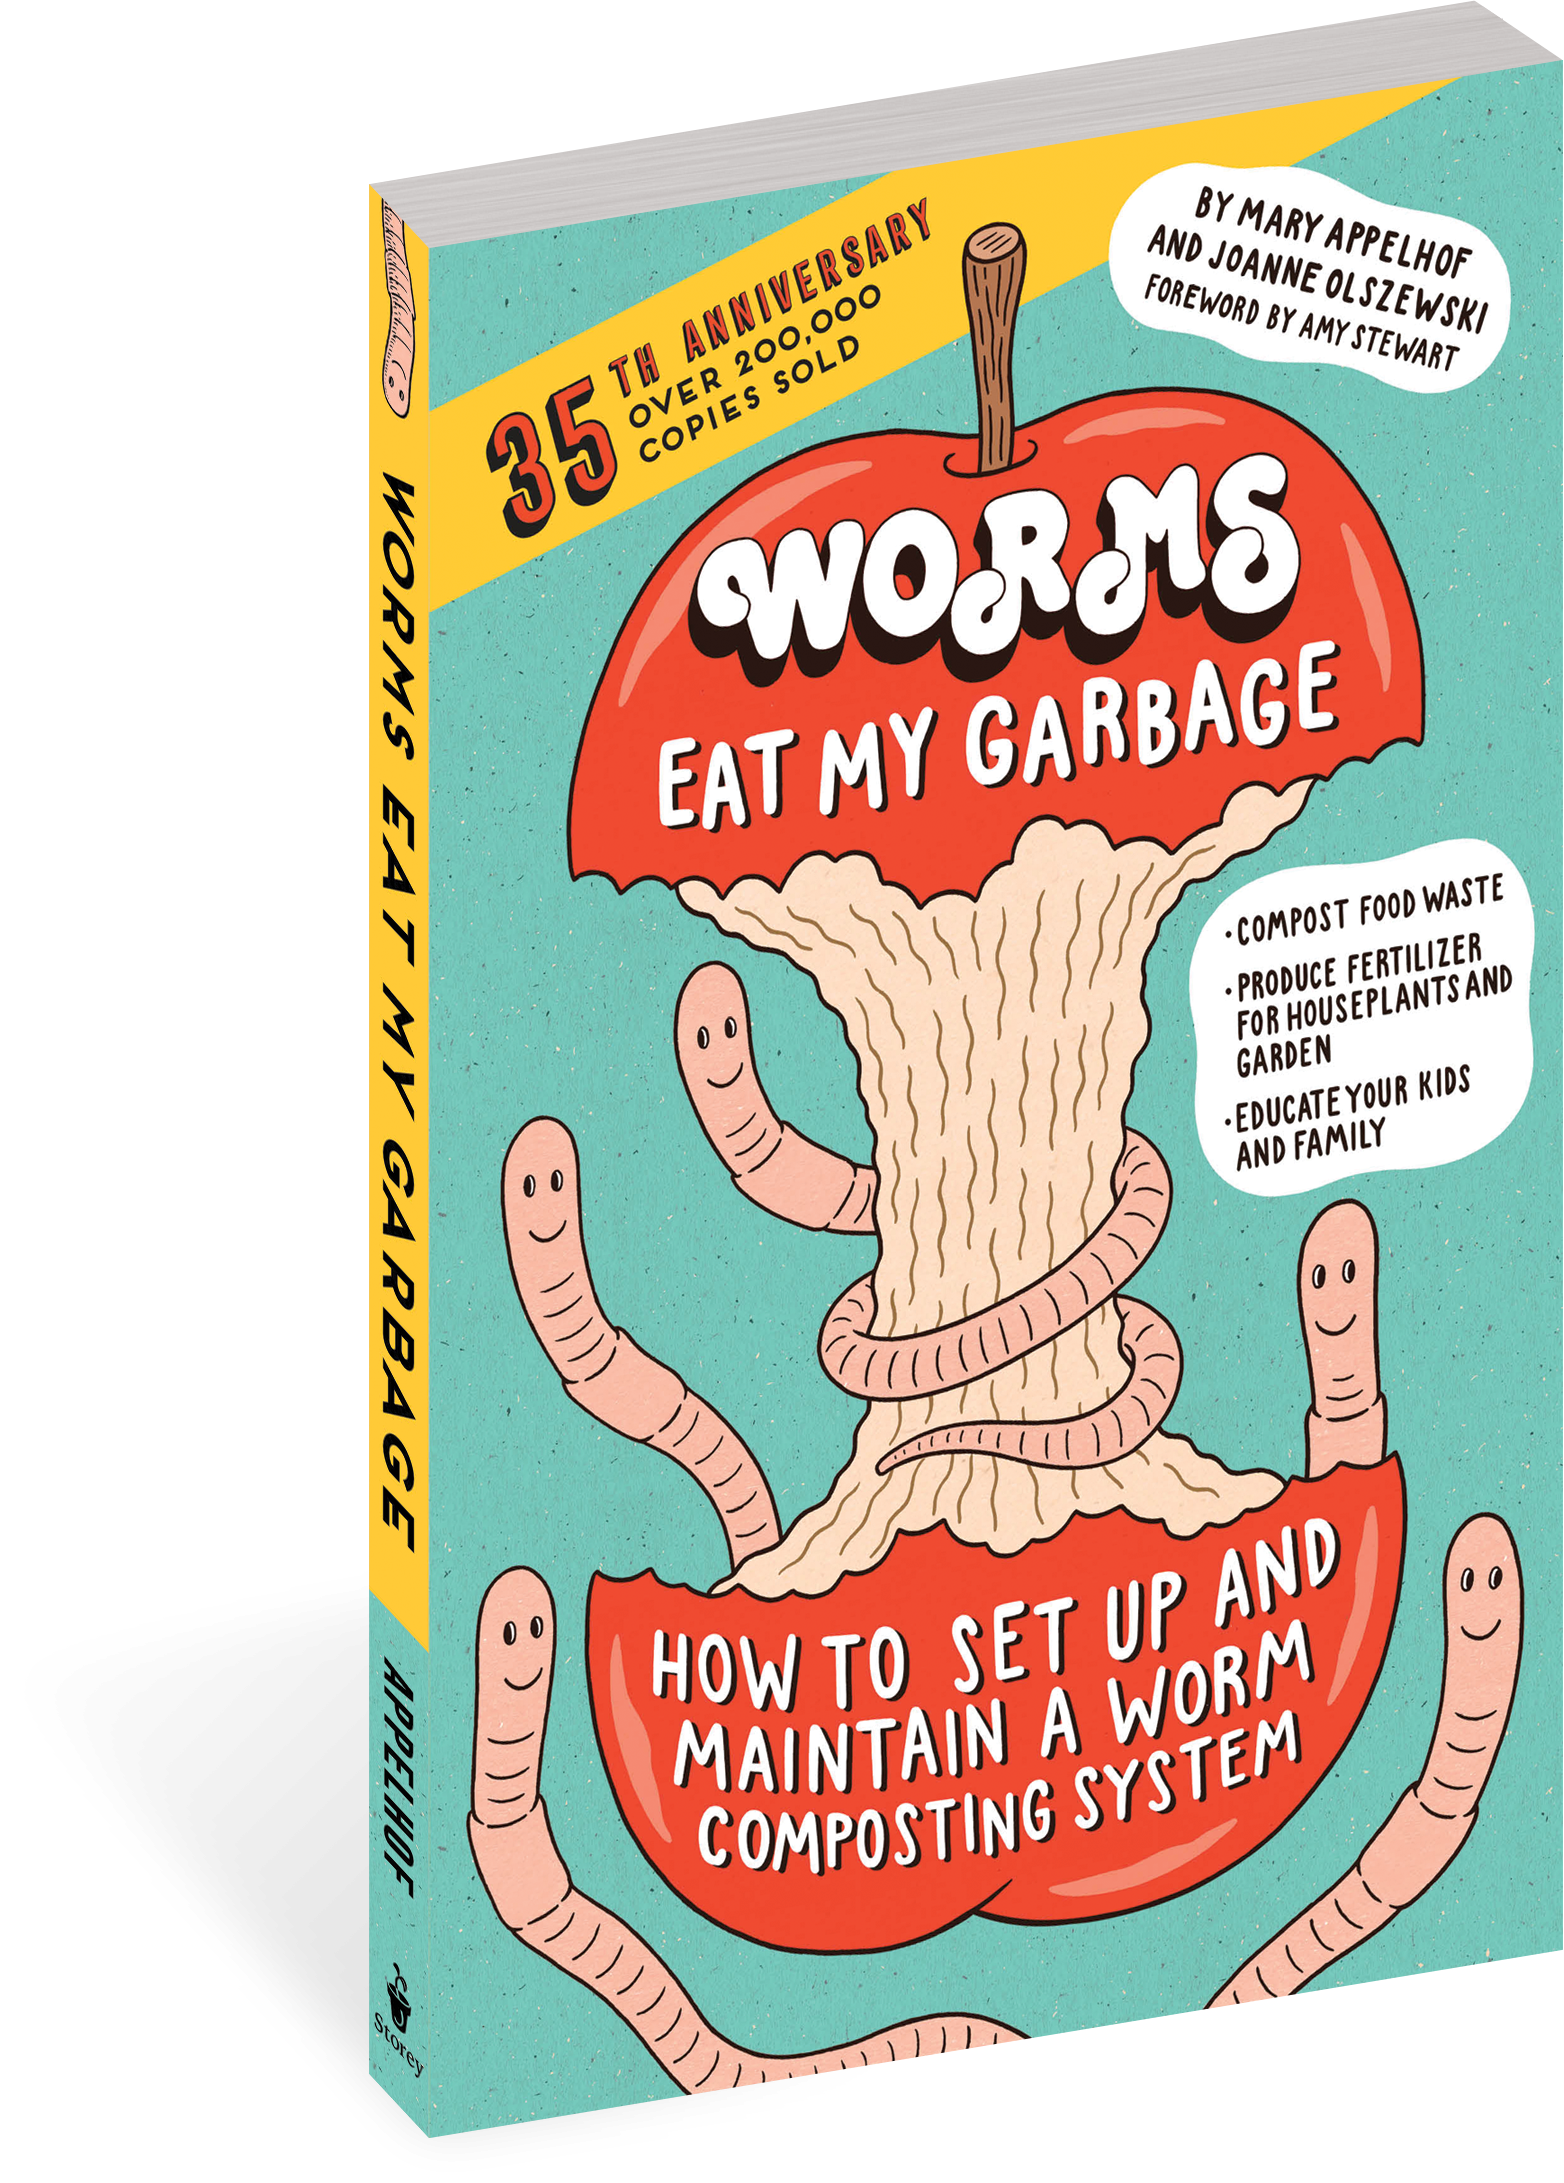
Worms Eat My Garbage, 35th Anniversary Edition
How to Set Up and Maintain a Worm Composting System: Compost Food Waste, Produce Fertilizer for Houseplants and Garden, and Educate Your Kids and Family


Contributors
Foreword by Amy Stewart
Formats and Prices
- On Sale
- Dec 26, 2017
- Page Count
- 192 pages
- Publisher
- Storey Publishing, LLC
- ISBN-13
- 9781612129471
Price
$15.99Price
$20.99 CADFormat
Format:
- Trade Paperback $15.99 $20.99 CAD
- ebook $9.99 $12.99 CAD
This item is a preorder. Your payment method will be charged immediately, and the product is expected to ship on or around December 26, 2017. This date is subject to change due to shipping delays beyond our control.
Buy from Other Retailers:
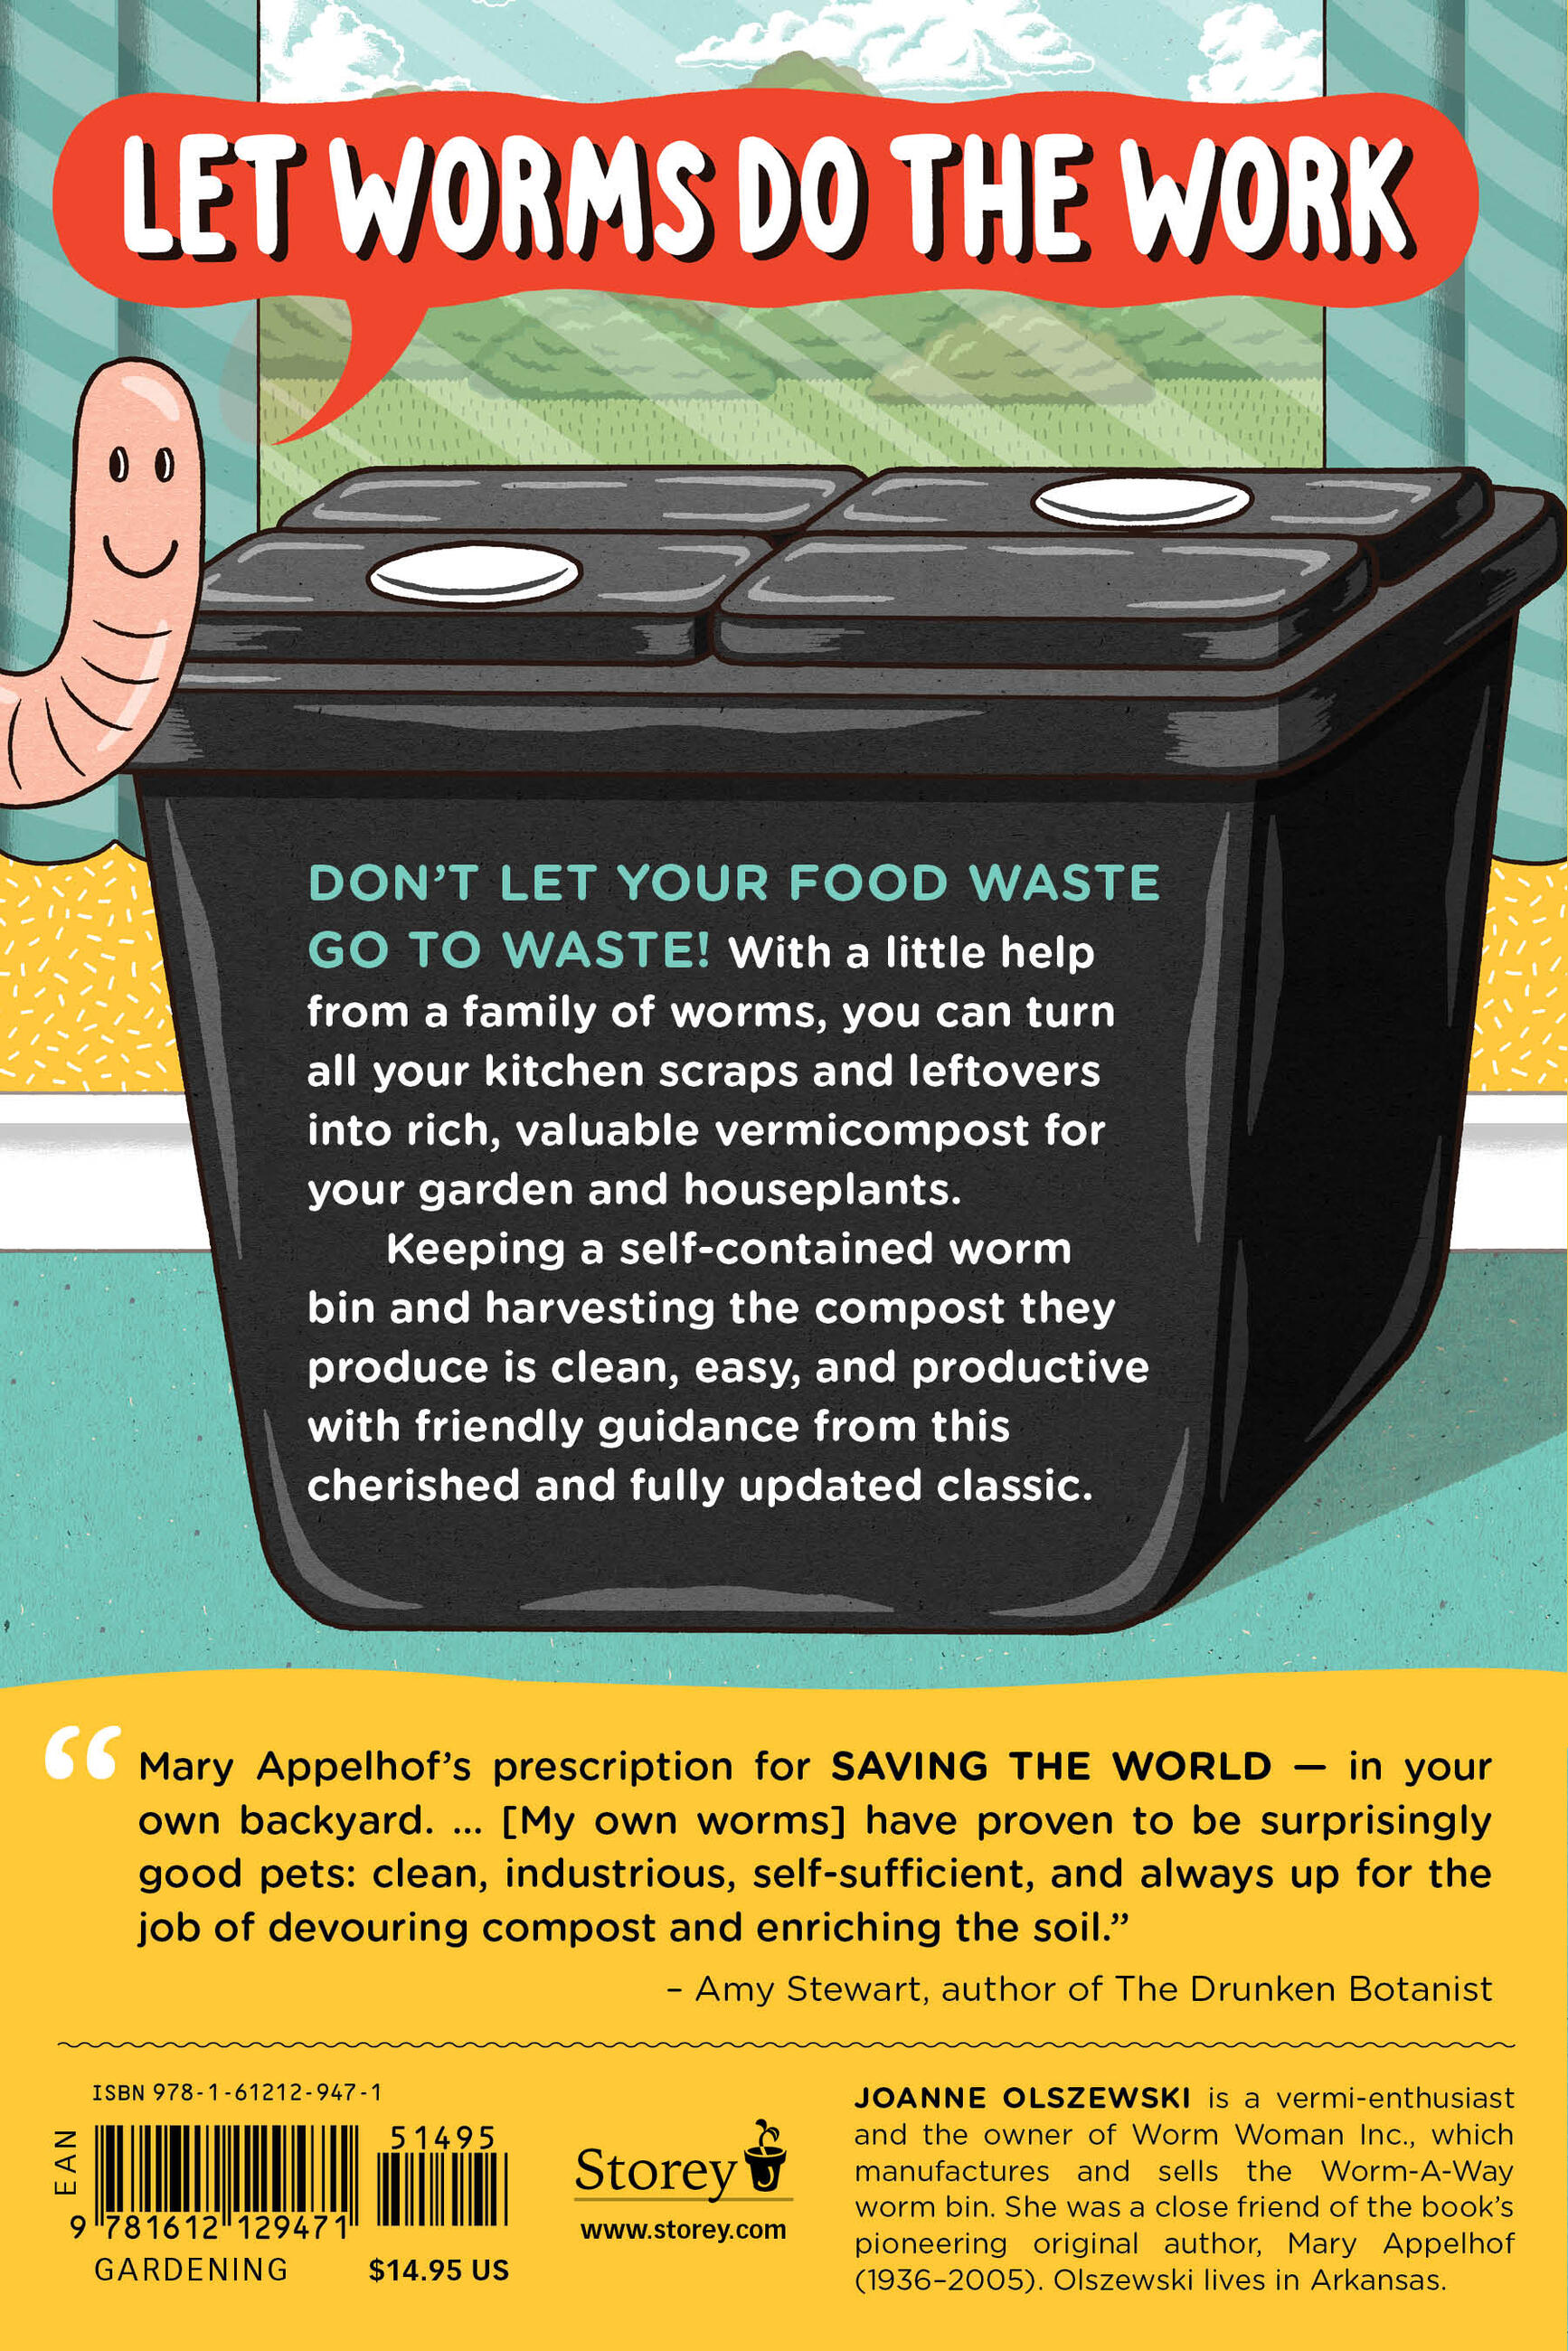
This best-selling guide to the practice of vermicomposting teaches people how to use worms to recycle food waste into nutrient-rich fertilizer for houseplants or gardens.
Small-scale, self-contained worm bins can be kept indoors, in a basement, or even under the kitchen sink in an apartment — making vermicomposting a great option for city dwellers and anyone who doesn’t want or can’t have an outdoor compost pile. This fully revised edition features the original’s same friendly tone, with up-to-date information on the entire process, including:
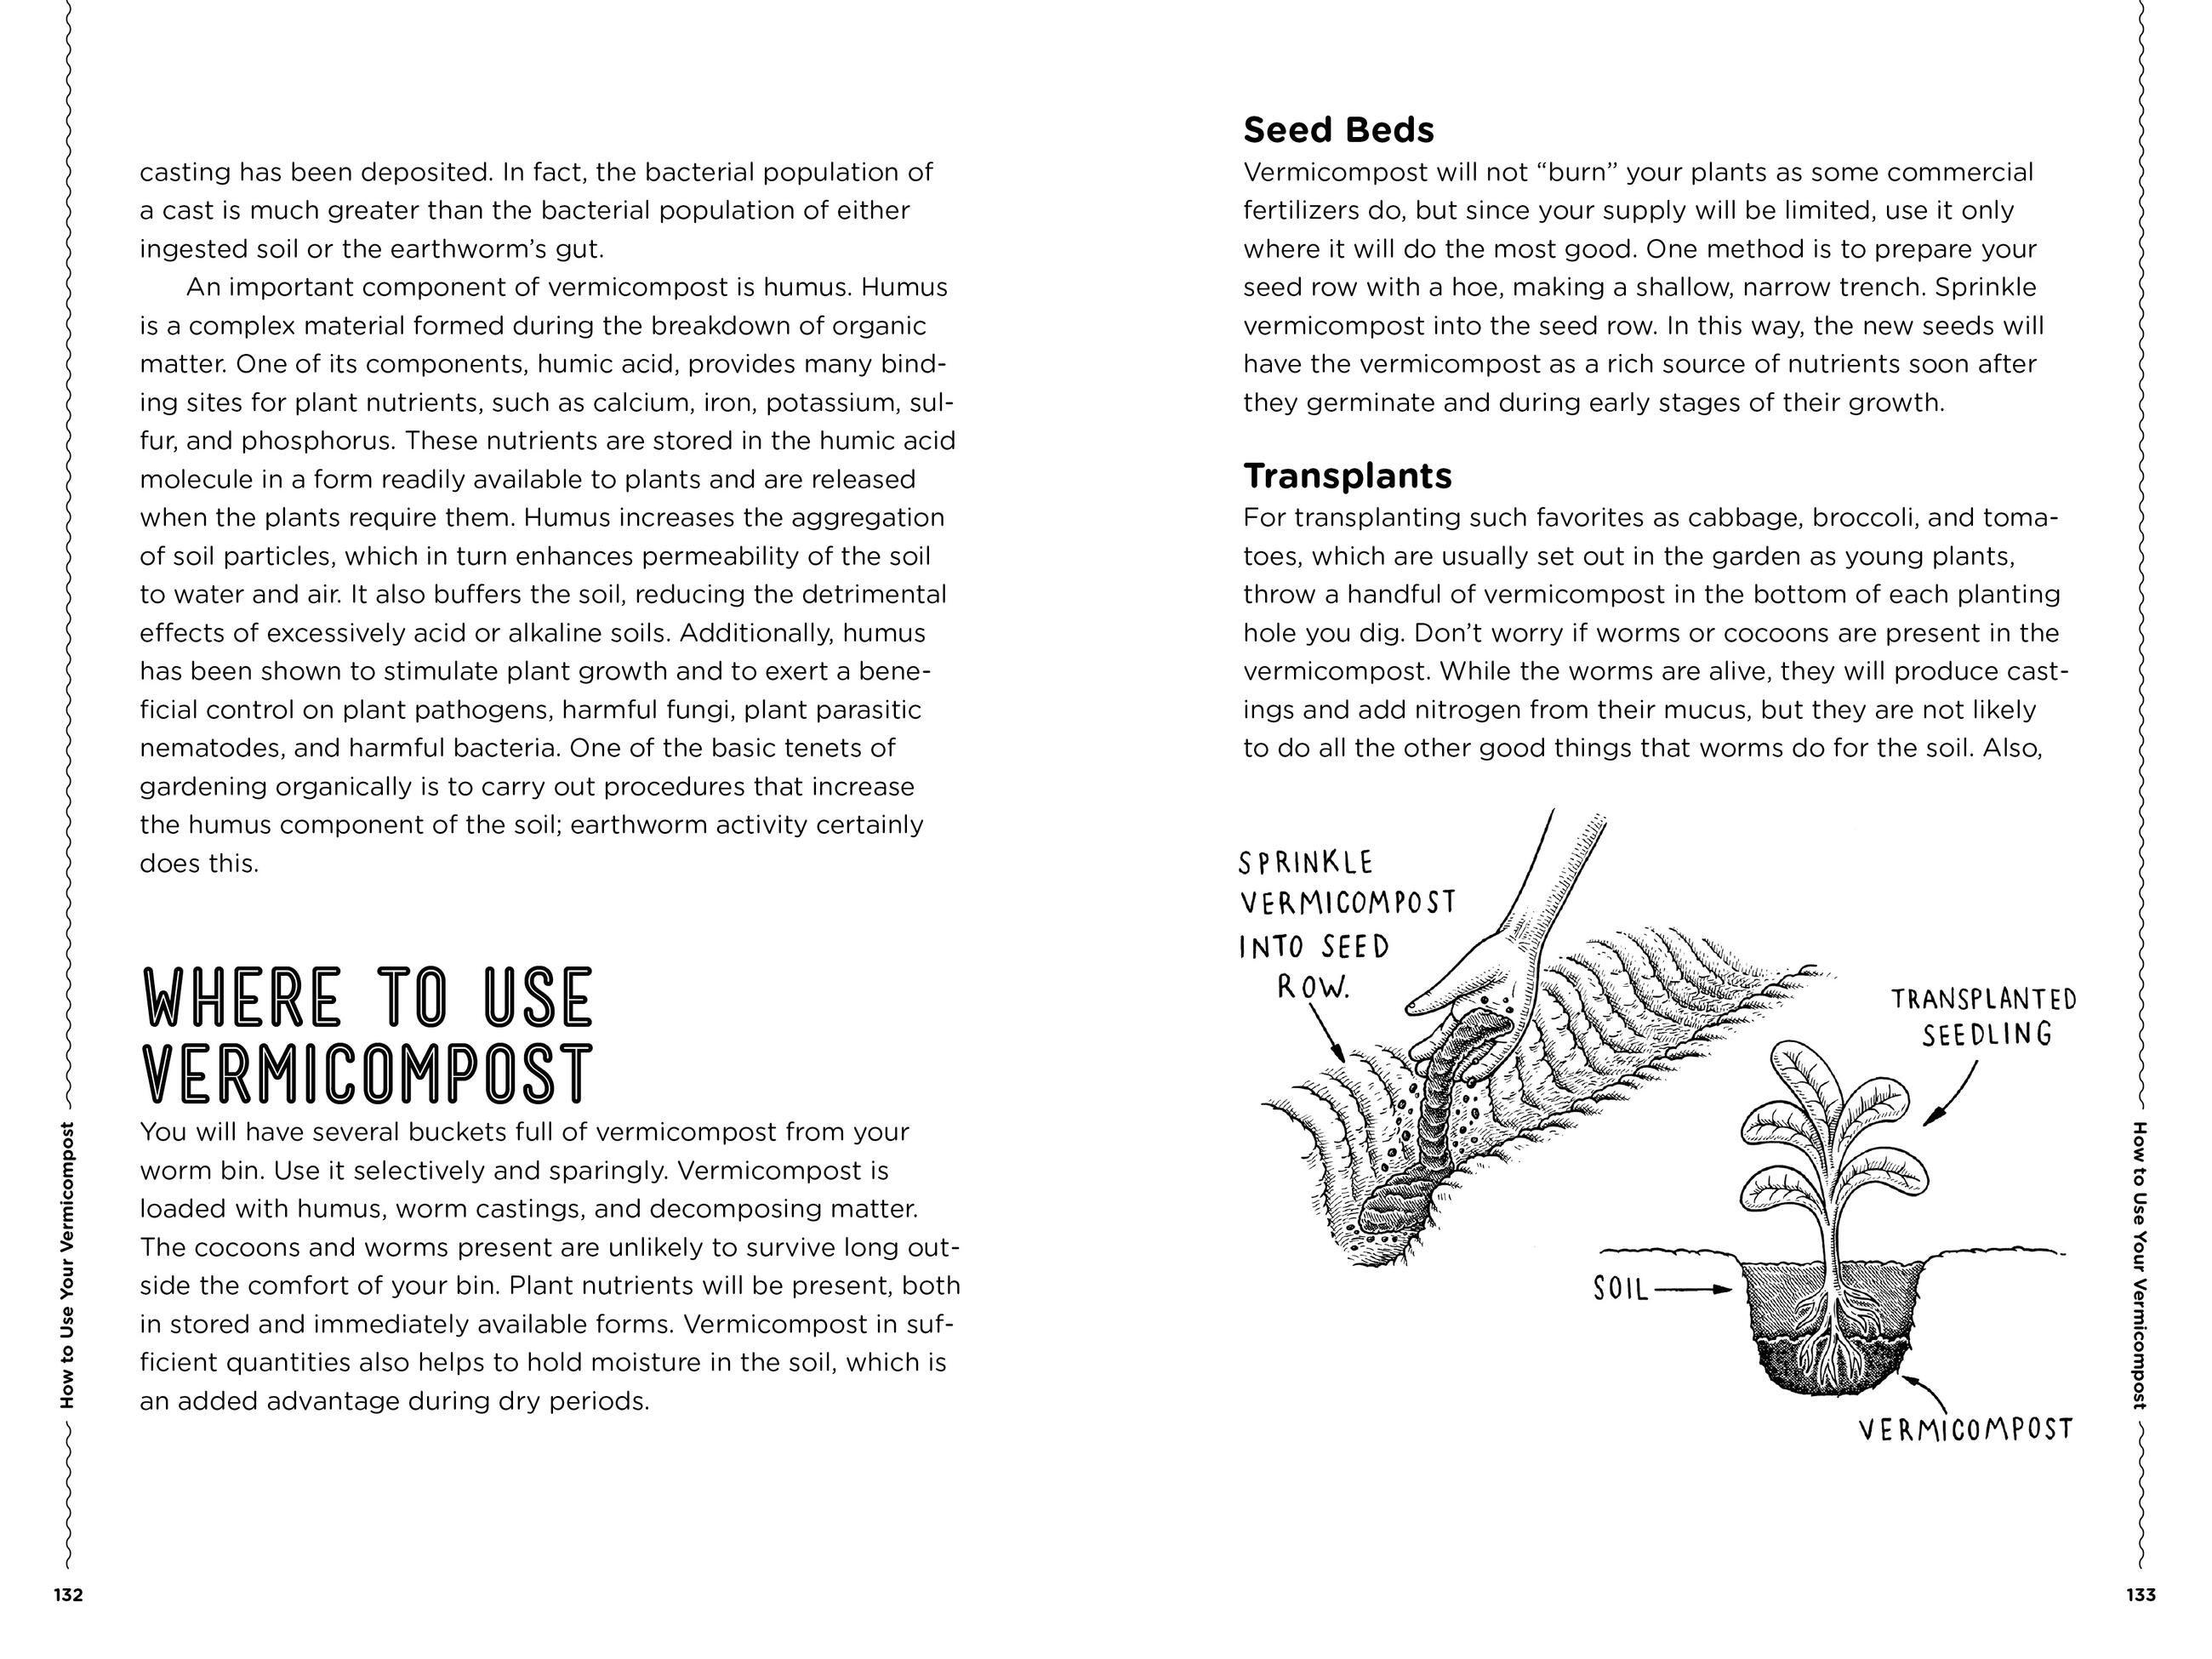
- Building or purchasing a bin (readily available at garden supply stores)
- How to feed and maintain the worms
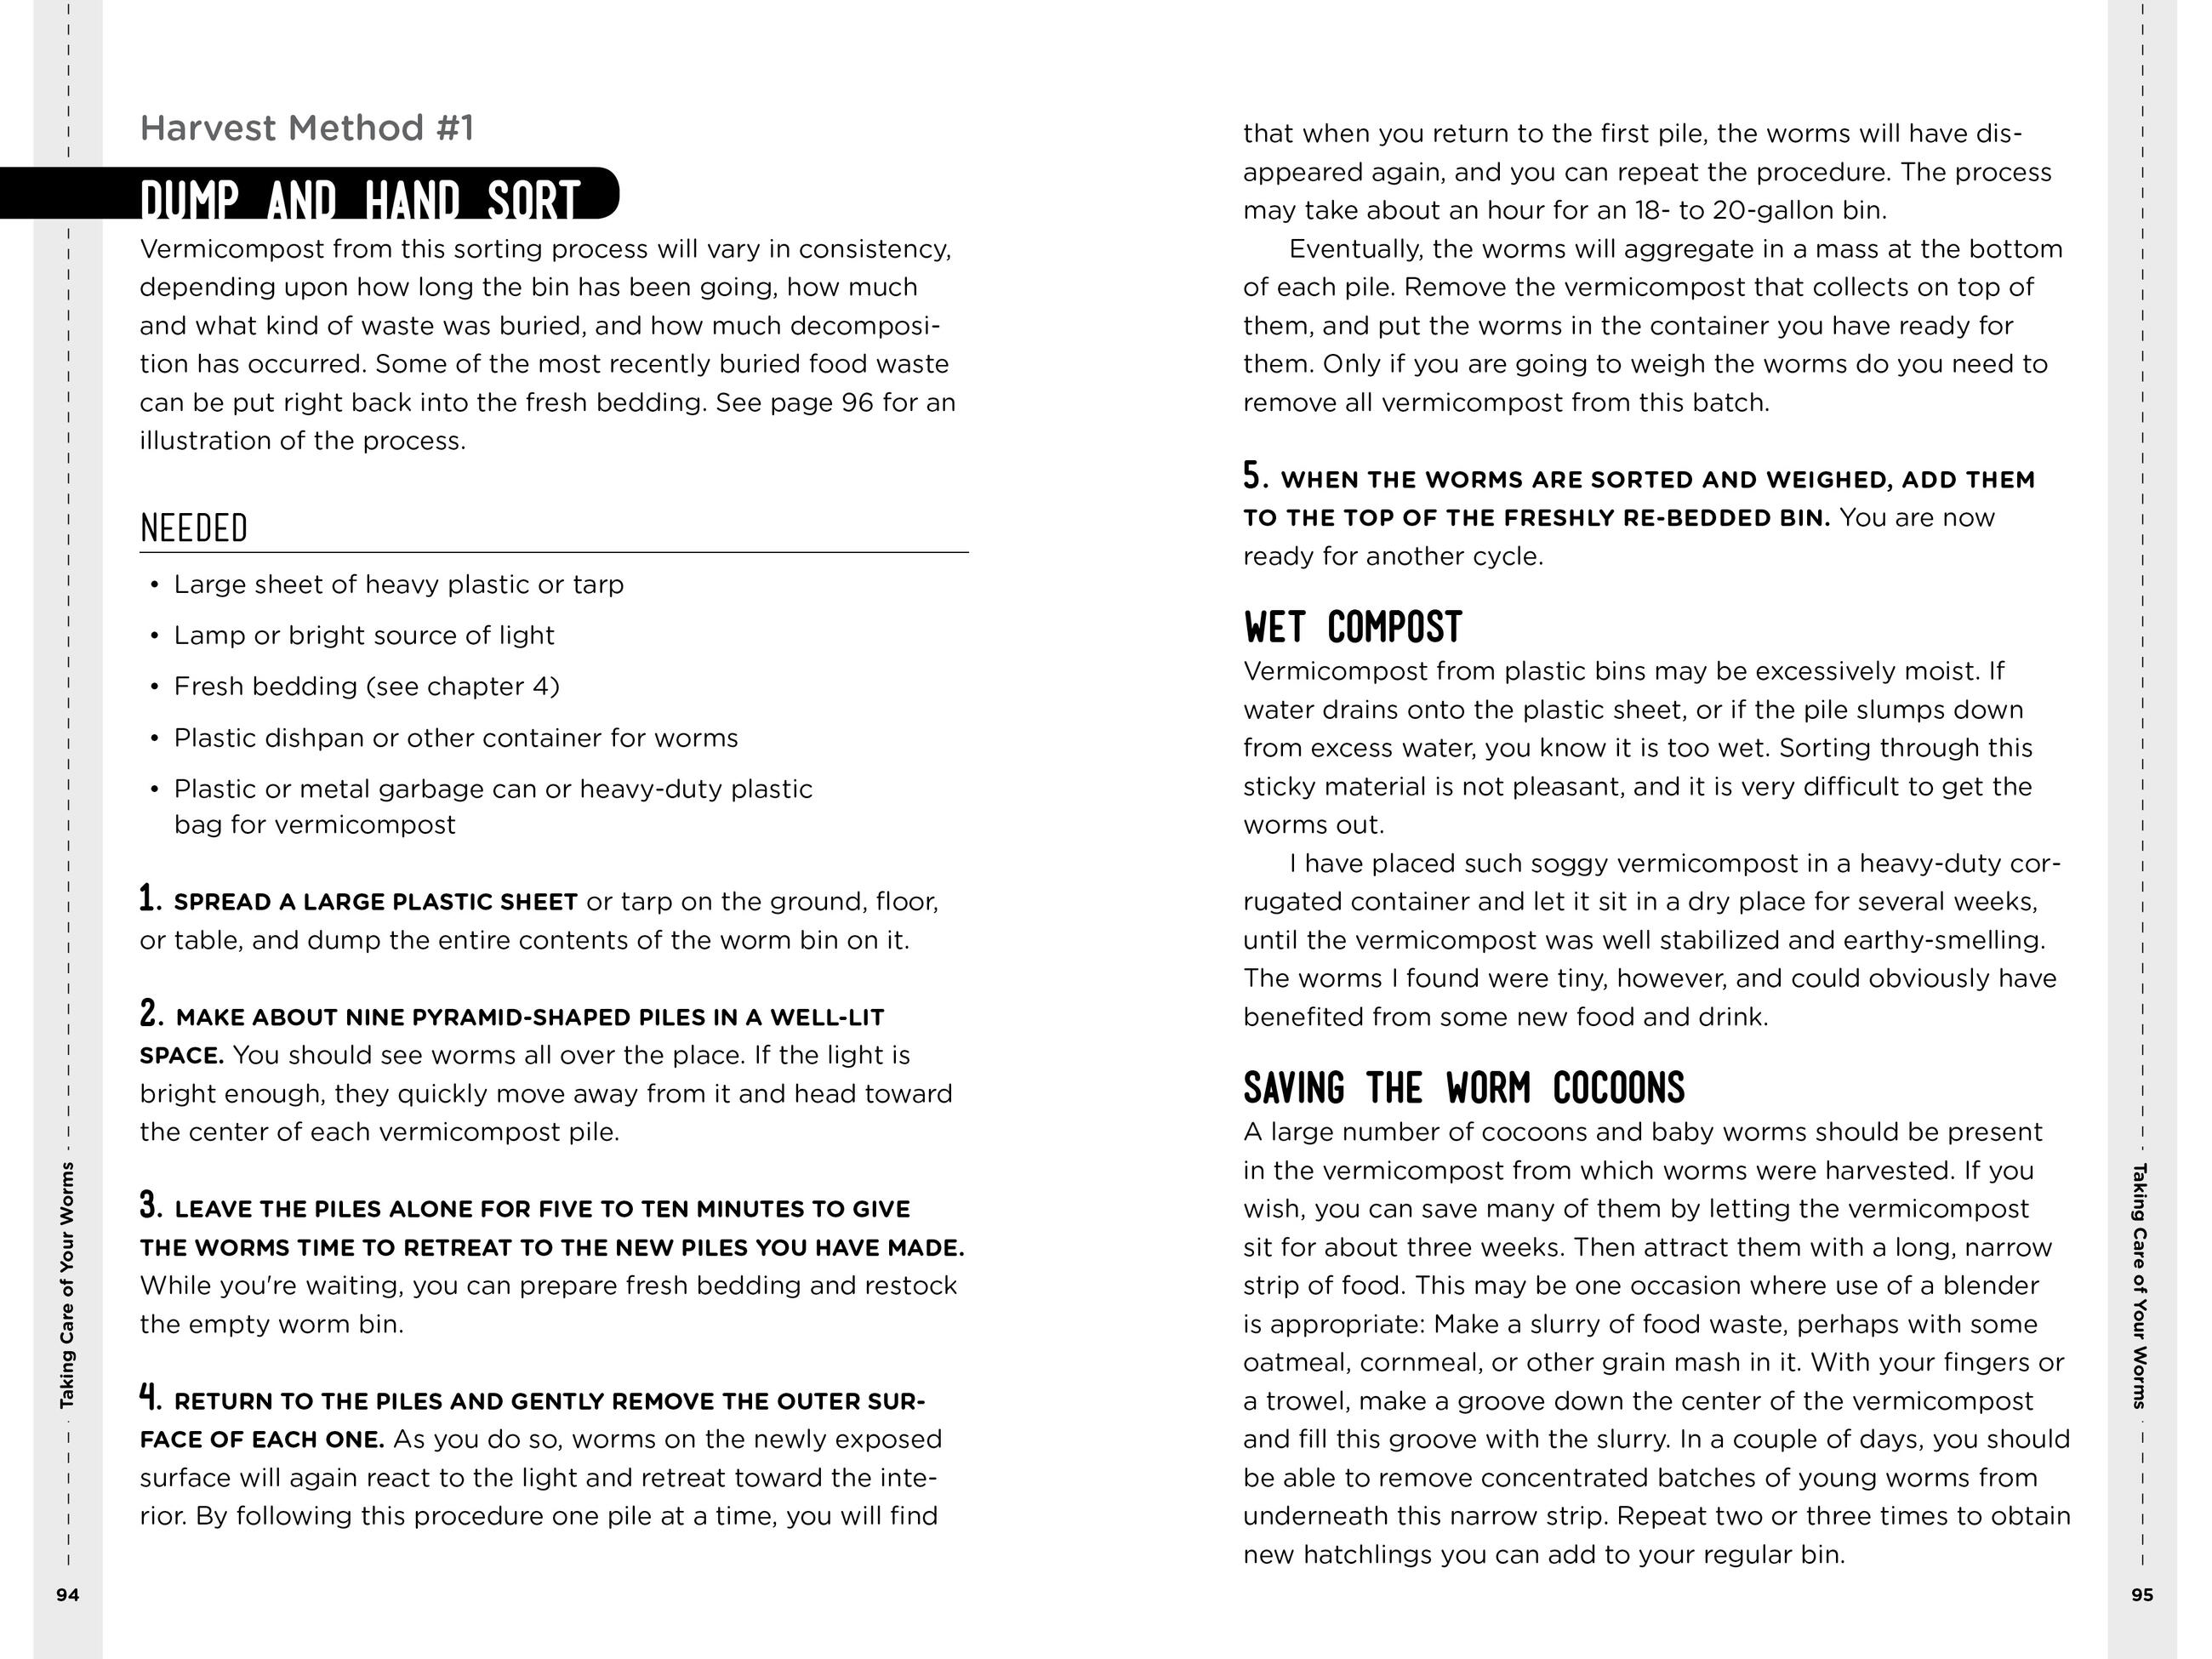
- Harvesting the finished compost
You’ll find annotated references to related readings, a glossary of terms for quick look-up, and a sample record sheet to keep track of your setup. Start vermicomposting today and watch the worms get to work!
Genre:
-
“Mary Appelhof's prescription for saving the world — in your own backyard. ... [My own worms] have proven to be surprisingly good pets: clean, industrious, self-sufficient, and always up for the job of devouring compost and enriching the soil.” — Amy Stewart, author of The Drunken Botanist
“Mary Appelhof turned complicated science into understandable and usable advice. She’s sculpted into my Mount Rushmore of the founders of the organic movement.” — Jeff Lowenfels, author of Teaming with Microbes: The Organic Gardener's Guide to the Soil Food Web