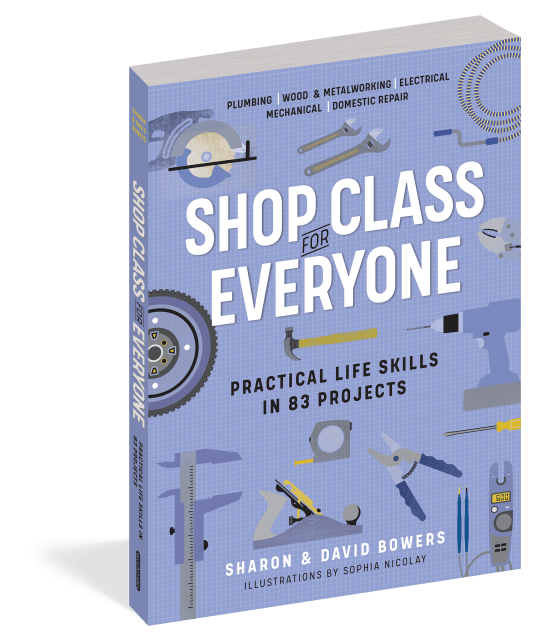
Shop Class for Everyone: Practical Life Skills in 83 Projects

Plumbing · Wood & Metalwork · Electrical · Mechanical · Domestic Repair

Contributors

By Sharon Bowers

By David Bowers

Formats and Prices

Price

$14.95

Price

$19.95 CAD

Format

Format:

  1. Trade Paperback $14.95 $19.95 CAD
  2. ebook $9.99 $12.99 CAD

This item is a preorder. Your payment method will be charged immediately, and the product is expected to ship on or around April 27, 2021. This date is subject to change due to shipping delays beyond our control.

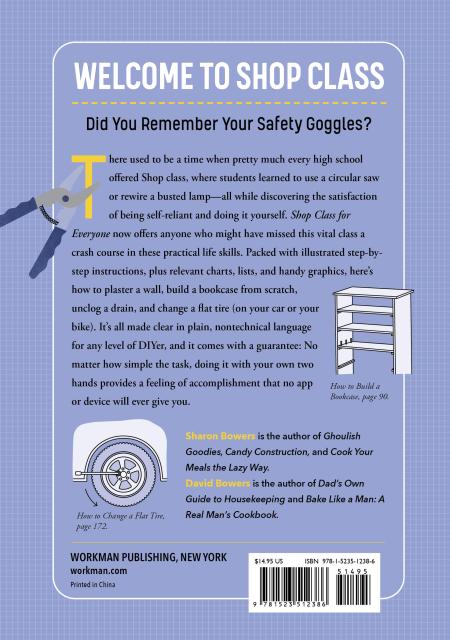
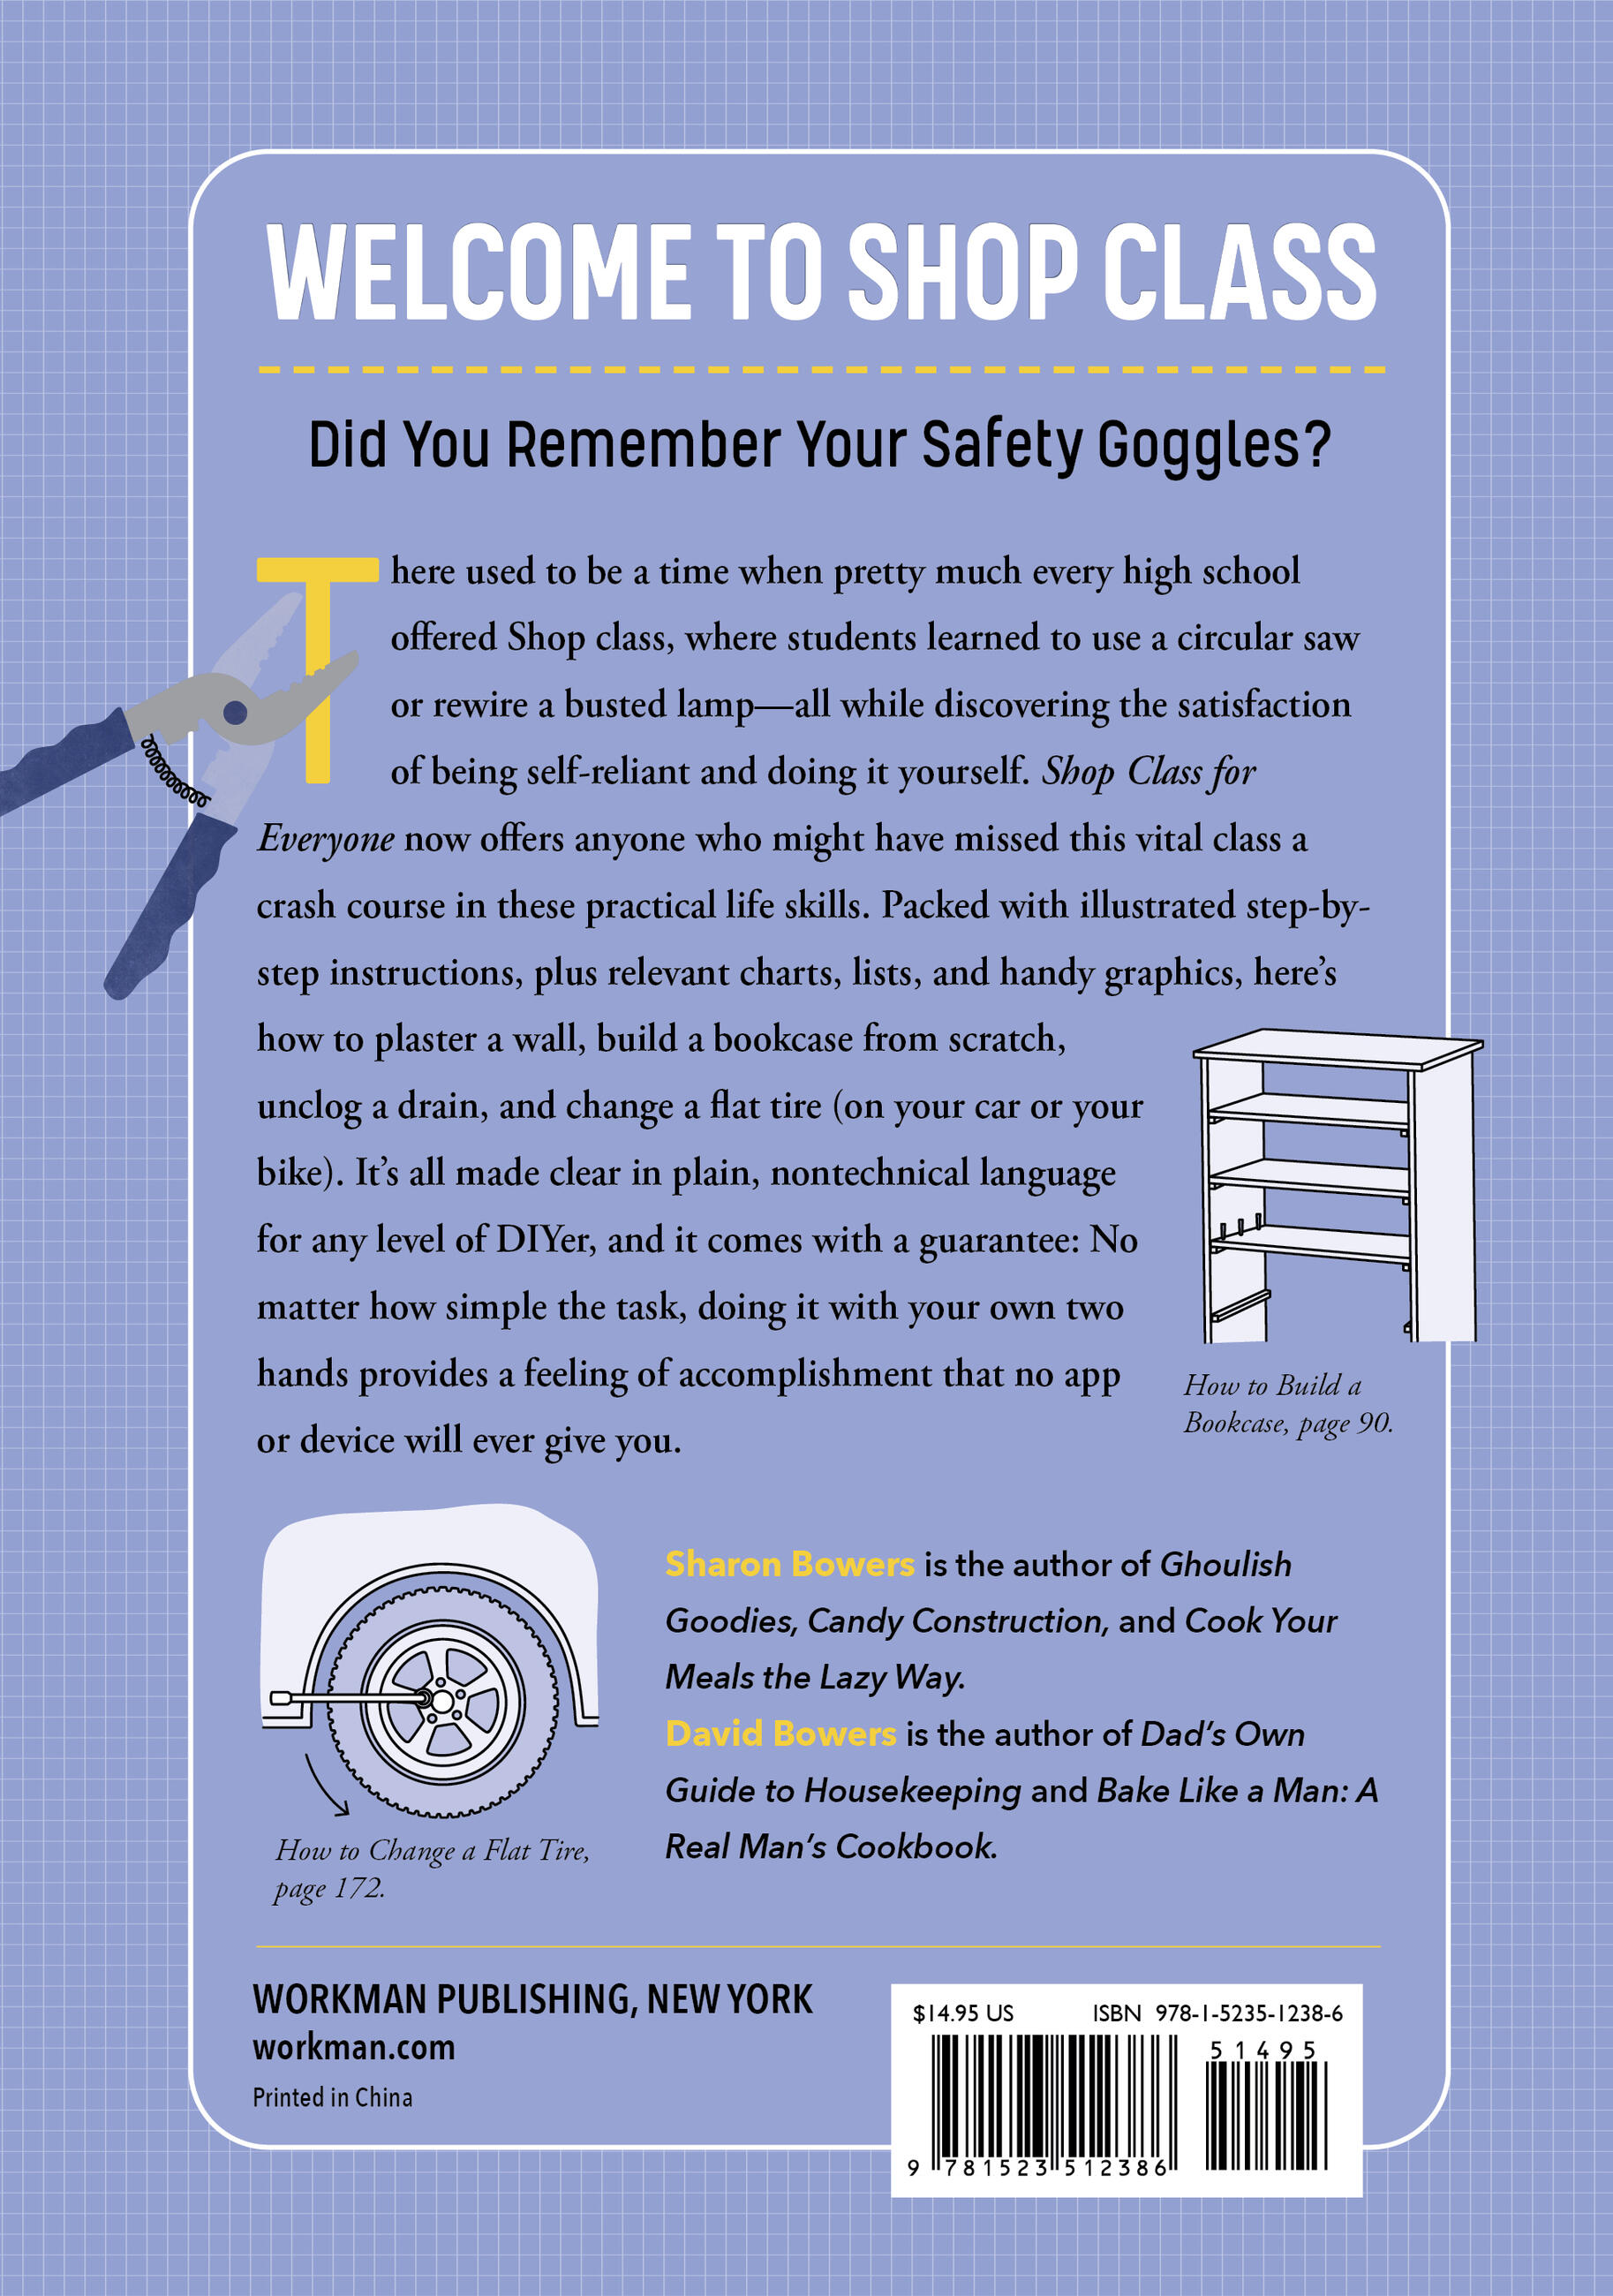
Did you remember your goggles?

There used to be a time when pretty much every high school offered Shop class, where students learned to use a circular saw or rewire a busted lamp- all while discovering the satisfaction of being self-reliant and doing it yourself. Shop Class for Everyone now offers anyone who might have missed this vital class a crash course in these practical life skills. Packed with illustrated step by step instructions, plus relevant charts, lists, and handy graphics, here’s how to plaster a wall, build a bookcase from scratch, unclog a drain, and change a flat tire (on your car or bike). It’s all made clear in plain, nontechnical language for any level of DIYer, and it comes with a guarantee: No matter how simple the task, doing it with your own two hands provides a feeling of accomplishment that no app or device will ever give you.


Excerpt

Domestic Repair

One Sunday’s to-do list might include anything from fixing a leak, to painting a shelf, to banging down stray deck boards, to putting a new blade on the lawn mower, to hanging a picture. How can you predict what you’ll need next Sunday? You can’t, which is why your home tool kit needs to be flexible, complete—and organized! A trip to the hardware store for a screw or tool that you know is hiding somewhere in the garage can turn a two-minute fix into a two-hour job. Having the right tool on hand can also be the difference between an easy DIY job and a costly call to the handyman. Spending $200 on tools now can save you many times that amount later.

Hammer. You can’t go wrong with a lightweight framing hammer—such as a 20-ounce, smooth-faced model with a straight claw.

Screwdrivers. A medium and a large Phillips ( + ) and flathead ( − ) are great places to start.

Tape measure. A 1-inch-wide, 25-foot-long tape measure is indispensable. Make sure it’s high enough quality to assure a working lock and well-made retrieval spring.

Pry bar. A short cat’s paw pry bar will do just fine to pull nails and lift floorboards.

Locking pliers. Why burn your own grip strength to hold pliers closed? Instead, a pair of versatile, locking Vise-Grips are essential for keeping most things pinched around the house. Consider a pair of Irwin 10-inch curve pliers.

Needle-nose pliers. These are meant for electrical work—to bend and cut wires—but you’ll use them for everything from pinching tiny screws to pulling large splinters.

Slip-joint pliers. The most common pliers are two-position, slip-joint pliers that allow you to close tight in one position and grip large objects in the other. Plastic-coated or otherwise, padded handles are a plus.

Wire cutter/stripper. Go with a multi-sized wire cutter/stripper, which you’ll use when rewiring lamps and hanging light fixtures.

Voltage detector. You’ll need a voltage detector to help locate the source of the trouble in light fixtures, circuit breakers, wires, and cables.

Cordless drill. Look for a variable speed, reversible, twist-lock model with a good set of bits. In addition to a kit of standard bits in a range of sizes, you might want a couple of spade bits, a masonry bit, a hole cutter, and bits used for driving screws (Phillips and flathead).

Chisel. Get a wood chisel, and try to keep it for shaving wood off a loose door jamb instead of opening paint cans.

Saw. A straight handsaw will cut boards quickly and even trim the odd tree branch in a pinch.

Level. You can get a pen-sized laser level for about the same price as a four-foot bubble level, and you will find pros who swear by each. Pick one or the other.

Stud finder. Yes, you can knock on the wall until the hollow sound goes solid, but while you hone your 2 × 4 divination skills, get a stud finder.

Utility knife. A retractable-blade utility knife will do everything from cutting carpet to opening boxes.

Carpenter’s square. Carpenters use an L-shaped or triangular steel or aluminum square when building with 2 × 4s. You’ll want one around to double-check the angles of the broken picture frame you tacked back together.

Staple gun. A well-made, hand-powered staple gun is essential for hanging holiday lights and tacking upholstered furniture. Make sure the gun you buy accepts staples up to ⅝" and ask a salesperson if you can give the staple gun a few test squeezes before buying. Buy a range of staples—½" and ⅜" are the most useful.

Electrical tape. There are some jobs that require exactly the right gear, and rewiring is one of them. For splicing even the smallest wires, you need vinyl electrical tape, which stretches, adheres to, and insulates wires.

Duct tape. It binds the world together.

Sandpaper. Common aluminum oxide sandpaper runs from the coarse grit of P12 to the fine grit of P220 (and even higher for finish papers). Usually you’ll use a coarse paper first and finish with a finer grit, so it’s worth buying a set.

Nails, screws, and bolts. Even the most basic home repair tool kit should include a range of nails—ranging from 4d (1½") to 16d (3½")—and screws. Wood and drywall screws have coarse threads, whereas metal screws have finer threads. Get a range of both. It’s also worth having a couple of carriage bolts, eye bolts, and screw eyes on hand.

Glue. Super glue, wood glue, Elmer’s glue, maybe an epoxy for special projects. Along with duct tape, glue will hold everything together.

#1 How to Hang a Picture

Humans follow a consistent picture-hanging progression. You start putting art on the wall by taping the first concert poster to your childhood bedroom. Then maybe you move on to thumbtacks. In your early twenties you might graduate to a single nail driven into the wall, then you’d hang with wire across the back of the frame. You reach picture-hanging maturity once you deploy the bracket. This section details this method of grown-up picture hanging.

Where to Place a Picture on the Wall

Lay out your pictures on the floor as if it were the wall and play with your options. (Alternatively, make poster board templates the same size as your pictures and then temporarily tack them to the walls with removable adhesive.) Start with the art you imagine as your centerpiece—not necessarily the biggest picture, but the one you most want people to notice—and then add remaining pieces around it. Successfully decorating a wall is about balance. You want neither a tiny piece of art on a vast wall, nor pictures claiming every square inch of wall space. Pictures should be hung so that their center point is at eye level—typically about five feet from the floor—but needn’t be hung in frames of matching size. If art is obviously part of the same series, or if displaying a number of photographs, consider using complementary frames—perhaps made of the same material in different colors. The more eclectic your choice of frames, the more your home will look like a gallery; the more standardized your frames, the cleaner it will look.

Keep the following design guidelines in mind: When hanging art above a couch, try to stay 6 to 10 inches from the top of the backrest—any more and the eye goes to the wall, not the art. Unframed, abstract, or “challenging” modern art requires more negative space around it than do portraits, framed pieces, landscapes, and representative art. The darker the room, the more space the art needs (or install accent lights; see page 154). If you have two pictures of the same size, consider breaking up the flow of this art by placing a smaller picture between. Of course, these rules are frequently broken—trust your eye or solicit the opinion of someone whose taste you do trust.

Selecting Hanging Hardware

Hanging art by a wire stretched across its back is easy—you drive a nail, balance the art on its wire, and then slide it until the art hangs level. However, wire is imprecise and prone to slippage, and is therefore not the first choice of most professional decorators. Instead, consider brackets in which one side mounts to the wall and the other mounts to the picture. They take a little more care going up, but assuming you did your homework before putting holes in the wall, you’ve got the hang you want for good (or until your taste in art changes). Resist the temptation to hook the back of a picture’s frame onto a bare nail head. It’s not a secure way of hanging a picture and could cause damage to the wall (and the picture!) if the nail pulls out, as it may. At the very least attach a hoop or tooth-style hanger on the back of the frame, which grabs on to a matched hook on the wall.

Tools:

Measuring tape Pencil Stud finder 4-foot level

Materials:

Nails

Hooks, brackets, or wire-mounts

1 Double-check placement. Before you start banging holes in the wall, consider the weight of your art—heavy art should be hung to a stud and not held only by drywall. Art over 50 pounds, such as a large mirror, is best hung on two studs. (See page 7 for how to locate studs.) Does this change your design? Consider the position of your heaviest piece and shift the overall placement of pieces as needed.

2 Measure and mark. Once you’re confident in your design, measure up the wall 5 feet and make a light mark with a pencil in a location that will be covered by a picture. We’ll call this “eye level.” Alternatively, place sticky notes on the wall at the proper height to indicate positions (these are nice because you can also write measurement notes on them). Measure the height of your picture and divide by two—that’s the height above your eye-level mark that you want the top of the picture. Measure up from your 5-foot eye-level mark and make a light line with pencil or hang a sticky note.

3 If you’re using a hanging wire, measure the distance from the wire to the top of the frame, and subtract this measurement from the above-eye-level height. Mark this spot lightly on the wall, use nails to mount a picture hook over the mark, and hang the picture.

4 To hang with brackets or hooks, you’ll need to be a little more precise. Hold the picture up to the wall and lay a 4-foot carpenter’s level across the top of the frame. Work to perfectly position the piece and then use a pencil to draw a light line along the top where it should hang.

5 Determine your hardware location. On the back of the frame, measure the distance from the hanging point or points to the top of the frame. Note that if a frame includes two hooks on the back, there is no guarantee these two hooks are equal distance from the top. Measure each separately, as even a ⅛" error in hook height can make a world of difference in how level your art looks. Note also the distance these mounting hooks are from each other (unless there is only one hook).

6 Mount the hardware. Measure down from the top-of-frame line you drew on the wall to precisely mark the locations of the hanging hardware. Mark these locations on the wall and mount the hanging hardware.

7 Hang your art. If you’re using a hanging wire, make sure that the wire catches on the hook(s) of the hanging hardware before you remove your hands from the frame.

Although a frame may seem to be an arbitrary or replaceable border for a piece of fine art, it’s deeply connected to the work itself and intertwined with its history. Changing the frame can de-value a piece of art, so make sure to properly box and store your art and its frame to best preserve the original work.

wall-mounted display

ceiling-mounted display

#2 How to Hang a Shelf

Some projects—such as advanced joinery—might as well be rocket science. Others, like building a table, are surprisingly simple. Then there’s hanging shelves, which seems like it would be easy, but if you want the job done right, turns out to be fairly tricky. How you go about it depends on where you want it hung and what material you’ll be drilling into. Here’s how to hang shelves that stay put.

What a Stud!

Drywall anchors tend to pull out if they’re loaded with more than about 25 pounds, so when you’re hanging a shelf in drywall, you’ll almost always want to attach the shelf brackets to the wooden studs behind the wall. There are two types of stud finders—magnetic and electronic—and many models can be switched between the two. As the name implies, a magnetic stud finder contains a magnet and the finder beeps when it discovers the steel nails used to hook drywall to the studs. An electronic stud finder measures wall density by electrostatic fields and will sound when the density switches from just drywall to drywall backed by a stud. Because studs are not the only things in your walls that might make a finder beep, it’s worth confirming by checking for studs on either side. The construction norm is to set studs at 16" centers (rarely at 24" centers), meaning that every 16" along your wall you should find the dead center of a stud. Once you discover one stud with your finder, check for additional studs 16" in either direction. Mark the studs lightly with a pencil.

If you don’t have a stud finder, look for existing screw or nail holes or for slightly raised nail heads covered in paint. Or look for electrical outlets, which are frequently attached to the studs. Tap with your knuckle as you move across the wall, listening for a solid rather than hollow sound, or push on the wall to check for give. Once you’re moderately confident in your clues—from a stud finder or from exploration—probe with a thin drill bit to see if your hunch leads to solid wood. Be ready to close any holes you make with putty and paint.

Finding Studs in a Plaster Wall

The walls of most newer homes are made of sheets of drywall mounted with nails to studs, sometimes finished with a thin layer of plaster. Until the late 1950s, however, many builders in the United States and Canada used a technique called lath and plaster, in which narrow wooden strips (laths) were tacked to studs and then covered in thick plaster. A stud finder is completely or almost completely useless in a lath and plaster wall, so instead use the tapping method described above to sleuth your way to stud locations. Once you have educated guesses, drill small exploratory holes, being sure to vary the heights of these holes so as not to weaken large sections of plaster. Older homes with lath and plaster walls may also suffer from imprecise stud spacing, meaning they might vary from 16" centers. In these plaster walls, it’s even more important to drill exploratory holes to locate exact stud position before hanging shelves or anything heavy. Mark the edges of studs lightly with a pencil to ensure that you hit the center.

If Your Wall Is Masonry . . .

The good news is there are no studs in a brick or concrete wall. You can hang a shelf or heavy mirror wherever you like. The bad news is, you need specialized tools and a little extra hardware to do it. First, you’ll need masonry anchors. Most common are expansion anchors, either nails or screws. If your wall is made of multiple layers of masonry with air between the layers, you can also use masonry toggle bolts, which will push through the first layer and then swivel flat against the layer’s back edge (like a drywall butterfly bolt). To hang a shelf, you’ll need a bracket at each end and spaced about every 24" in between. Choose anchors that are rated to hold about four times what you expect them to carry—estimate the weight of your loaded shelf, divide it by the number of anchors you plan to use, then multiply this number by four. Because masonry anchors exert force on the wall, they can’t be clustered too close to each other for fear of cracking the concrete or brick. The rule of thumb is that masonry anchors should be placed no closer than 10 times the diameter of the anchor—so ¼" masonry anchors should be spaced at least 2½" apart. You’ll also need either a hammer drill (rent one from your local home improvement store) or a masonry bit for your electric drill. Make sure the size of your drill bit is appropriate for your anchors. Drill the holes and insert the anchors as specified by the package directions or by hardware store experts.

Tools:

Stud finder (optional; see What a Stud!, page 7) Measuring tape Pencil 4-foot level Power drill Screwdriver bit

Materials:

Shelf

Bracket or mounting hardware

Wood screws

1 Determine the material of your wall. If your walls are plaster or drywall, locate the studs (see What a Stud!, page 7).

2 Install the brackets on the shelf (the specific procedure will depend on your shelf and brackets—check the instructions that came with your bracket).

3 Plan the position of your screw holes. The best template for these holes is the shelf itself. With the mounting brackets installed on the shelf, lay a 4-foot level across the shelf and position it against the wall where you want it to hang. For drywall or plaster, make sure your mounting brackets are placed every 16" and aligned with studs. In masonry walls, brackets can be 24" apart. With a pencil, mark the wall through the screw holes in the shelf brackets. Remove the shelf and use a thin drill bit to double-check that each hole hits a stud.

4 Attach the shelves to the wall. Using your drill and screws appropriate to your wall material, attach the bracketed shelf to the wall. Depending on your mounting hardware, you may be able to drive the screws and then hang the shelf directly on them, or you may need to hold the shelf in place while you drive screws through the mounting brackets.

Before they were used to stack books spine-out, shelves held piles of scrolls, and later, books with the spine facing in.

#3 How to Install a Closet Rod

The specifics of hanging a closet rod may vary, but there is one consistent absolute: Hang it strong. Not only are your clothes heavy and the distance the bar spans likely to be wide, but this bar is likely to see abuse as you yank free a shirt or pull pants straight off the hanger. So don’t skimp on the mounting hardware, and never try to hang a rod directly from drywall. The instructions here are for hanging the traditional 1¼" wooden dowel closet rod.

Too Clever by Half

There is a fine line dividing genius from gimmick. And that line is practicality. Yes, there are systems that hang from the back of a closet door that allow you to organize 50 pairs of shoes, but if that hanging is going to bang around every time you open the door, making a ruckus and preventing you from closing it, it’s not your best option. Likewise, there are hooks that mount to walls, allowing you to hang many items from one attachment, but then you can’t see what’s in the back. There are battery-powered tie racks and push-button shoe racks—the list goes on. If your stuff is, in fact, overflowing your closet and there is no hope of organizing it neatly in a traditional bar-and-shelf system, you may have to explore other options. First try getting rid of stuff—thrift and consignment stores will gladly accept gently used items. But if your storage needs aren’t extreme, bars and shelves are likely your cleanest, easiest options.

Tools:

Measuring tape Pencil Handsaw (optional) Drill screwdriver bit

Materials:

1 × 4 pieces of lumber

2½" wood screws (or closet rod manufacturer’s hardware)

Hanging brackets (buy premade or use about 6" chunks of 2 × 4)

1¼" wooden dowel

1 Look for studs. Locate the studs in the sidewalls of your closet and mark their location. (See page 7 for instructions on locating studs.) Ideally, you will find them located between 12 inches and 14 inches in from the back wall—enough space to properly hang clothes. If you do find such studs, skip to Step 3.

2 Forget the studs. The chances of finding appropriately placed studs on either side of the closet are about the same as winning the lottery. Instead, it’s very likely you’ll have to hang the rod from strips of 1 × 4 lumber mounted to the studs. Start by cutting two strips of wood to match the depth of the closet’s sidewalls (or have them cut at the lumber store).

3 Mount the brace. Most closet rods are hung at eye level. Either eyeball the height and mark it on the walls, or make a mark on the wall about 5 feet up from the floor. (Be double sure that your measurements match at every point, or you will have a frustratingly slanted closet rod.) Hold a wood strip at this height, level it, and mark the location of the stud(s) on the strip. Screw or nail the wood strip through the side wall into the stud(s). Repeat with the other side. If there is no stud or wood whatsoever behind the closet drywall, use appropriate drywall mounting hardware for the wood strips. Then you’ll have to reinforce the rod with supports that reach out from the wall studs along the back of the closet.

4 Attach the brackets. It’s easiest to use commercial rod-hanging brackets, though you can certainly make your own—a chunk of 2 × 4 with a 1¼" hole drilled in the middle makes a fine bracket. One bracket should be closed all the way around and the other should be open at the top. If you’re using premade brackets, follow the manufacturer’s mounting instructions. If you’re using chunks of 2 × 4, use 2½" screws to screw through the 2 × 4 and into the wood strips mounted to the wall.

5 Hang the rod. Once you’ve mounted the brackets to the wood strips, push the dowel into the closed side and set it into the open bracket.

#4 How to Patch a Hole in Drywall

There’s a distinctive sound drywall makes when it gets punched with a stray furniture leg or burdened to the breaking point with an improperly secured shelf—a sickening crunch followed by an agonizing cracking noise. If you haven’t heard this, you will someday, and when that day comes you’ll want to know how to patch a hole in drywall. Depending on the size of your puncture (from nail hole to gaping abyss), there are different techniques to fix it. Pick your poison from the instructions below.

Genre:

On Sale
Apr 27, 2021
Page Count
256 pages
ISBN-13
9781523512386

Sharon Bowers

Sharon Bowers

About the Author

Sharon Bowers is the author of Ghoulish Goodies, Candy Construction, and The Lazy Way to Cook Your Meals. She lives in New York City and Dublin, Ireland


David Bowers is the author of Dad's Own Guide to Housekeeping and Bake Like a Man: A Real Man’s Cookbook. He lives in New York City and Dublin, Ireland.

Learn more about this author

David Bowers

David Bowers

About the Author

David Bowers is the author of Dad's Own Guide to Housekeeping and Bake Like a Man: A Real Man’s Cookbook. He lives in New York City and Dublin, Ireland.

Sharon Bowers is the author of Ghoulish Goodies, Candy Construction, and The Lazy Way to Cook Your Meals. She lives in New York City and Dublin, Ireland
 

Learn more about this author