Promotion
Use code MOM24 for 20% off site wide + free shipping over $45
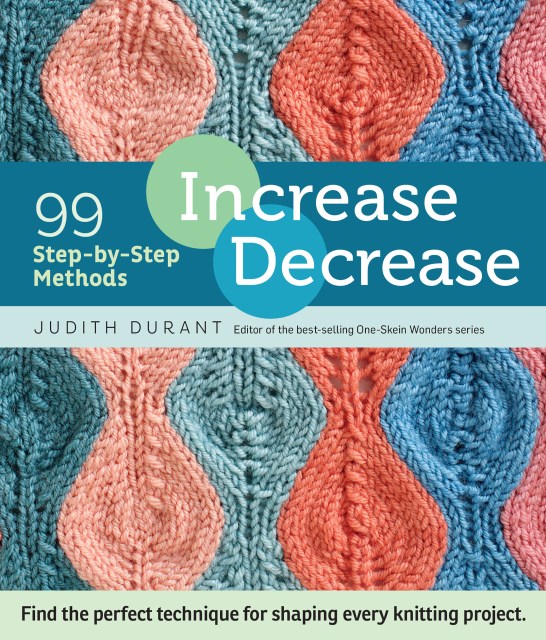
Increase, Decrease
99 Step-by-Step Methods; Find the Perfect Technique for Shaping Every Knitting Project

Contributors
Formats and Prices
Price
$11.99Price
$15.99 CADFormat
Format:
- ebook $11.99 $15.99 CAD
- Spiral bound $16.99 $22.99 CAD
This item is a preorder. Your payment method will be charged immediately, and the product is expected to ship on or around June 1, 2015. This date is subject to change due to shipping delays beyond our control.
Also available from:
The secret to knitting great-fitting hats and shaping elegant sleeves lies in using the right increase or decrease techniques. Approachable and insightful, Judith Durant provides clear instructions and step-by-step photographs that showcase swatches for each technique. From working shaped lace to adjusting necklines, you’ll soon have a go-to strategy for successfully tackling knitting challenges of all shapes and sizes.
Genre:
-
“The ultimate reference on shaping… this is an important addition to every knitting bag.” –Margaret Radcliffe, author of The Knowledgeable Knitter
“I adore technique books that help me understand the construction of my stitches. Judith demystifies increases and decreases, helping make us better, more educated knitters.” –Laura Nelkin, knitting designer and author of Knockout Knits
- On Sale
- Jun 1, 2015
- Page Count
- 256 pages
- Publisher
- Storey
- ISBN-13
- 9781612123325
You May Also Like


Newsletter Signup
By clicking ‘Sign Up,’ I acknowledge that I have read and agree to Hachette Book Group’s Privacy Policy and Terms of Use