By clicking “Accept,” you agree to the use of cookies and similar technologies on your device as set forth in our Cookie Policy and our Privacy Policy. Please note that certain cookies are essential for this website to function properly and do not require user consent to be deployed.
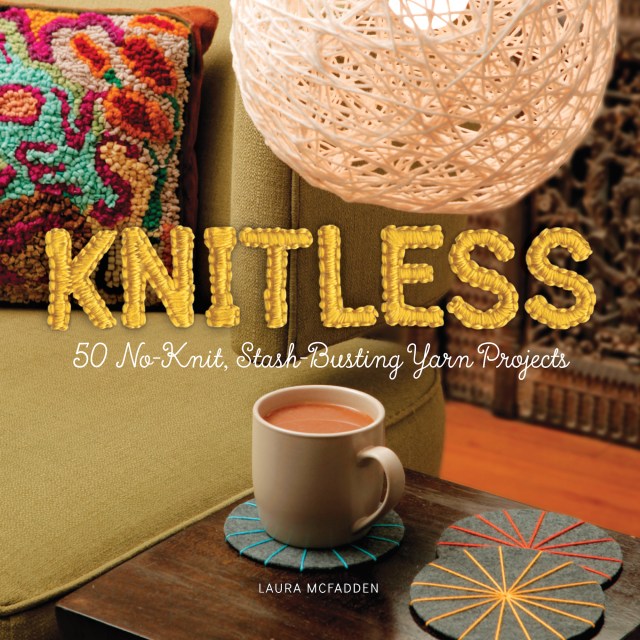
Knitless
50 No-Knit, Stash-Busting Yarn Projects

Contributors
Formats and Prices
- On Sale
- Sep 22, 2015
- Page Count
- 208 pages
- Publisher
- Running Press
- ISBN-13
- 9780762458035
Price
$11.99Price
$15.99 CADFormat
Format:
ebook $11.99 $15.99 CADThis item is a preorder. Your payment method will be charged immediately, and the product is expected to ship on or around September 22, 2015. This date is subject to change due to shipping delays beyond our control.
Buy from Other Retailers:
This clever book gives yarn lovers — both knitters and non-knitters alike — 50 fun ways to use their stashes without taking out their knitting needles. The projects are easy and simple, but with a modern aesthetic that manages to be both sophisticated and inviting.
Get your hot glue gun fired up, adhere some pompoms to an old office chair, and make the most ho-hum seat in your house into a cozy piece of pop art furniture. Or treat your neck to a stylish infinity scarf. All you need is some bulky yarn and the ability to braid.
This book will strike a chord with DIYers who love yarn but don’t always want to take the time and effort to knit something from it. Projects also include a Sputnik lamp shade, a welcome mat, friendship bracelets, and even a rehabbed woven lawn chair. Put away your needles and crochet hooks and create fabulous projects, from accessories to home goods and more!