By clicking “Accept,” you agree to the use of cookies and similar technologies on your device as set forth in our Cookie Policy and our Privacy Policy. Please note that certain cookies are essential for this website to function properly and do not require user consent to be deployed.
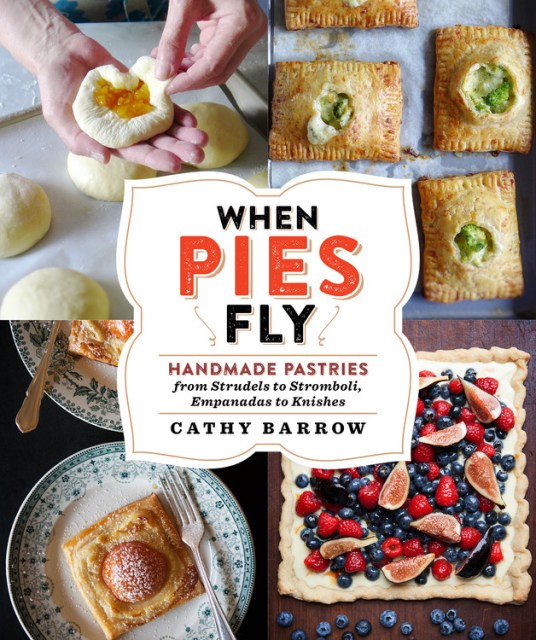
When Pies Fly
Handmade Pastries from Strudels to Stromboli, Empanadas to Knishes

Contributors
By Cathy Barrow
Formats and Prices
- On Sale
- Sep 17, 2019
- Page Count
- 304 pages
- Publisher
- Grand Central Publishing
- ISBN-13
- 9781538731901
Price
$32.00Price
$40.00 CADFormat
Format:
- Hardcover $32.00 $40.00 CAD
- ebook $15.99 $20.99 CAD
This item is a preorder. Your payment method will be charged immediately, and the product is expected to ship on or around September 17, 2019. This date is subject to change due to shipping delays beyond our control.
Buy from Other Retailers:
Following up on PIE SQUARED’s slab pies, food writer Cathy Barrow finds more ways to use pastry dough deliciously with crowd-pleasing (and easy to make) galettes and small tarts, as well as empanadas, strudels, and knishes. Barrow digs into a world of doughs for turnovers, fried pies, poppers, and Texas-by-way-of-Krakow kolaches, all offered in sweet and savory iterations.
WHEN PIES FLY guides the rolling pin novice and the experienced dough wrangler to dozens of shapes and styles of crusty, flaky, delicious treats. Barrow’s well-tested, foolproof crust recipes means pie-making is fun, not scary, and her step-by-step techniques makes turning out a free-form pie practically foolproof.
WHEN PIES FLY includes many types of pastries (both homemade and store-bought), ready for the lunchbox, the dinner table, road trips, and picnics. These handy crusty offerings go from freezer to oven, and will win over everyone at the table. No one will be able to resist Sesame Chicken Hand Pies, Savory Nectarine Marscapone Tarts, Pork Pastor Empanadas, Spiced Apple Strudels, and much more. The perfect mix of nostalgic favorites and new pastry creations, WHEN PIES FLY is a wonderful dive into the world of pies in all of their forms.
-
"Barrow encourages readers to be fearless and creative in their pie-making endeavors in this accessible and fun baking guide . . . Home cooks will delight."Publishers Weekly