By clicking “Accept,” you agree to the use of cookies and similar technologies on your device as set forth in our Cookie Policy and our Privacy Policy. Please note that certain cookies are essential for this website to function properly and do not require user consent to be deployed.
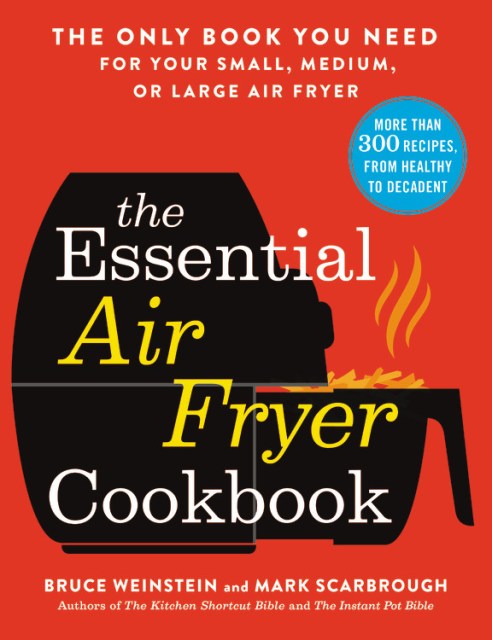
The Essential Air Fryer Cookbook
The Only Book You Need for Your Small, Medium, or Large Air Fryer
Contributors
Formats and Prices
- On Sale
- Nov 19, 2019
- Page Count
- 432 pages
- Publisher
- Voracious
- ISBN-13
- 9780316425643
Price
$22.99Price
$29.99 CADFormat
Format:
- Trade Paperback $22.99 $29.99 CAD
- ebook $12.99 $16.99 CAD
This item is a preorder. Your payment method will be charged immediately, and the product is expected to ship on or around November 19, 2019. This date is subject to change due to shipping delays beyond our control.
Buy from Other Retailers:
Unleash the power of your air fryer with this comprehensive air fryer bible, featuring 300+ recipes designed for every size, brand, and model, from the authors of the bestselling Instant Pot Bible.
Welcome to the air fryer revolution. More than 7 million Americans use air fryers to make the crispiest French fries or crunchiest chicken tenders without the mess or health concerns of deep-frying. But your air fryer can also sear a rib-eye steak in half the time it takes to heat up the grill, roast perfect vegetables, and reheat leftovers while putting your microwave to shame.
Only The Essential Air Fryer Cookbook can show you how to make the most of this versatile kitchen appliance, for every meal of the day. Each of the 300-plus recipes gives ingredients and timings for every size of air fryer (from small 2-quart models to 10-quart ones), plus extra recipes to make each dish a complete, delicious meal.
This comprehensive air fryer bible will help you make delicious roasted chicken and healthy vegetable sides, decadent desserts, delightful snacks, and crispy wings and tenders that beat take-out by a mile. And air-frying experts Bruce Weinstein and Mark Scarbrough offer customized ingredient lists and timings alongside clear, easy-to-follow directions that will have you cooking like a pro, no matter your skill level.
You’ll enjoy:
- Kale Chips
- Better-Than-Chinese-Take-Out Orange Chicken
- Hearty Roasted Vegetable Soup
- Cauliflower-Crust Pizza
- Crispy Ranch Chicken Thighs
- Fried Green Tomatoes
- Jalapeño Poppers
- Perfect Broccolini
- Easy Carnitas
- Shrimp Teriyaki
- Zucchini Fries
- Blueberry Crisp
- Chewy Coconut Cake
- Fried Oreos
- And more!