By clicking “Accept,” you agree to the use of cookies and similar technologies on your device as set forth in our Cookie Policy and our Privacy Policy. Please note that certain cookies are essential for this website to function properly and do not require user consent to be deployed.
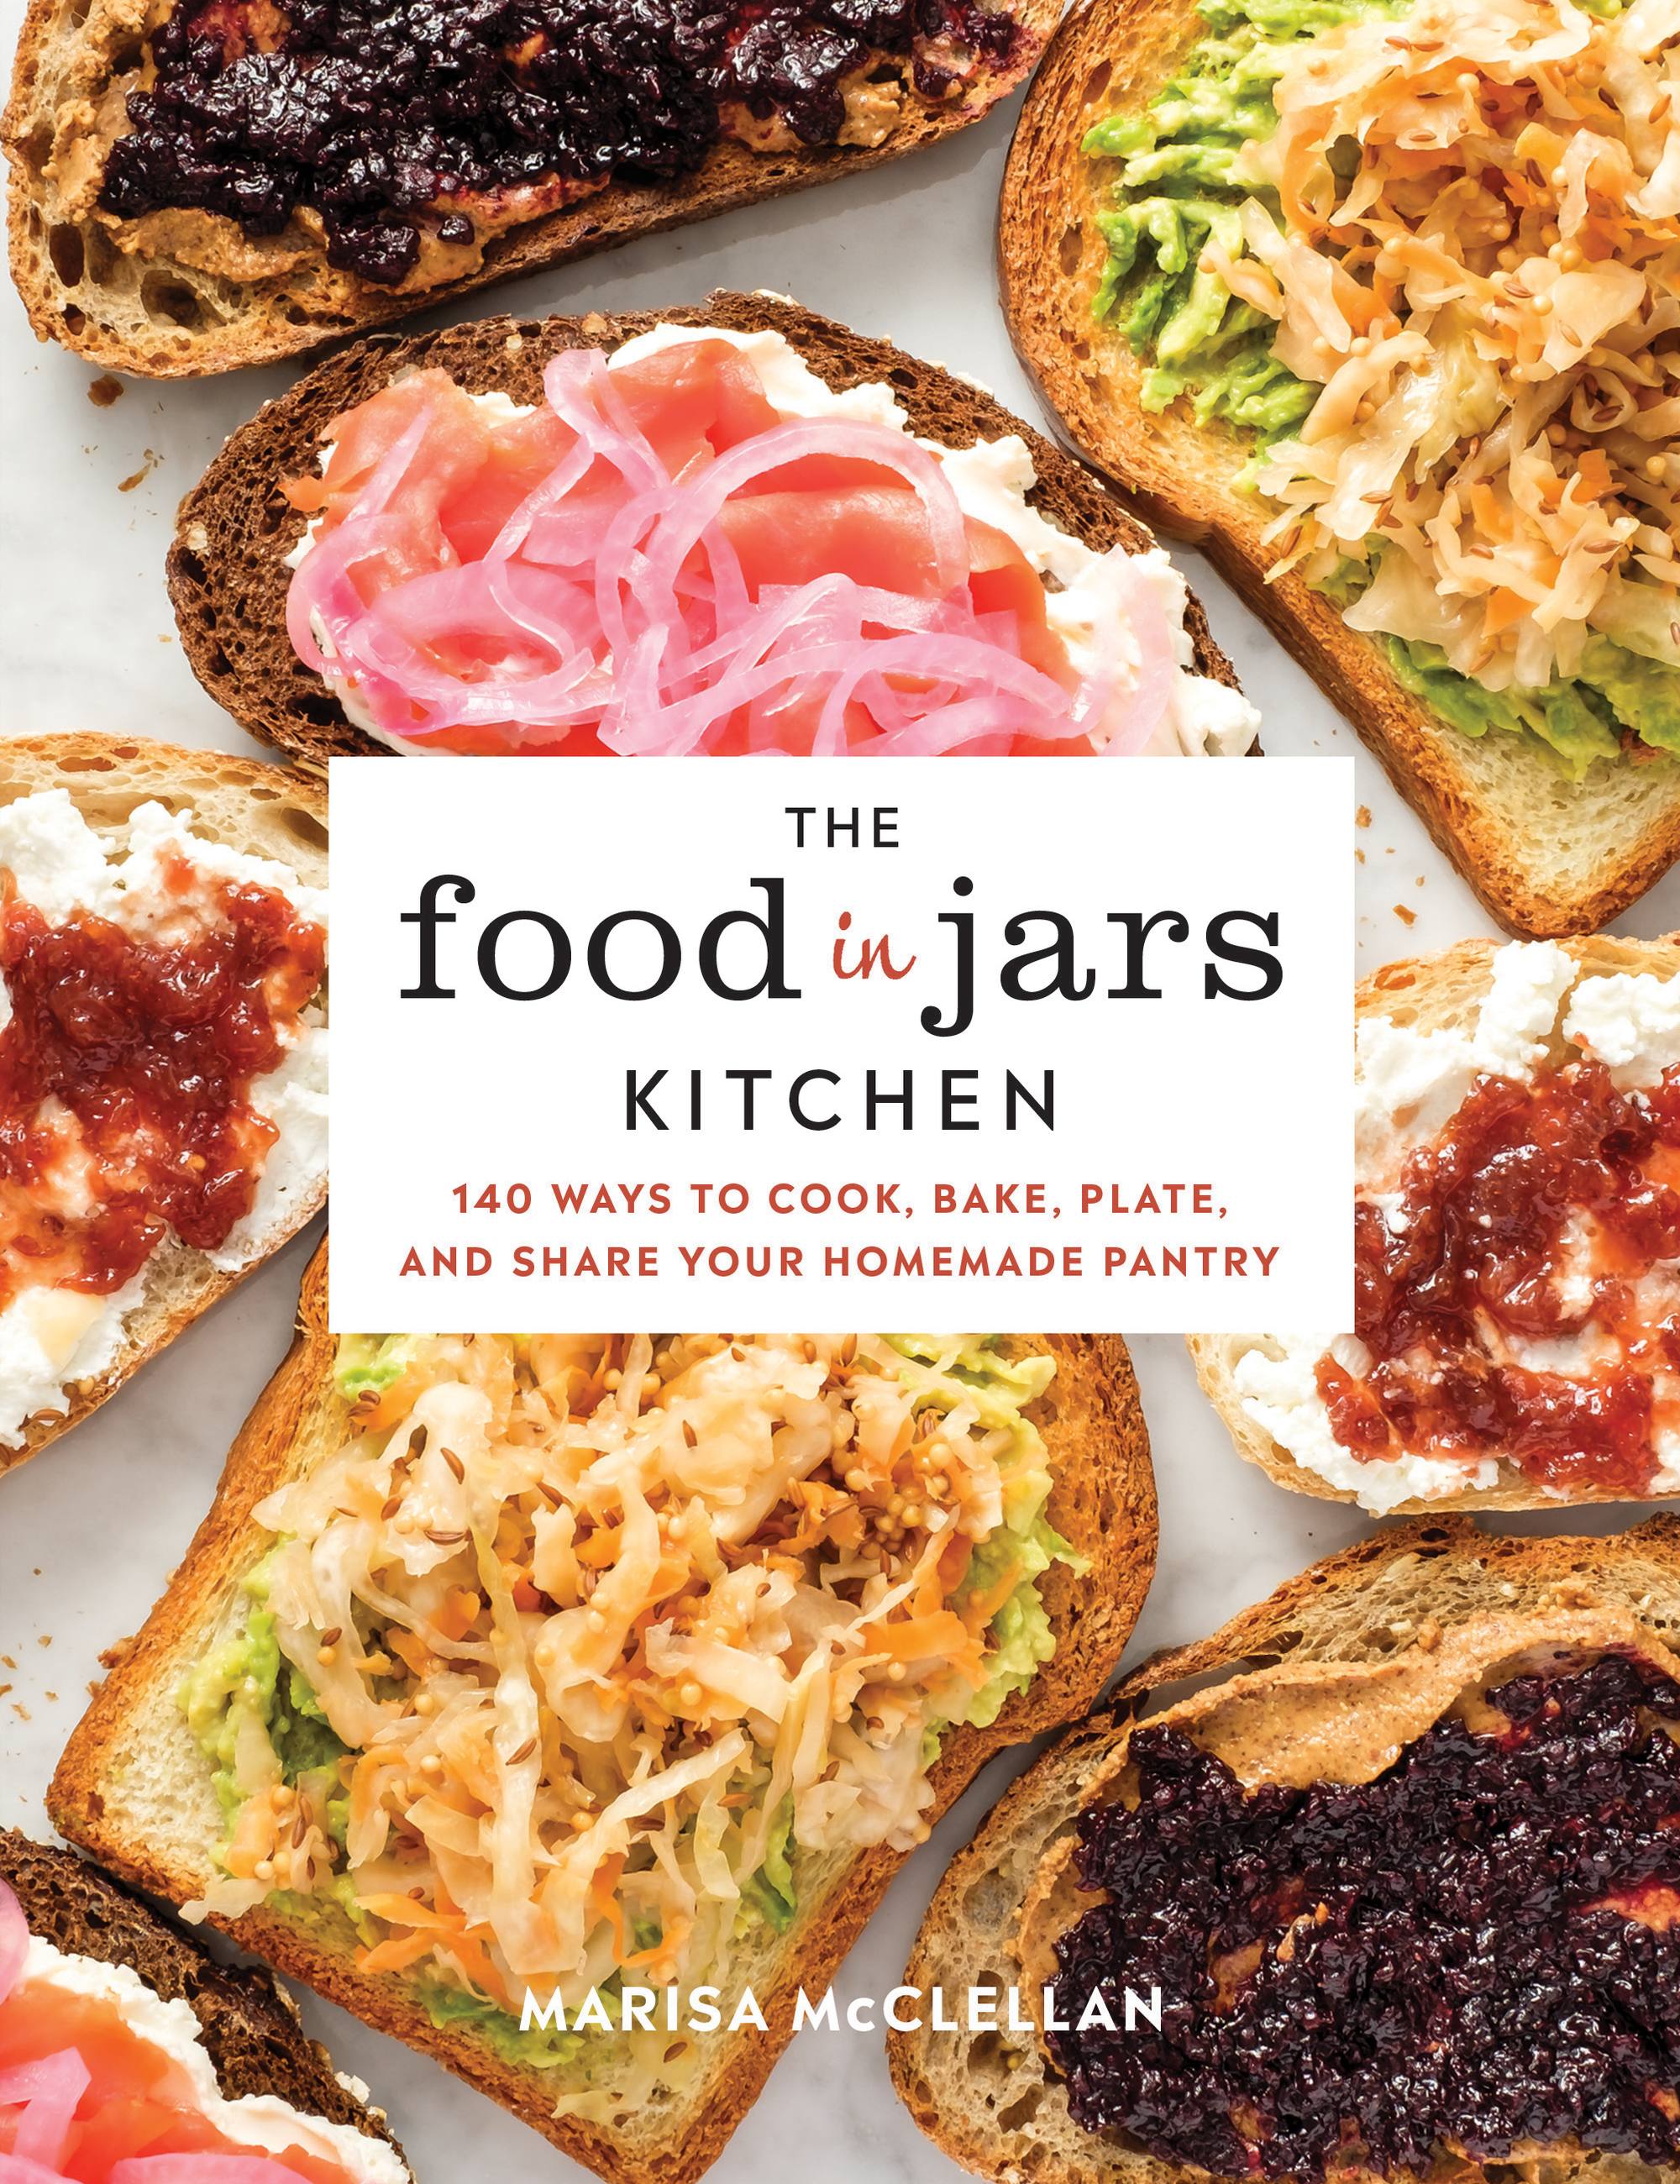
The Food in Jars Kitchen
140 Ways to Cook, Bake, Plate, and Share Your Homemade Pantry

Contributors
Formats and Prices
- On Sale
- Apr 2, 2019
- Page Count
- 240 pages
- Publisher
- Running Press
- ISBN-13
- 9780762492459
Price
$12.99Price
$16.99 CADFormat
Format:
- ebook $12.99 $16.99 CAD
- Hardcover $24.00 $31.50 CAD
This item is a preorder. Your payment method will be charged immediately, and the product is expected to ship on or around April 2, 2019. This date is subject to change due to shipping delays beyond our control.
Buy from Other Retailers:
Marisa McClellan wants everyone to know that a pantry full of homemade jams, jellies, salsas, and pickles can do a whole lot more than accompany toast. They can add bold bursts of flavor to your home cooking! In her fourth book, she provides 140 recipes for incorporating preserves into everyday dishes. It is as simple as stirring applesauce into a dish of baked oatmeal, brushing apricot jam onto a whole chicken, or building your pasta salad with a jar of pickled vegetables. Recipes include:
- Jam-Filled Biscuits
- Preserved Lemon Hummus
- Strawberry Basil Pizza
- Jam-Lacquered Chicken Wings
- Lemon Curd and Blueberry Tart
- Pantry Sangria
As one of the most beloved voices in canning and preserving, Marisa serves as a kitchen muse to help each reader complete the cycle of empty jar to empty jar. Add The Food in Jars Kitchen to your collection, an inspired workhorse of delicious eats.
-
As the editor of a home cooking website, I hear a lot of stories from readers about their successful home preserving projects-almost always accompanied by the question, "Any ideas for what to make with this?" I am thrilled to now be able to point them to Marisa McClellan's gorgeous new cookbook, which is full of ideas ranging from jam-sweetened granola to weeknight skillets with sauerkraut.Emma Christensen, managing editor for Simply Recipes
-
All of Marisa's books are essential volumes in my kitchen--her recipes check all the right boxes: useful, reliable, creative, and full of flavor. But The Food In Jars Kitchen might just be my favorite one yet. Now every one of my precious jars will find its best purpose, whether slathered on a roast chicken, swirled into a cake, or stirred into a cocktail. Best of all, the recipes in this book are for the comforting and unfussy food I love to eat, each one shared with the warmth and gentle authority that have made Marisa's books so accessible and invaluable to all of us over the years.Alana Chernila, author of Eating From the Ground Up, The Homemade Kitchen, and The Homemade Pantry
-
One can eat-or give away-only so many jams or pickles on their own. Marisa has not only given me delicious destinations for my garden creations, but also justification for planting and preserving more! And I know that I'll make many of her recipes with store-bought preserves, because they sound so good that they stand on their own.Martha Holmberg, coauthor of Six Seasons: A New Way with Vegetables
-
Instead of letting jams and pickles languish in your fridge (guilty), you could be using them to lacquer chicken wings, swirl into pancakes, and perk up salad dressings. Marisa McClellan gives us the nudge and the tools we need to liven up our cooking, just by remembering the powerhouses we have waiting in the fridge door.Kristen Miglore, Creative Director of Genius at Food52 and author of Genius Recipes and Genius Desserts
-
Marisa has been our expert guide, leading us deep into the canning pantry; now she is putting us and our jam (and pickles! and chutney!) to work in the kitchen. From sweets to meat, booze to biscuits, this is a massive collection of accessible, delicious, and homemade kitchen staples and comfort foods worthy of your homemade preserves. Buy this book for yourself and the canning enthusiasts in your life. You will find daily inspiration in its pages for breakfast, lunch, dinner, and everything in between.Karen Solomon, author of Jam It, Pickle It, Cure It