Promotion
Use code MOM24 for 20% off site wide + free shipping over $45
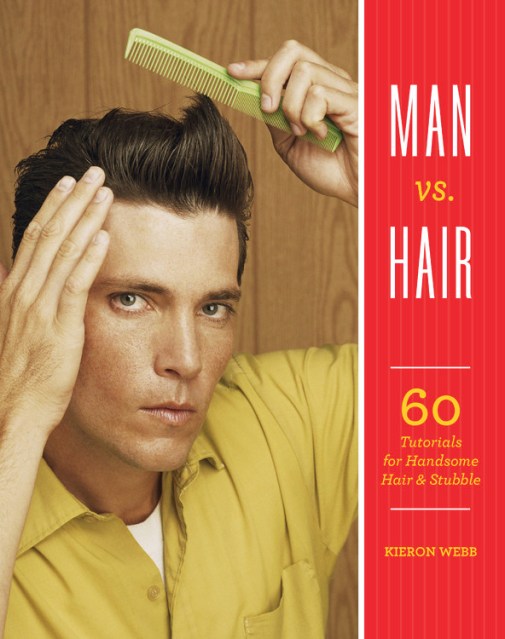
Man vs. Hair
60 Tutorials for Handsome Hair and Stubble

Contributors
By Kieron Webb
Formats and Prices
Price
$19.99Price
$25.99 CADFormat
Format:
- Trade Paperback $19.99 $25.99 CAD
- ebook $12.99 $16.99 CAD
This item is a preorder. Your payment method will be charged immediately, and the product is expected to ship on or around October 3, 2017. This date is subject to change due to shipping delays beyond our control.
Also available from:
Groomed hair is a red-hot street style for men, inspired by bloggers, sports stars, actors, and models. With Man vs. Hair you can learn just how they do it. This is a collection of sixty fashionable men’s hairstyles and facial hair looks. Step-by-step tutorials featuring simple how-to illustrations take the guesswork out of styling, while on-trend fashion photography demonstrates how to wear each ‘do. With advice for different haircuts, types, and lengths, plus plenty of grooming tips, Man vs. Hair is the ultimate resource for amazing beards, braids, sideburns, mustaches, man buns, buzzcuts, and much more!
Sharply packaged and easy to use, this is an ideal gift for any man of style.
Genre:
- On Sale
- Oct 3, 2017
- Page Count
- 176 pages
- Publisher
- Running Press
- ISBN-13
- 9780762462490
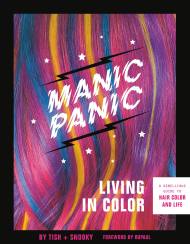
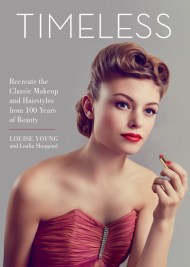
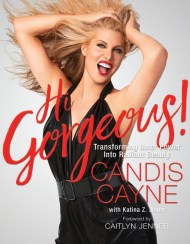
You May Also Like

Newsletter Signup
By clicking ‘Sign Up,’ I acknowledge that I have read and agree to Hachette Book Group’s Privacy Policy and Terms of Use