Promotion
Use code MOM24 for 20% off site wide + free shipping over $45
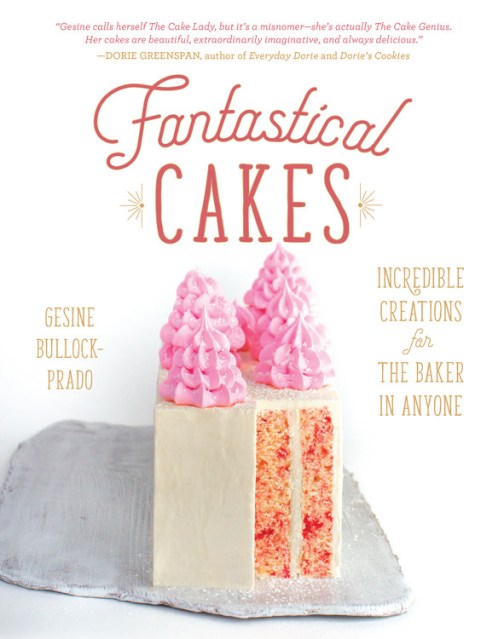
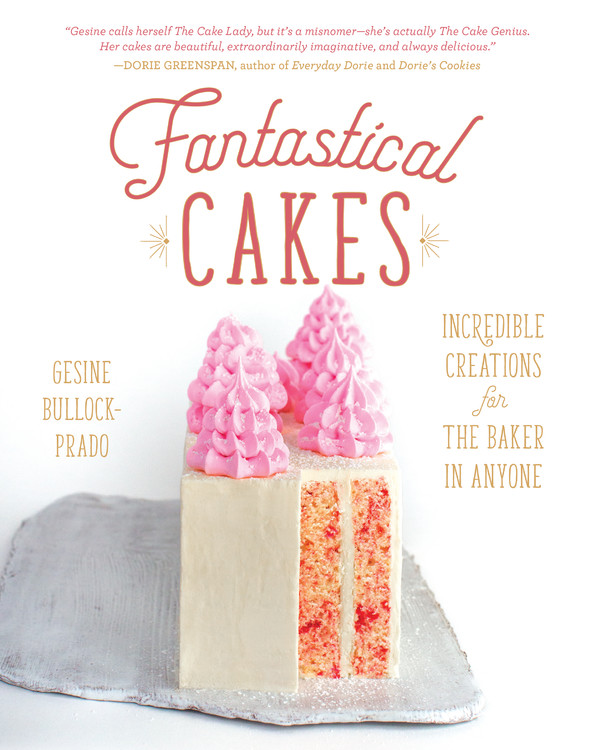
Fantastical Cakes
Incredible Creations for the Baker in Anyone
Contributors
Formats and Prices
Price
$30.00Price
$39.00 CADFormat
Format:
- Hardcover $30.00 $39.00 CAD
- ebook $15.99 $20.99 CAD
This item is a preorder. Your payment method will be charged immediately, and the product is expected to ship on or around November 6, 2018. This date is subject to change due to shipping delays beyond our control.
Also available from:
Baking and decorating a cake can be a challenge, and when the end result doesn’t taste as good as it looks, a big disappointment! Author and professional baker Gesine Bullock-Prado has perfected a method for creating eye-catching spectacular cakes that measure up. Just remember BaDASS:
· Bake ahead
· Dam
· Assemble
· Smooth coat
· Spruce it up
Her step-by-step instruction for baking, piping, and making decorations make each bit manageable, whether it’s baking layers ahead of time and freezing, or taking the time to crank out a slew of gorgeous frosting flowers that hold beautifully in the freezer until you need them. No step is skipped or left unexplained. The layers are as easy as box mixes, and the smoothing and decorating instructions work the first time (not a thousand passes later). From custom shapes to complement a party theme to ultra-gorgeous towering layer cakes for special occasions, it’s all within reach.
Genre:
- On Sale
- Nov 6, 2018
- Page Count
- 256 pages
- Publisher
- Running Press
- ISBN-13
- 9780762463435
You May Also Like


Newsletter Signup
By clicking ‘Sign Up,’ I acknowledge that I have read and agree to Hachette Book Group’s Privacy Policy and Terms of Use
