By clicking “Accept,” you agree to the use of cookies and similar technologies on your device as set forth in our Cookie Policy and our Privacy Policy. Please note that certain cookies are essential for this website to function properly and do not require user consent to be deployed.
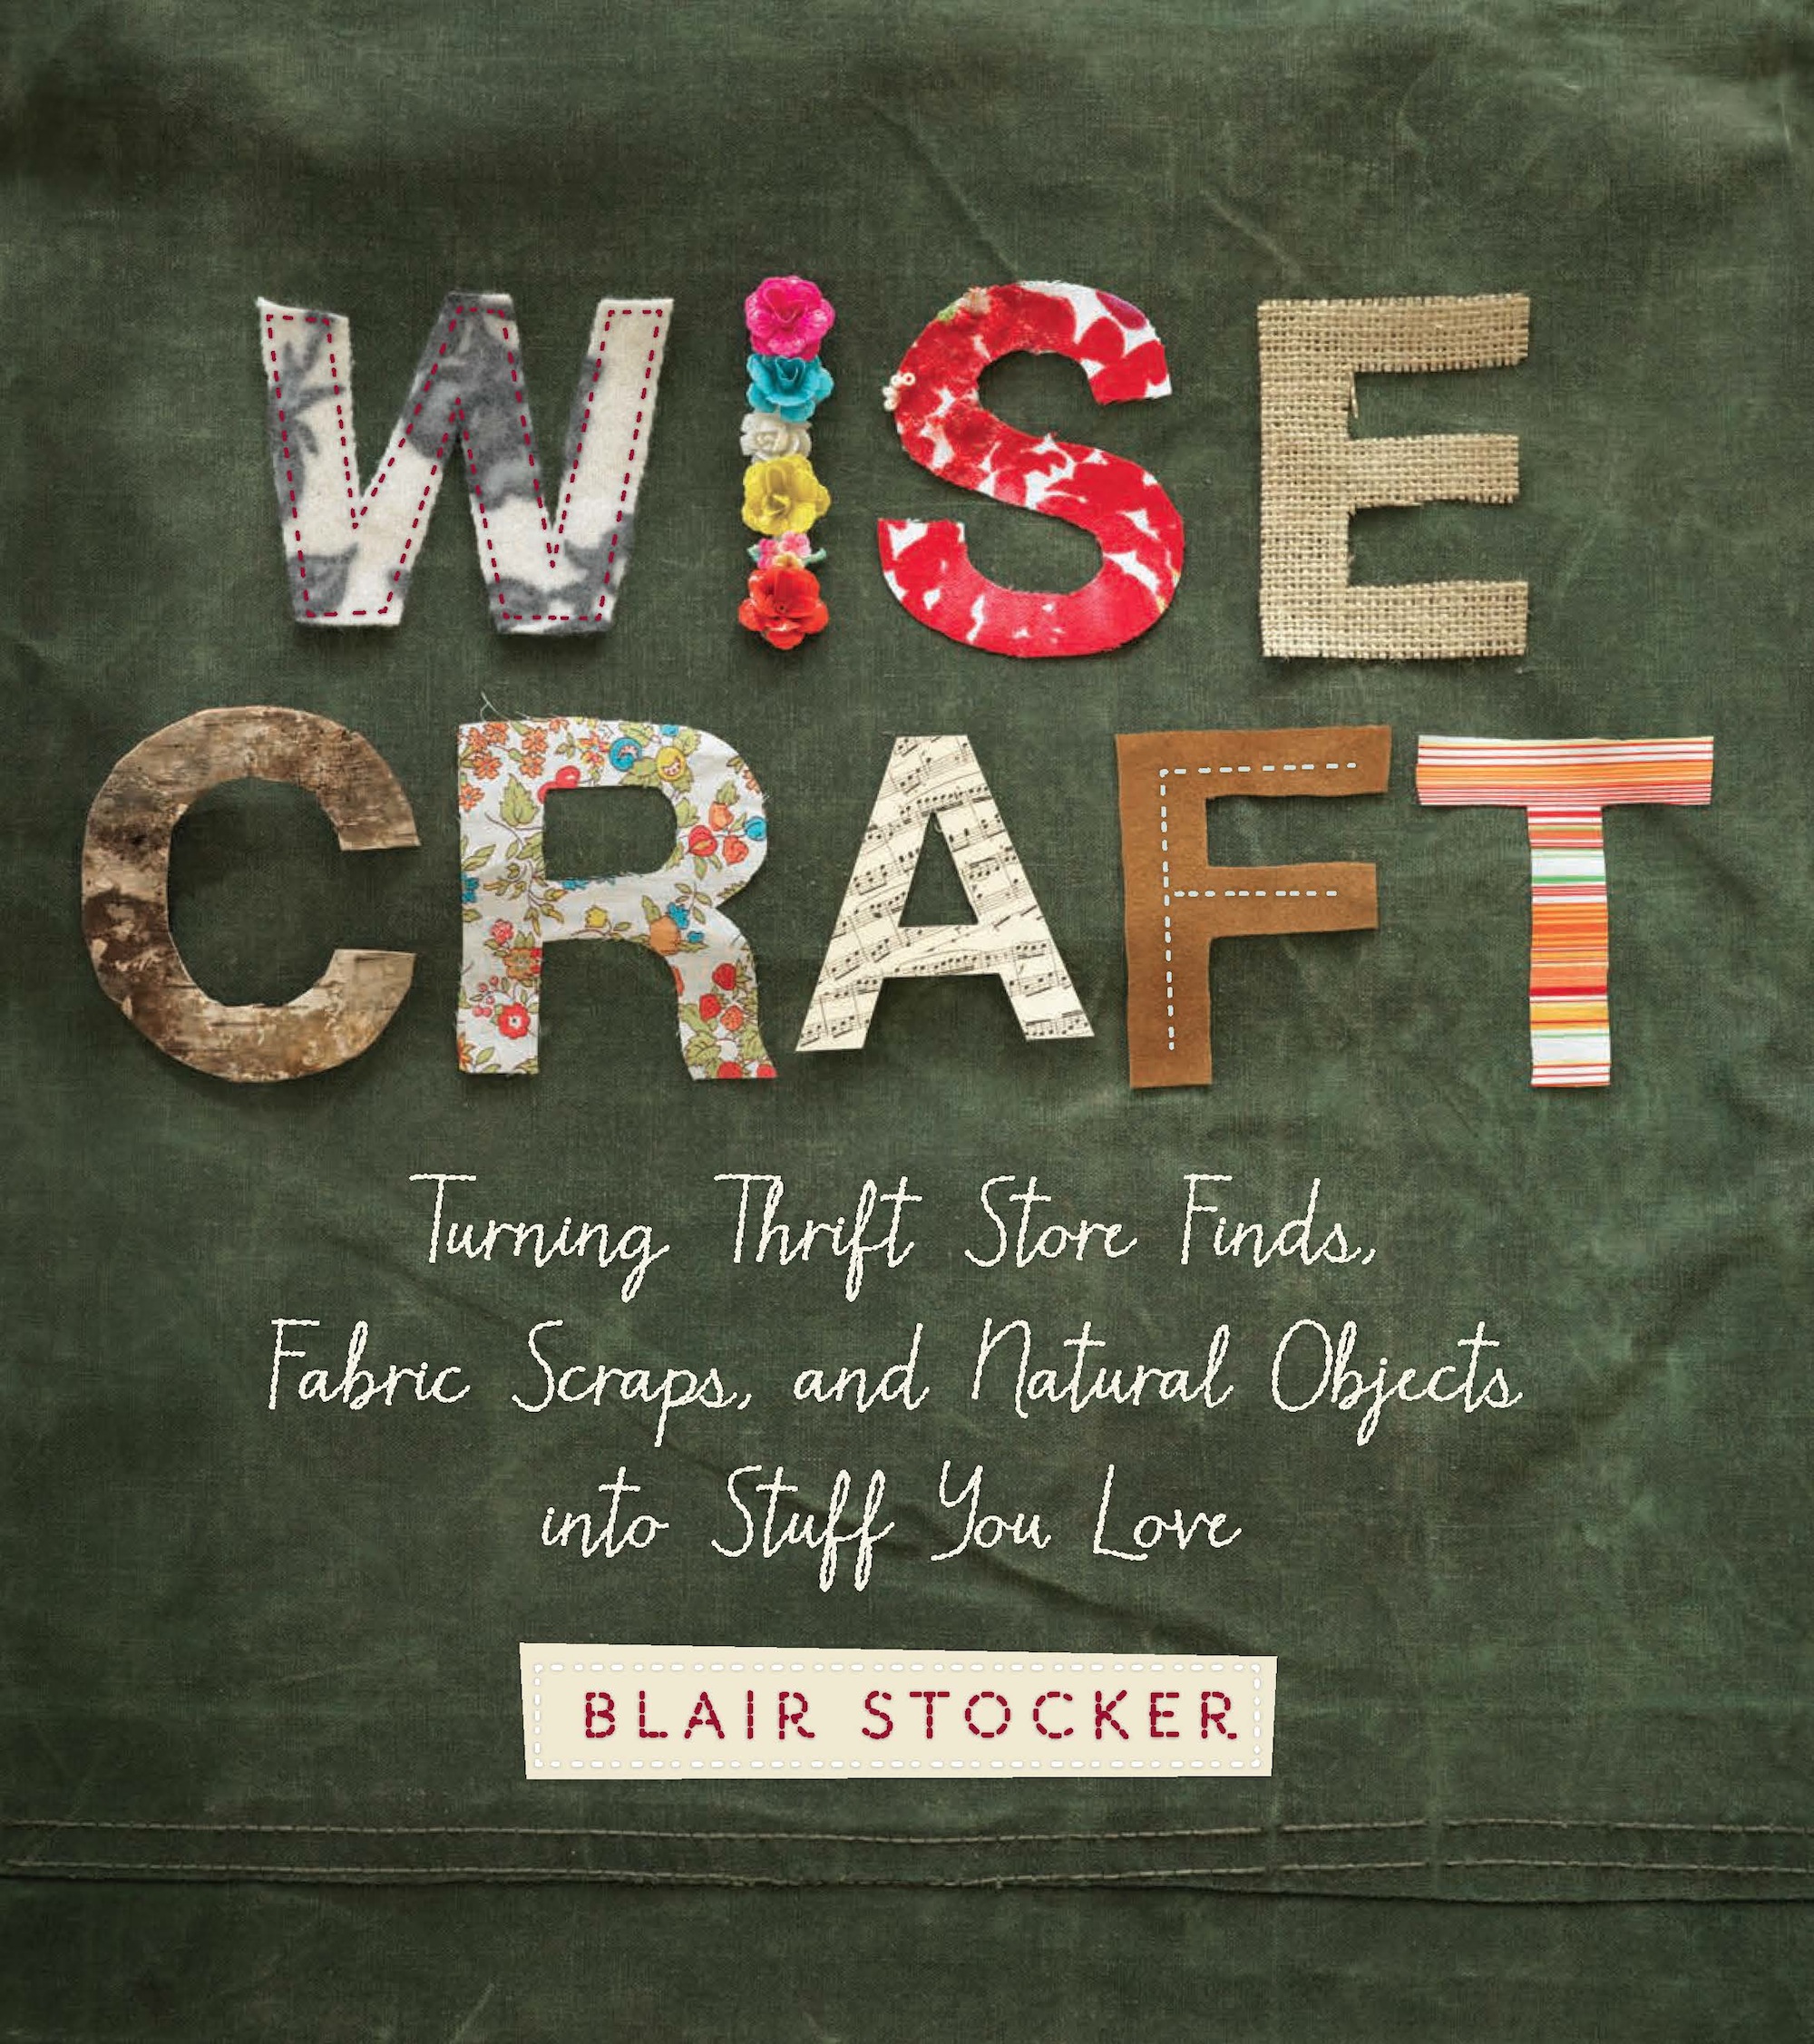
Wise Craft
Turning Thrift Store Finds, Fabric Scraps, and Natural Objects Into Stuff You Love

Contributors
Formats and Prices
- On Sale
- Mar 11, 2014
- Page Count
- 184 pages
- Publisher
- Running Press
- ISBN-13
- 9780762451838
Price
$12.99Price
$15.99 CADFormat
Format:
ebook $12.99 $15.99 CADThis item is a preorder. Your payment method will be charged immediately, and the product is expected to ship on or around March 11, 2014. This date is subject to change due to shipping delays beyond our control.
Buy from Other Retailers:
Sixty projects include May Day cones and recycled floral mirror frames — perfect for a teenager’s room — plus throw pillow updates, a picnic blanket made from a pile of men’s shirts, spooky Halloween dishes, advent calendars, and recycled gift jars. Beautiful photography and illustrations make each project a snap, no matter your crafting background.
-
“A keeper for thrift-store divas and dumpster divers.”
--Publishers Weekly