Promotion
Use code MOM24 for 20% off site wide + free shipping over $45
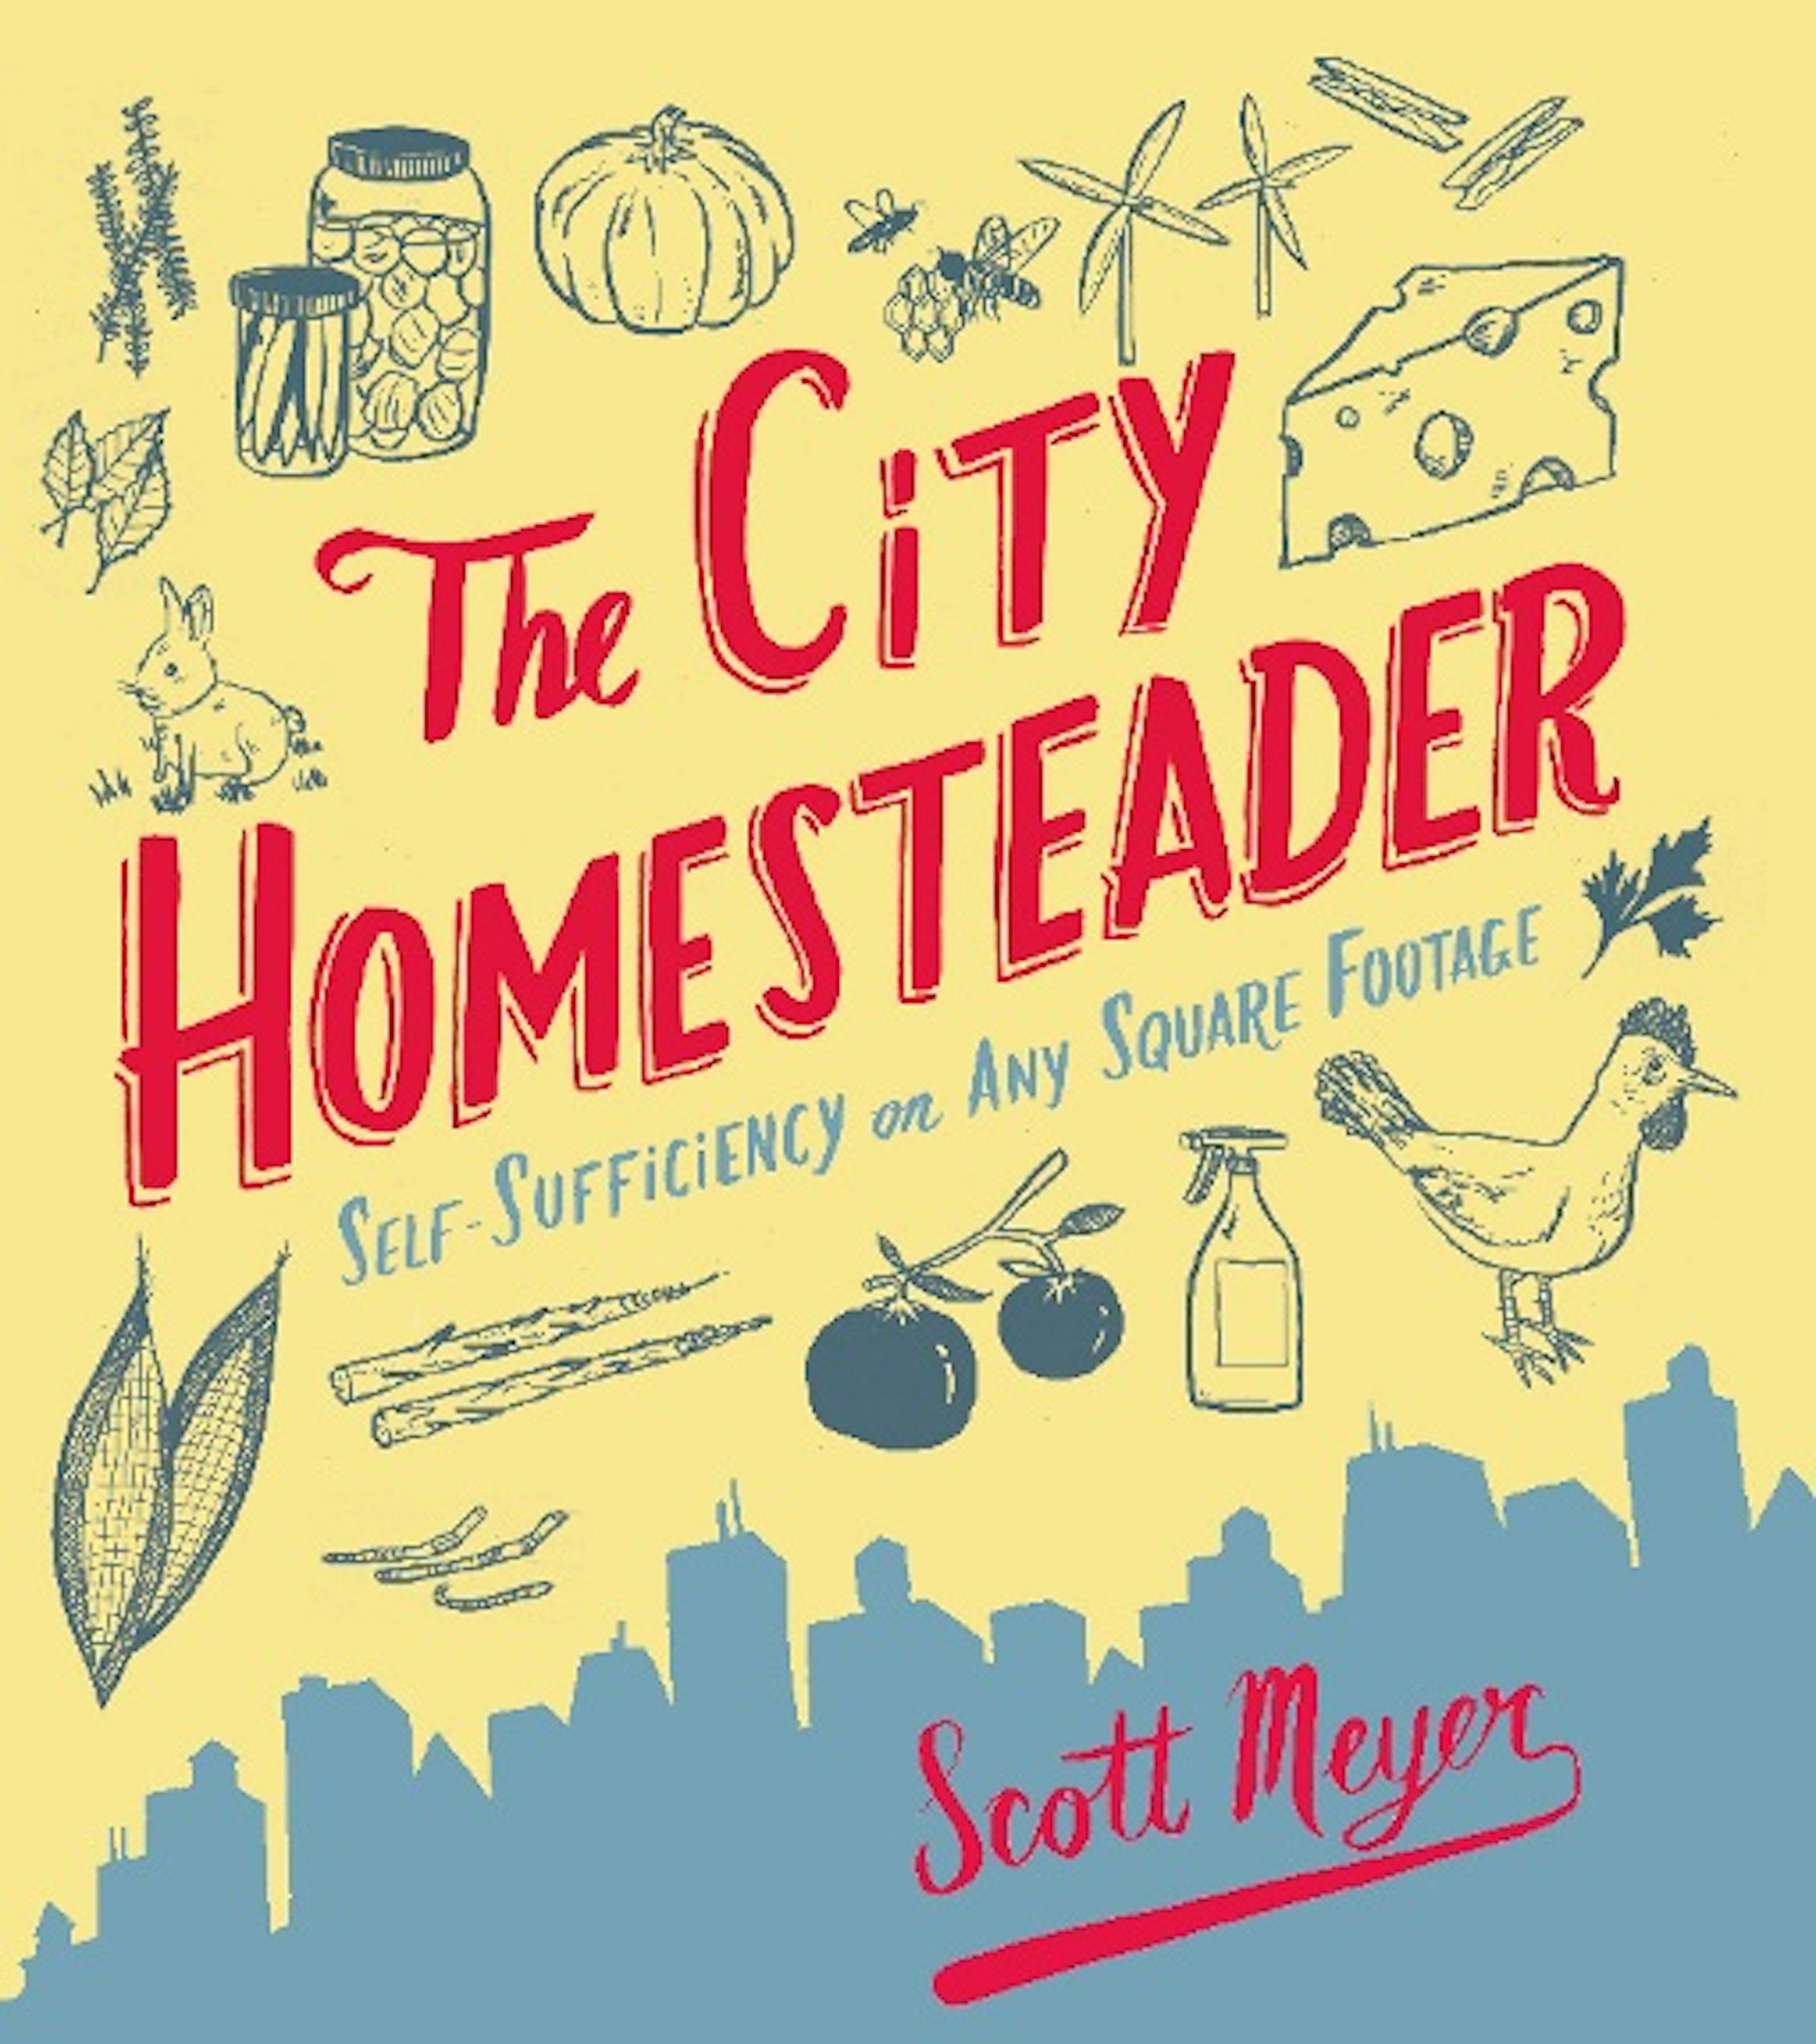
The City Homesteader
Self-Sufficiency on Any Square Footage

Contributors
By Scott Meyer
Formats and Prices
Price
$12.99Price
$16.99 CADFormat
Format:
ebook $12.99 $16.99 CADThis item is a preorder. Your payment method will be charged immediately, and the product is expected to ship on or around April 26, 2011. This date is subject to change due to shipping delays beyond our control.
Also available from:
Explore the homesteading arts: gardening on small and large scales, raising dwarf fruit trees, sprouting grains, smoking meats and fish, grinding grains for flour, making cheese, making wine, cellaring, heating without fossil fuel, harvesting rainwater, composting, and much moreThe City Homesteader provides all the basics, including how to find supplies and step-by-step instructions that make it easy to follow along. Original illustrations throughout help you create your very own homestead on any piece of earth.
Genre:
- On Sale
- Apr 26, 2011
- Page Count
- 272 pages
- Publisher
- Running Press
- ISBN-13
- 9780762442294
You May Also Like


Newsletter Signup
By clicking ‘Sign Up,’ I acknowledge that I have read and agree to Hachette Book Group’s Privacy Policy and Terms of Use
