Promotion
Use code MOM24 for 20% off site wide + free shipping over $45
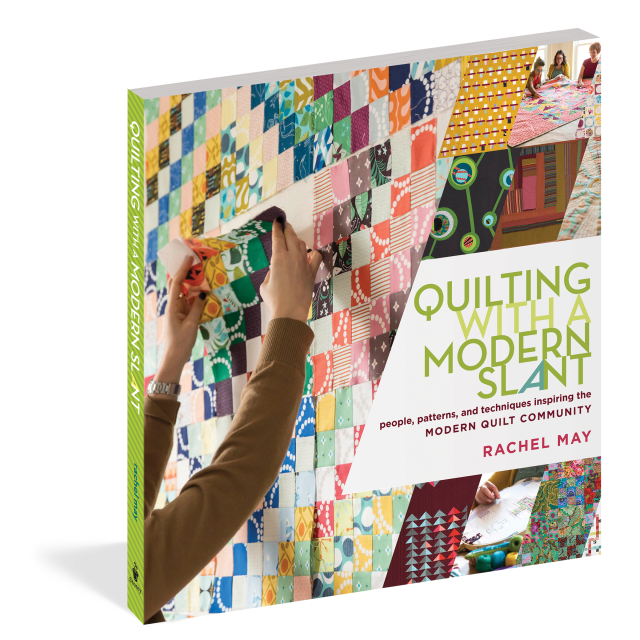
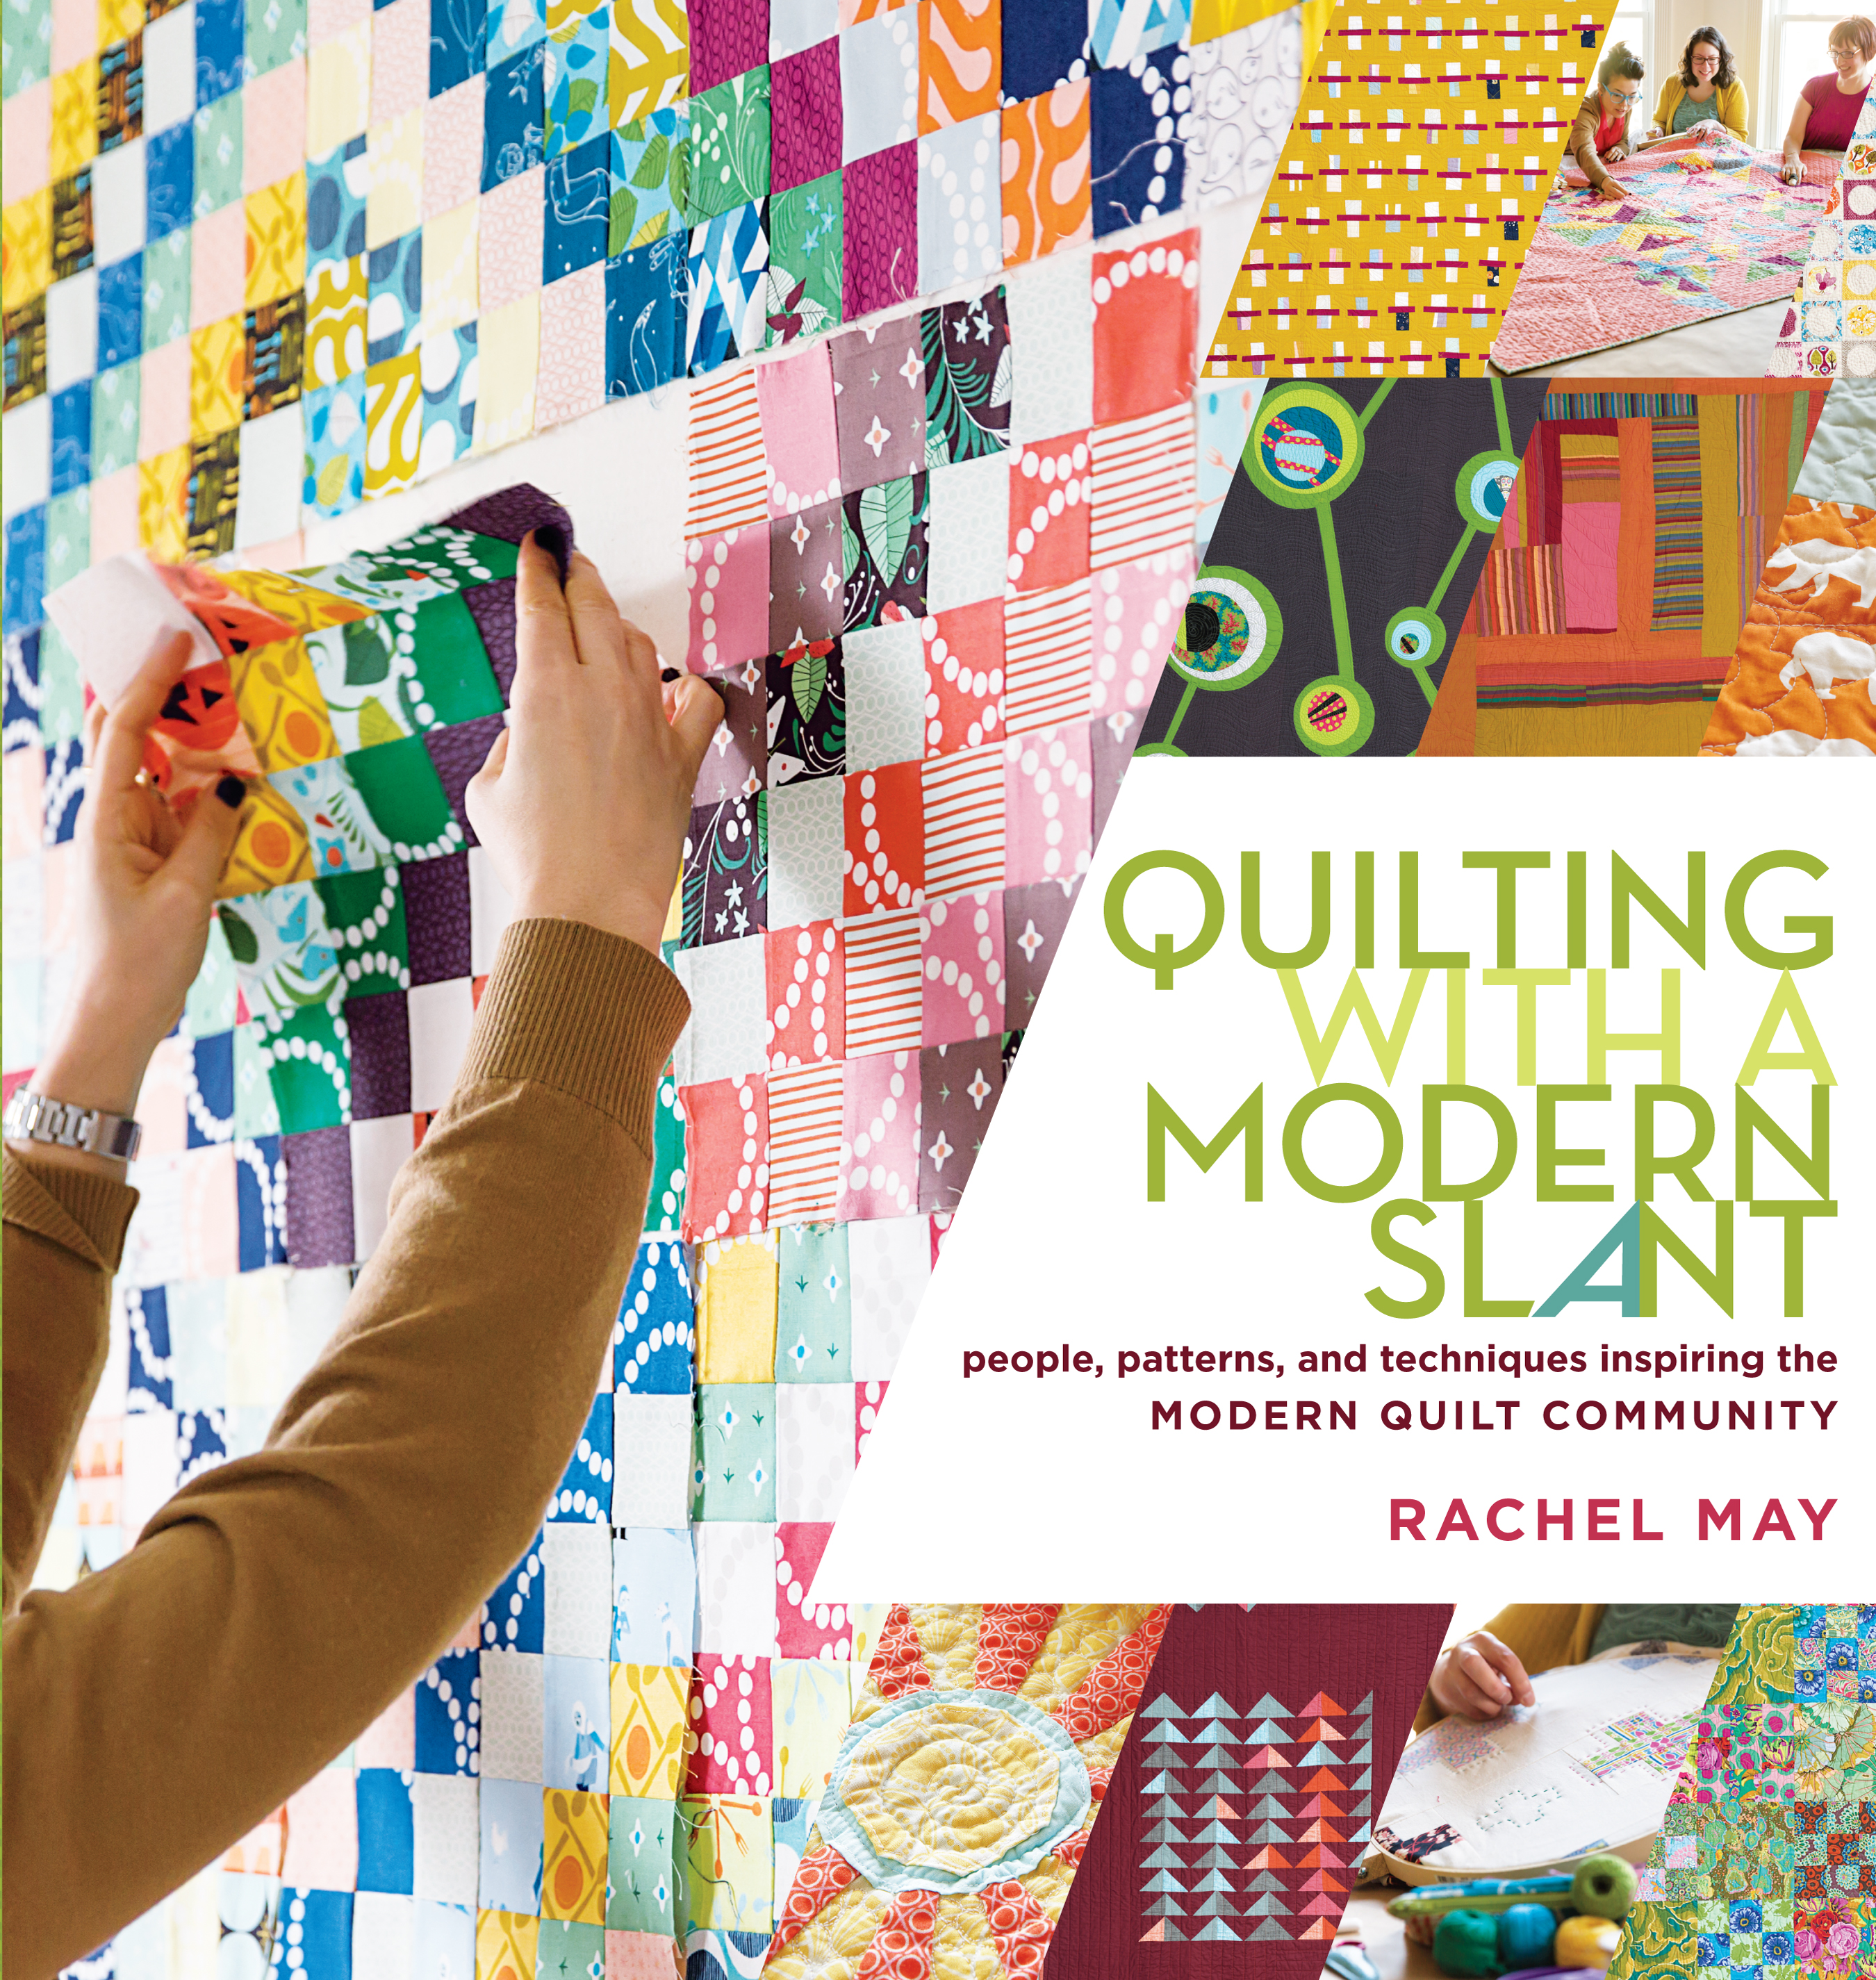
Quilting with a Modern Slant
People, Patterns, and Techniques Inspiring the Modern Quilt Community


Contributors
By Rachel May
Formats and Prices
Price
$19.95Price
$24.95 CADFormat
Format:
- Trade Paperback $19.95 $24.95 CAD
- ebook $11.99 $15.99 CAD
This item is a preorder. Your payment method will be charged immediately, and the product is expected to ship on or around January 28, 2014. This date is subject to change due to shipping delays beyond our control.
Also available from:
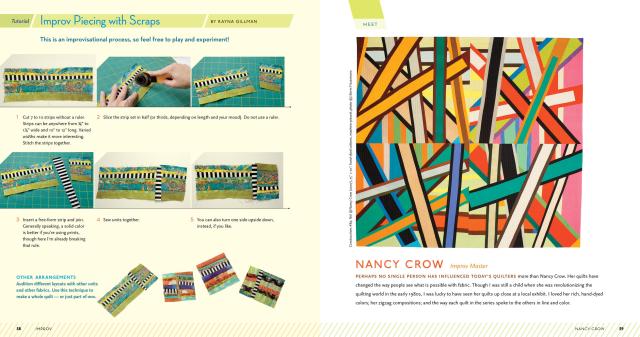
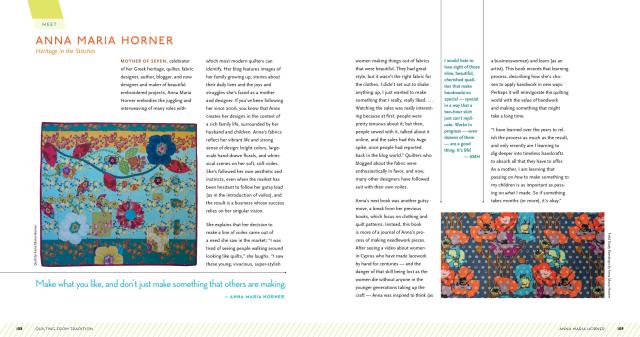
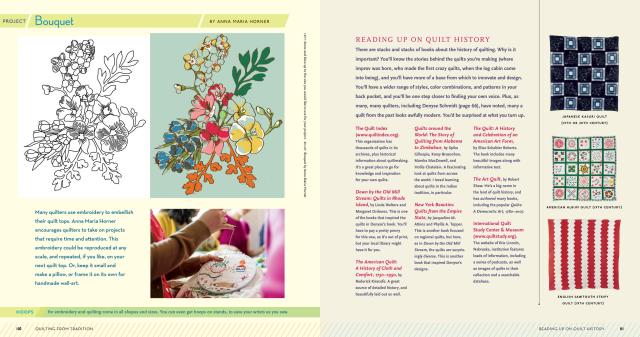
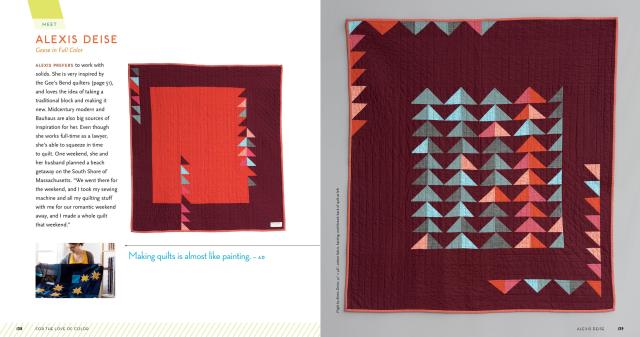
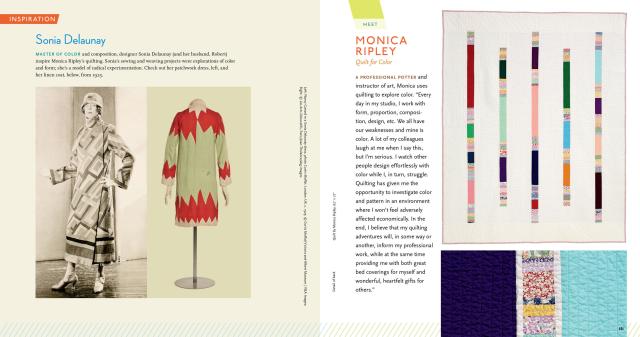
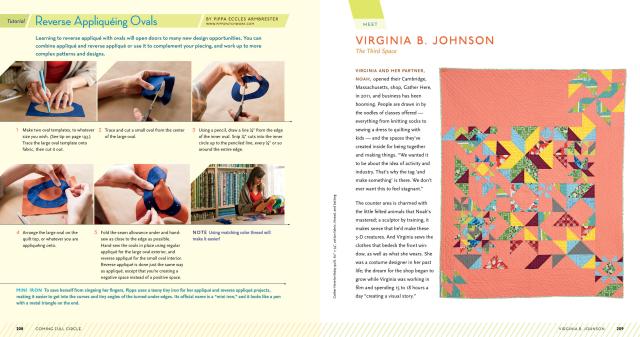
Modern quilting allows artists the freedom to expand on traditions and use fabrics, patterns, colors, and stitching innovatively to create exciting fresh designs. In Quilting with a Modern Slant, Rachel May introduces you to more than 70 modern quilters who have developed their own styles, methods, and aesthetics. Their ideas, quilts, tips, tutorials, and techniques will inspire you to try something new and follow your own creativity — wherever it leads.
Genre:
-
“In this collection, writer and crafter May profiles some of the big names in modern quilting and some quilters who are lesser known but whose work is quietly helping to redefine the possibilities of quilting. The book is divided into seven sections, each focusing on a particular aspect of modern quilting, such as improv, color, scale, or a theme (e.g., “the personal is political,” “coming full circle”). The bounty of creativity is inspiring, and the variety of quilts featured will open the readers’ eyes to all of the aspects of this popular movement. There are some fantastic patterns and tutorials throughout, but what sets this work apart is its emphasis on quilt makers rather than on quilt making. VERDICT May does a marvelous job of capturing a moment in the modern quilting movement, as well as the viewpoints and opinions of the creators who have made modern quilting into an enduring form of expression. This volume belongs in all quilting collections.” — Library Journal Starred Review
- On Sale
- Jan 28, 2014
- Page Count
- 224 pages
- Publisher
- Storey
- ISBN-13
- 9781612120638
You May Also Like


Newsletter Signup
By clicking ‘Sign Up,’ I acknowledge that I have read and agree to Hachette Book Group’s Privacy Policy and Terms of Use