Promotion
Use code DAD23 for 20% off + Free shipping on $45+ Shop Now!
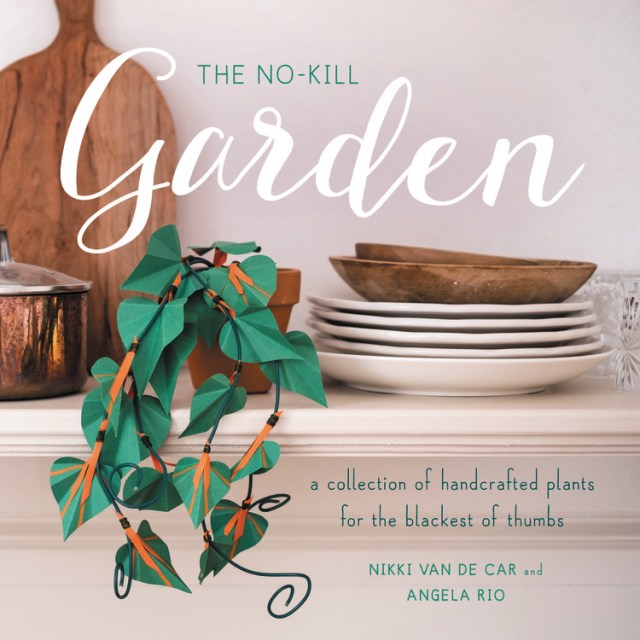
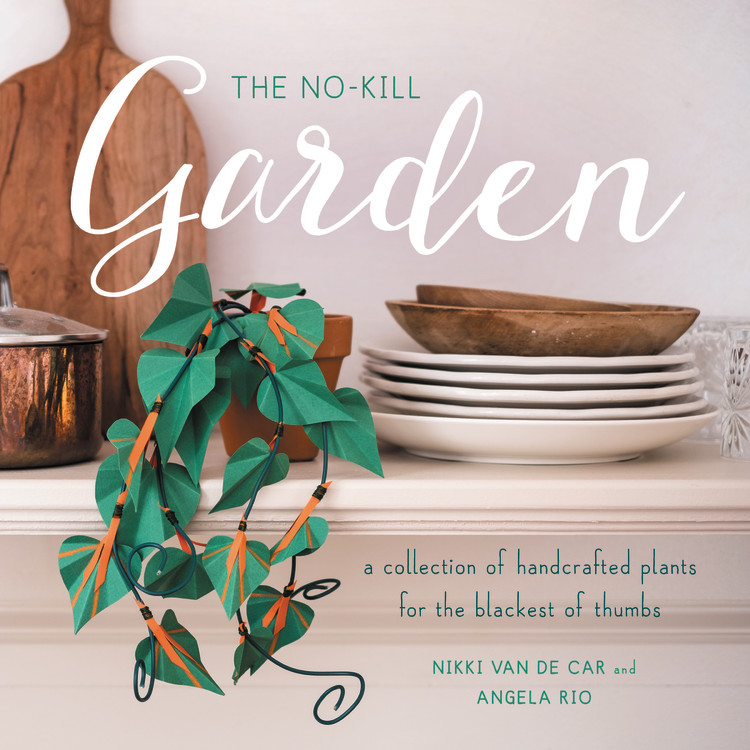
The No-Kill Garden
A Collection of Handcrafted Plants for the Blackest of Thumbs
Contributors
By Angela Rio
Formats and Prices
Price
$15.99Price
$20.99 CADFormat
Format:
- Trade Paperback $15.99 $20.99 CAD
- ebook $9.99 $12.99 CAD
This item is a preorder. Your payment method will be charged immediately, and the product is expected to ship on or around August 21, 2018. This date is subject to change due to shipping delays beyond our control.
Also available from:
Many of us love plants . . . but it often feels like plants don’t love us back. For those people — the people who have purchased several “impossible to kill” houseplants, only to find them dead mere weeks later — there is The No Kill Garden, a charming collection of plants to craft and share.
The handcrafted plants offered in this beguiling volume provide the sense of being surrounded by green, luscious plant life, without having to worry about that pesky watering. The No Kill Garden offers a wide variety of plants, from mushrooms and flowers to vines and terrariums, and a broad range of easy-to-follow crafts, including paper, felt, needle-felt, knit, and crochet. The more than 30 projects in this book are not just random flowers or leaves, either — each of the crafted plants is inspired by a specific variety and is accompanied by a lively description of its main characters. Each of the plants is structured for a beginner, so that anyone with an interest in crafting can make them, and is paired with beautiful images of the finished project to delight and inspire readers.
Excerpt
INTRODUCTION
Many of us love plants… but it feels like plants don’t love us. Or we love them to death, with overwatering or underwatering or maybe we just don’t sing to them enough or something. Keeping a plant alive is a lot harder than it seems like it ought to be, considering how many of them are flourishing on the other side of our thresholds. But unlike our pets or our children, plants don’t actively demand the food, water, and attention they require, and in our busy, distracted lives, it is far too easy to forget about them.
This book offers a solution, a way to live the plant-person lifestyle without all that pesky watering. Even if your thumb is as black as charcoal, these are plants that you absolutely cannot kill. Surround yourself with succulents, vines, toadstools, flowers, and bonsai trees, so that you can admire and love them, but never have to worry about them. And these aren’t just random flowers or leaves—each of the crafted plants is inspired by a specific variety.
Every one of the plants featured here is exceedingly simple to make. Even if you’re a beginning yarn, felt, or paper crafter, you’ll have no trouble creating delightful little plants to bring into your life/home/cubicle/heart.
WOOL VERSUS PAPER
what kind of plants are these, anyway?
Plants can be made with anything—fabric, clay, plastics, wood, metals—but the two types of media offered here are paper and wool, simply because they’re versatile and easy to work with even for newbie crafters.
PAPER
There are three techniques used to create the various paper plants throughout the book: slot joints, folding, and layering. Slot joints are when you create interlocking pieces of paper to form a three-dimensional form, while the folded technique is more like traditional origami—there is little to no cutting, just careful folding along precise lines. Layering involves attaching different-sized pieces of paper atop one another.
WOOL
You’ll find four different approaches to working with wool here: knitting, crochet, needle felting, and felt. You’ll need only a very basic understanding of how to knit, crochet, and needle felt, and working with felt just requires the use of a pair of scissors and a needle and thread!
For quick tutorials on these skills, check out:
KNITTING: LoveKnitting.com offers detailed video tutorials.
CROCHET: TheSpruce.com offers step-by-step instructions, with photos and videos.
NEEDLE FELTING: NikkiVanDeCar.com explains the basic technique, with photos and videos.
PERFECT IMPERFECTION
As you dive into these projects, keep one very important thing in mind:
PERFECTION IS NOT THE GOAL.
Plants aren’t perfect. Even the loveliest rose has a petal out of place or a touch of brown. Leaves aren’t evenly spaced on a branch or vine, and no two leaves look exactly the same. There are bumps and nubs and splotches and “mistakes.” If your crafted plant is to be as lovable and authentic as a regular plant, it must be equally imperfect.
flowers
orchid
(PAPER, JOINT)
Orchids, or Orchidaceae, have more than 28,000 different species—more varieties than there are of birds or bony fishes. They are known for having many structural variations but all keeping a common basal, apex, or axil point. They grow naturally worldwide in tropical forests.
MATERIALS
White paper
Scissors
Glue
Floral wire
Yellow paper
Purple paper
SIZE
Width of Flower: 3 inches/7.6 cm
Height: 12½ inches/31.75 cm
1) Cut
Use scissors to cut two identical circles out of white paper.
2) Draw
Feel free to draw some decorative dots or stripes to give your flower some detail.
3) Fold
Fold one circle in quarters, by first folding in half, then in half again. The second circle should be folded in sixths, by folding in half once, then twice more.
4) Cut
To make a slot joint, cut a line just halfway down the center of one circle, and cut the same line halfway down the opposite side of the other circle. When the two pieces combine they lock together. Take the quarter piece and fold it in half to cut a V in the middle of the center fold; when this is unfolded you’ll see an X. With the sixth piece, fold the center fold in half and cut the two sides on the circumference of the circle just halfway down, leaving the center fold uncut.
5) Combine
Bend the inside flaps of the quarter piece inward and the middle flap of the sixth piece outward toward you. Insert that circle from the back and slide it through until they match each other’s edges.
6) Fold
Take the quarter piece and fold that uncut valley outward. Take the sixth piece and fold the matching line inward and the perpendicular line on the other piece inward as well. Shimmy until they lock and no longer move.
7) Cut
Use purple paper for the center of the flower and bend it in half to cut out a curvy shape with a pointed bottom. Feel free to draw on it as well. Snip two arrows into the center crease.
8) Cut
Cut a strip of yellow paper at least 4 inches/10 cm long, just wide enough to slide into the purple piece. Cut a small white oval the width of the yellow strip. Fold the top of the yellow strip and glue the oval. Insert the purple and yellow piece into the cardstock papers so that it pops out of the petals. Glue it in place.
9) Finish
Cut 3 15-inch/38 cm pieces of floral wire. Braid them together. Use your scissors to poke a hole through the flower and insert the stem from the back.
calla lily
(WOOL, CROCHET)
Calla lily, arum lily, or Zantedeschia aethiopica, is native to Africa. When in environments with consistent temperatures and rainfall, it behaves like an evergreen, but in more varied climates it behaves like a deciduous plant, losing its leaves and going dormant. It blooms throughout the spring, summer, and fall. Its stems are long, with long pointed leaves at the base, and its flower consists of a spathe and spadix. A spathe is a large bract, which is essentially a type of leaf that looks more like a blossom than an ordinary leaf. A spadix is a firm, elongated cluster of tiny flowers.
Calla lilies range in color from white to yellow to pink to a deep, dark purple.
MATERIALS
US B-1/2.25 mm crochet hook
60 yards/55 meters fingering weight yarn (shown in Madelinetosh Tosh Sock, in colors MC Calligraphy, CC1 Brick Dust, CC2 Jade)
Tapestry needle
Scissors
Floral wire
SIZE
Length of Flower: 15½ inches/39.4 cm
Width of Flower: 1 inch/2.5 cm
Spathe
Foundation ch:
Using MC, ch 7, leaving a 10-inch/25.5 cm tail.
Row 1:
Skip first ch, sc in each ch across—6 sts.
Row 2:
Ch 1, skip turning ch, sc in each st across.
Row 3 (inc):
Ch 1, skip turning ch, work 2 sc in next st, sc in each st to last st, 2 sc in last st—2 sts increased.
Row 4:
Ch 1, skip turning ch, sc in each st across.
Rows 5–16:
Repeat rows 3 and 4 six more times—20 sts.
Rows 17–19:
Ch 1, skip turning ch, sc in each st across.
Rnds 20–25 (dec):
Ch 1, skip 2 sts, sc to end—8 sts remain.
Row 26 (dec):
Ch 1, skip turning ch, sc2tog, sc to last 2 sts, sc2tog—6 sts remain.
Row 27 (dec):
Ch 1, skip turning ch, sc2tog, sc to last 2 sts, sc2tog—4 sts remain.
Row 28 (dec):
Ch 1, skip turning ch, (sc2tog) 2 times—2 sts remain.
Row 29 (dec):
Ch 1, skip turning ch, sc2tog—1 st remains. Fasten off.
Spadix
Foundation ring:
Using CC1, ch 6, leaving a 10-inch/25.5 cm tail. Join in the rnd with a sl st in first ch to form a ring.
Next rnd:
Ch 1, sc in each ch around. Do not join—6 sts.
Next rnd:
Work sc in each st around and do not join at end of each rnd.
Repeat last rnd until piece measures 2½ inches/6.5 cm.
Next rnd:
(Sc2tog) 3 times—3 sts remain.
Next rnd:
Sc3tog—1 st remains. Fasten off. Weave in ends.
Stem
Attach CC2 to base of spadix with a sl st.
Next rnd:
Ch 1, sc in each ch around. Do not join.
Next rnd:
Work sc in each st around and do not join at end of each rnd—6 sts.
Repeat last rnd until stem measures 8 to 12 inches/20.5 to 30.5 cm long.
Insert floral wire into the base of the stem, pushing it all the way up to the top of the spadix.
Next rnd:
(Sc2tog) 3 times—3 sts remain.
Next rnd:
Sc3tog—1 st remains. Fasten off. Weave in ends.
Finishing
Using CC1 tail from beginning ch threaded through tapestry needle, sew spadix to base of spathe.
Wrap the base of the spathe around the spadix and with MC tail at base of spathe threaded through tapestry needle, sew it in place. Fasten off.
With another piece of MC yarn threaded through tapestry needle, begin at base of spathe and sew the left side of the spathe over the right side, working at a slant for 1 inch/2.5 cm. Do not fasten off.
With yarn still threaded through tapestry needle, work sl st along edge of spathe to the tip, then down remaining edge of spathe to the overlap. Fasten off.
Weave in ends.
sunflower
(WOOL, FELT)
Sunflowers, or Helianthus, are common to North America. They are normally cultivated as decorative plants, but they also grow wild, and are grown for their seeds and their roots, as in the case of the Jerusalem artichoke, which is a variety of sunflower. Sunflowers can grow up to six feet tall, and when they are blossoming, they tilt to face the sun throughout the course of the day. This heliotropism continues until the flower reaches maturity, after which it generally rests facing east. Sunflowers are admired for their symmetry as well as their size—they display both the Fibonacci sequence and the Golden Angle.
MATERIALS
2 8½ × 11-inch/22 × 28 cm sheets of brown felt
2 8½ × 11-inch/22 × 28 cm sheets of light yellow felt
2 8½ × 11-inch/22 × 28 cm sheets of dark yellow felt
2 4-inch/10 cm Popsicle sticks
1 .1875/5 mm × 12-inch/30 cm dowel rod
Craft glue
Genre:
- On Sale
- Aug 21, 2018
- Page Count
- 112 pages
- Publisher
- Running Press
- ISBN-13
- 9780762464012
Newsletter Signup
By clicking ‘Sign Up,’ I acknowledge that I have read and agree to Hachette Book Group’s Privacy Policy and Terms of Use